 Standard Operating Procedures
Adding a New Property
PURPOSE:
The Property Module screen captures all property information is entered in this screen. A new property request can be initiated by any University of Connecticut organization. The request is vetted through the ‘Official’ or ‘Non-official” external business process before being sent to the Space Management group for documenting in the IWMS system.
Property Statuses:
| Property Status | Description |
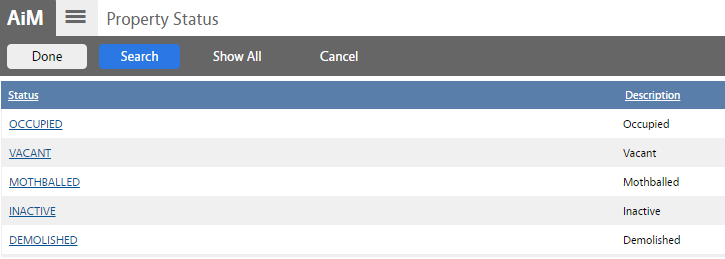
| Occupied | Indicates the property is occupied, not available. |
| Vacant | Indicates the property is vacant and available for assignment. |
| Mothballed | Indicates property is out of service at the moment. It can be available in the future. |
| Inactive | Indicates the property is not longer active or available in the system. |
| Demolished | Indicates the property was demolished. |
Property Status Flags:
| Property Flag | Description |
| Active | Indicates a property is available for use within the system to host work orders, warehouses, and other system activities. |
| Pending | Indicates a property is neither active or inactive, but a condition where the property is in route to becoming active or inactive through construction, demolition, purchase, sale, or other action. A pending Property profile may be created and managed, but work cannot be assigned to it. |
| Inactive | Indicates a property is not available for use in the system. |
Location Objects:
| Location | Description |
| Location ID | The location ID identifies location identity. |
| Location Type | The Location type is used as a tool to define, normally for reporting purposes, a kind of Place. |
| Primary Usage | Primary Usage Code, indicates by the highest in percentage ranking of its utilization by its occupants. |
| Space Type | The Space type indicates if a space is assignable or non-assignable. |
| Location Status | The Status field indicates whether this location is active and available for use in AiM |
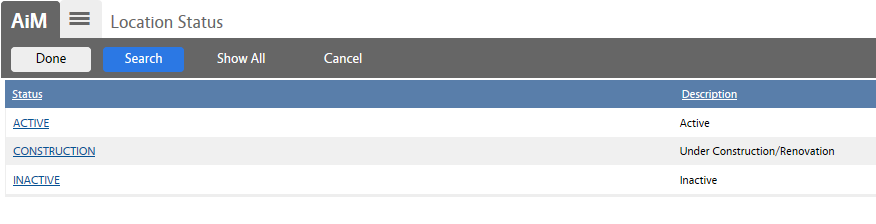
Location Statuses:
| Location Flag | Description |
| Active | This status indicates the location is active. |
| Construction | This status indicates the location is under construction/renovation. |
| Inactive | This status indicates the location is inactive. |
Location Status Flags:
| Location Flag | Description |
| Active | This status flag signifies the location is active. |
| Inactive | This status flag signifies the location is inactive. Location status flag cannot be associated to any transactions. |
PROCEDURE:
To add a new property, you must have the following information:
- Property Number
- Property Name
- Region Facility
- Floors
- Property Status
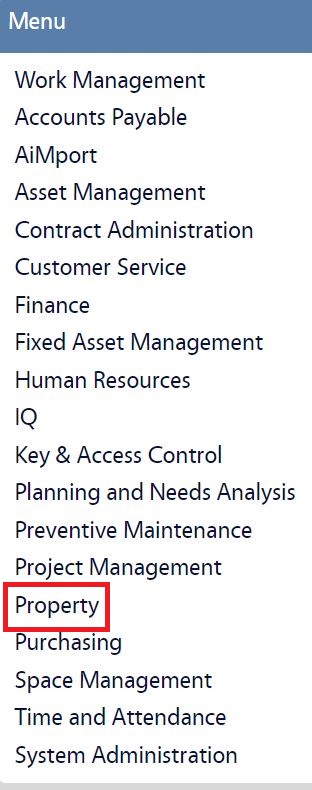
| 1. Select the Property link from the Main WorkDesk Menu. |
|
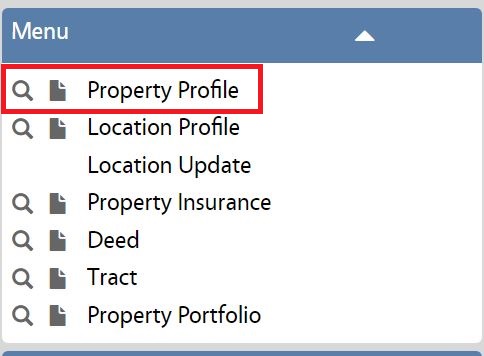
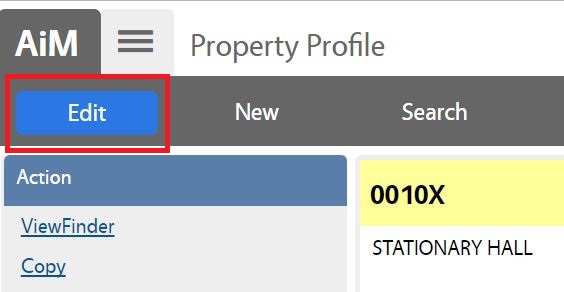
| 2. Click the link to the Property Profile. |
|
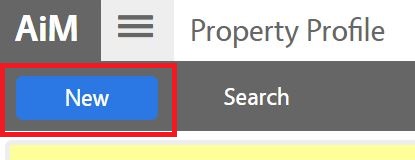
| 3. Click New to enter Property Profile information. |
|
|
*Note that the red highlighted cells are required fields.*
Required fields include:
|
 |
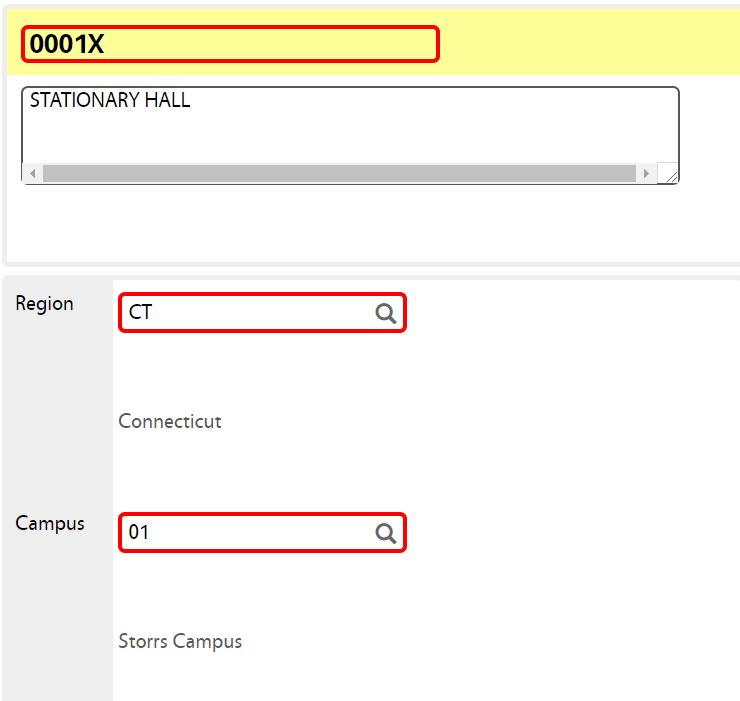
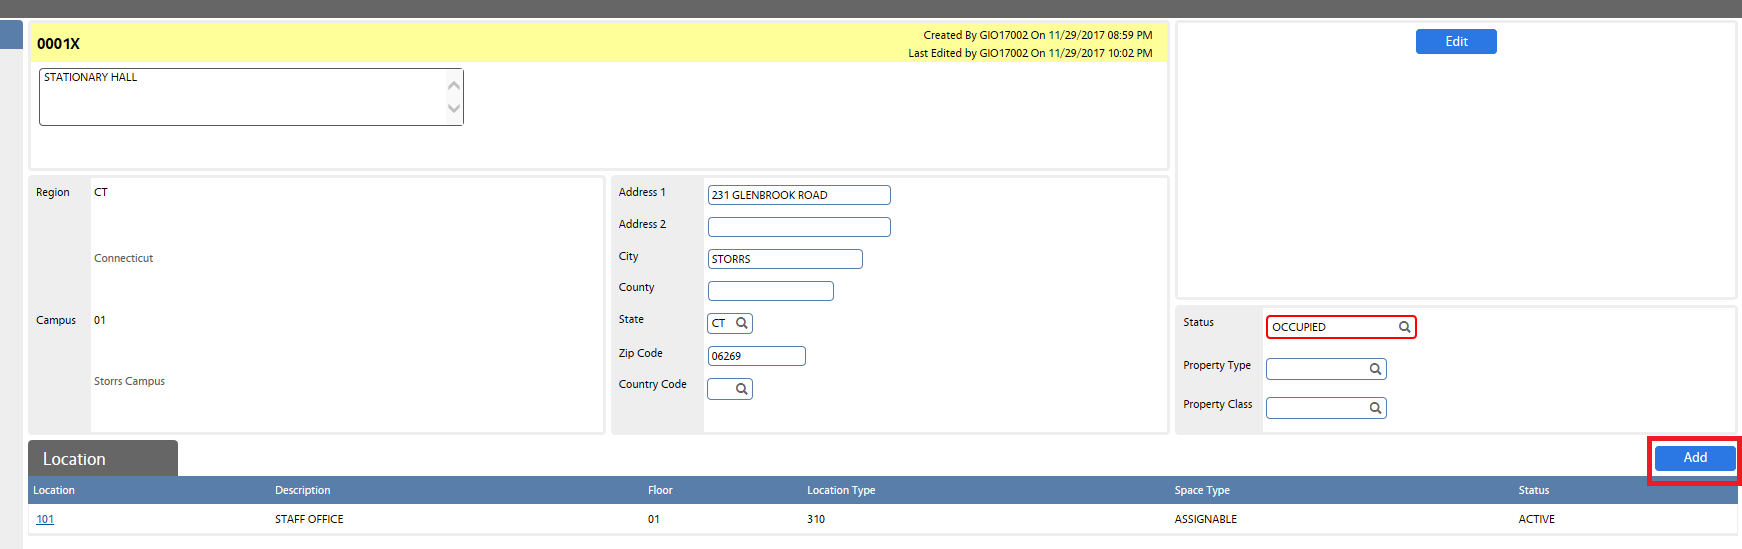
| 4. Add property identification number, description, region and campus. |
|
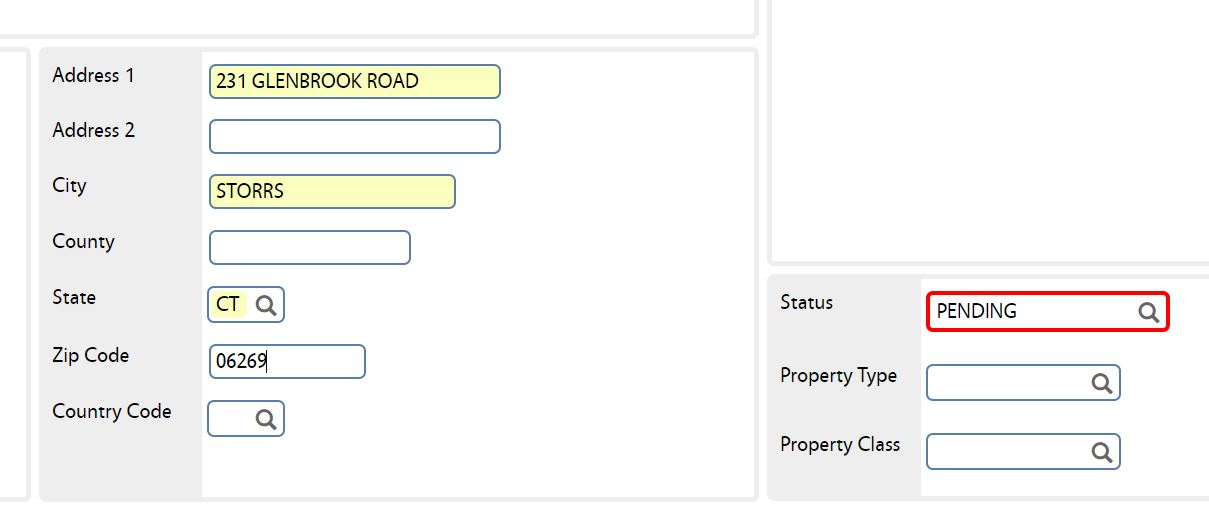
| 5. Add property address and select property status. |
|
|
Property Statuses:
|
|
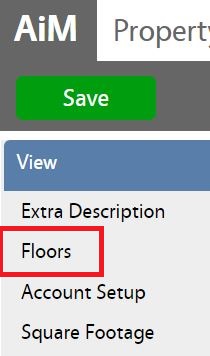
| 6. To add floors, click Floors option from the View Menu. |
|
| 7. Click Add to add floor information. |
|
| 8. Enter floor information: ID and description.
*Click the Add button to add additional floors.*
9. Click Done button when finished adding floors. |
|
| 10. Click the Done button, then click Save to save the property. |
|
| 11. Click Edit to continue adding locations. |
|
| 12. Click the Add button on the Location detail area. |
|
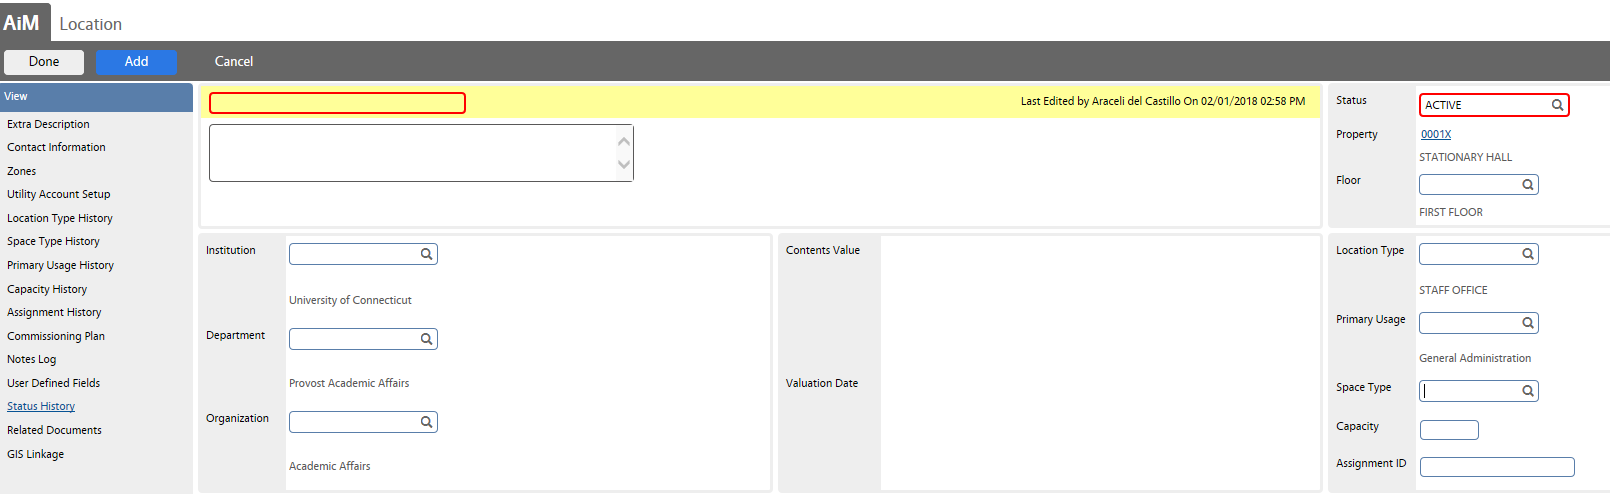
| You must have the following information:
|
|
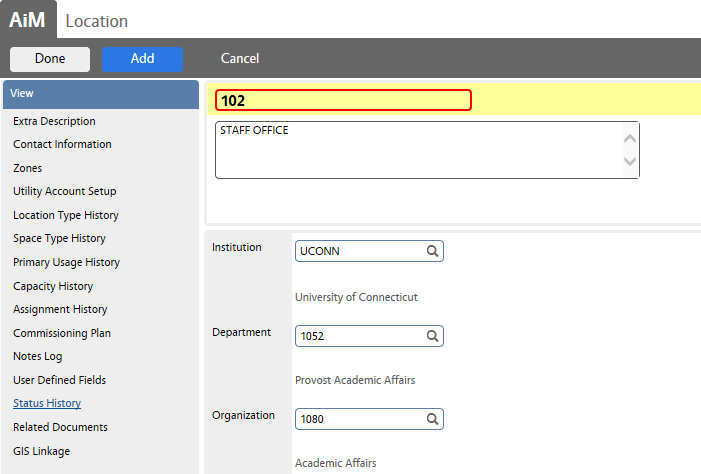
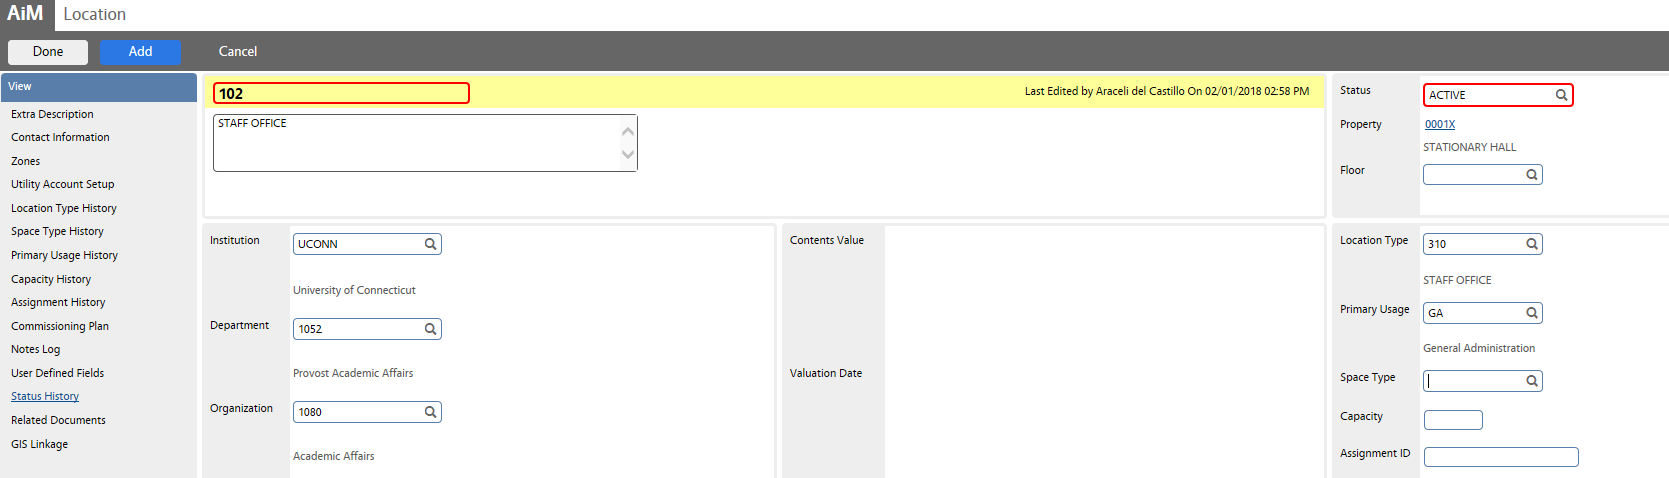
| 13. Add location identifier, description (this should be the same as the location type description). |
|
| 14. Add the Organization. Click the Institution Zoom icon. Follow the prompts to select the correct Institution, Department, and Organization combination. |
|
| 15. Add Location Type and Primary Usage. |
|
| 16. Add the Location Space Type:
|
|
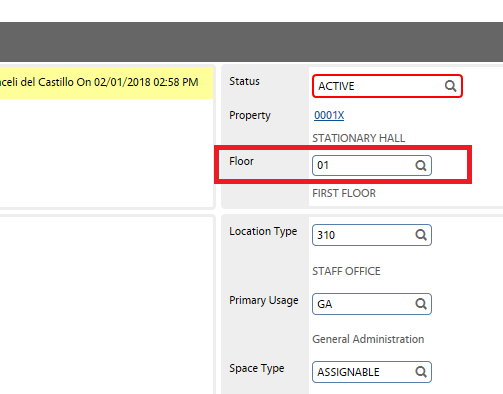
| 17. Add Floors. |
|
| 18. Set Location Status |
|
| 19. To add additional Locations, select the Add button. When Finished adding locations, click the Done button. |
|
| 20. Click the Done button, then click Save to save the record. | 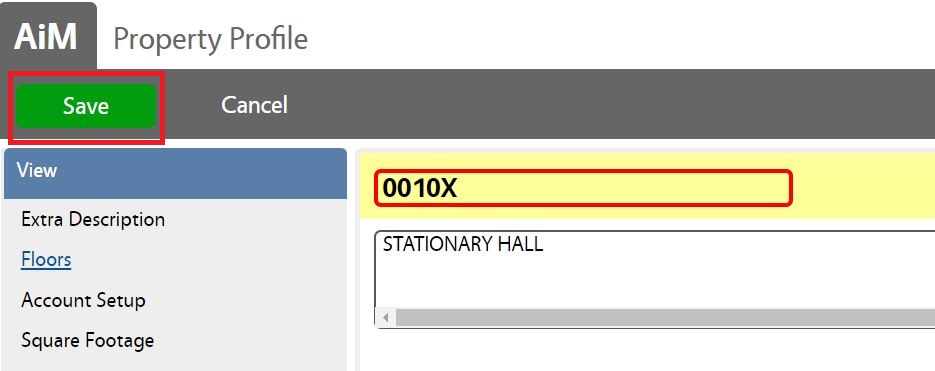 |


ROLES USED:
1. Space Manager: [TODO:FOBS define refine rules here]
2. System Administrator:
System Administrator is responsible for managing and overseeing the Property module its configuration and functionality.
Return to Space (Property) Module SOP