 Standard Operating Procedures
WorkDesks & Queries
The instructions here are designed for individuals who are familiar with the AIM Environment. This includes logging in to AIM, WorkDesk, icons, menus, search screens, working with data, and entry screens. If you are new to AiM please refer to the documentation explaining these foundational AiM concepts or go to your supervisor and request training.
AiM WorkDesk
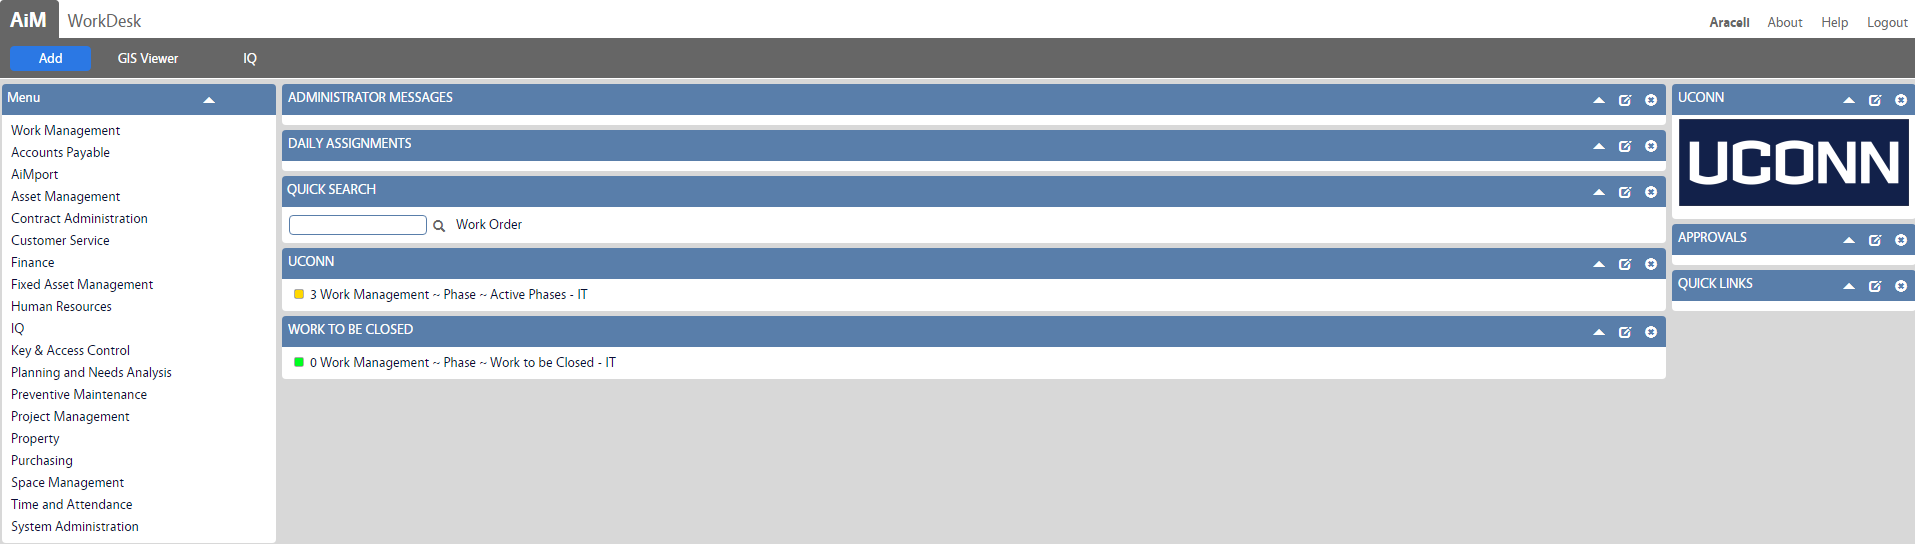
The WorkDesk personal information system offers a graphical gateway to important business information that users access every day. The WorkDesk aggregates user-specified data such as notices, approvals, tasks, queries, and more.
The body of the WorkDesk screen will contain channels, or blocks of information based on personal queries defined by the user. Content may contain:
- Administrator Messages delivered in the form of global informational messages.
- Quick searches such as Work Order, Phases numbers.
- Displays an employee’s work for the day, as listed on their Daily Assignment Sheets. Updates dynamically throughout the day.
- Personal queries linking the user to transactions requiring approval.
- Personal query counts to link the user to transactions activity in real-time.
- Quicklinks such as web pages, AiM screens, AiM reports.
Important buttons you need to be familiar with:
- Blue button is always the primary action for the screen (Add).
- Green button indicates some sort of schema update via save or approval (Save).
- Red button indicates some sort of schema update to delete, remove, or reject (Cancel).
- Gray button is purely a navigation or secondary action (IQ, Done).
- AiM button returns to the main WorkDesk.
Layout Manager Screen:
The Layout Manager Screen determines the layout of the WorkDesk Channels. The user first determines where to place the channel, then selects the channel to place on the WorkDesk, and finally clicks on Save button on the Available Channels bar.

| Channel Name | Description |
| Administrator Messages Channel | Displays communication messages from the application administrator to the users on their respective WorkDesk(s). This is a wide format channel appearing on the right side of the WorkDesk. Messages will display in this channel if the current date is between the message start, and message expire dates as identified by the administrator. More than one message may appear in this channel. If groups are assigned to the administrator message detail, only users in those groups will see the message. |
| Approval Channel | Displays a count of various records that are awaiting approval. These approvals are based on personal queries constructed on query screens in the various modules of the system. Common approvals are customer service request approvals and timecard approvals. As such, personal queries constructed on the customer service request approval and timecard approval query screens are eligible to appear in the approvals channel. This is a narrow channel. Once this channel is added to the WorkDesk, the user can edit parameters by clicking the edit link on the channel. Note: if a manager is responsible for approving the customer service requests in a particular facility area, and is the backup approver for a neighboring facility area, two approval channels should be created on the WorkDesk – one for each facility area. |
| Chart Report Channel | Used to display and run graphical (chart) reports on the WorkDesk. The selected report will display and run in this wide format channel. Graphical (chart) reports are created using the BIRT reporting tool. |
| Daily Assignments Channel | Displays a listing of work order/phase records to which the user has been assigned for the current date. This is added as either a narrow or wide format channel. The narrow channel displays work order and phase. The wide channel also displays the phase description. The user can click on any of the work order/phase links to open the specified record. The effective management of daily assignments requires the coordination of work order/phase statuses, phase shop person assignments, and the creation of a daily assignment list. The Employee Profile and User Security Screens must also be associated with each other using the employee identification field on the User Security Screen. |
| Image Channel | Displays image files on the WorkDesk. Images are set up in the document administrator, and saved in the document repository. This narrow channel can be associated with a URL address, which will launch when the image is clicked. |
| External Feed Channel | Used to add really simple syndication (RSS) feeds from a specified website to the WorkDesk. This wide channel will display headlines from an RSS site. Once this channel has been added to the WorkDesk, edit specific parameters by clicking the edit link on the channel. |
| Personal Query Count Channel | Displays the counts for specified personal queries on the WorkDesk. On this wide channel, the count (number of rows returned) will display next to each personal query listed. Each personal query listed can be launched by clicking on it. |
| Personal Query List Channel | Displays a listing of your personal queries on the WorkDesk. This can be added as either a narrow or a wide channel and listed queries can be launched and run by clicking on them. |
| Quick links Channel | Displays a list of quick links on the WorkDesk. This is a narrow channel. Quick links can be shortcuts either to screens, reports or websites. Clicking on a link will open the target screen/report/website. |
| Quick Search Channel | Enables the screen quick search from the workdesk. This functionality provides the mechanism to select a screen in AiM for rapid display (e.g., Work Order). |
| Report Listing Channel | Displays a list of reports on the WorkDesk. On this narrow channel, report links can be clicked to run the selected report directly from the WorkDesk. This provides convenient access to frequently viewed reports. Reports are created using the BIRT reporting tool. |
| Survey Channel | Displays a count and a link to surveys sent to the user. The survey type and definition must be set up in the System Administration Module and are linked to a phase status or contract. |
| IQ Report Channel | Displays an IQ report/dashboard in a dedicated IQ WorkDesk channel and pass in parameters, as appropriate. |
How do I setup my WorkDesk?
Users who have privilege to customize their workdesk can:
Adding WorkDesk Channels:
| 1. Click Add (Blue button) on Main WorkDesk. | 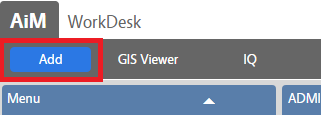 |
| 2. Select the channel you want to add to your workdesk and click Add to add it to the workdesk layout manager panel. | 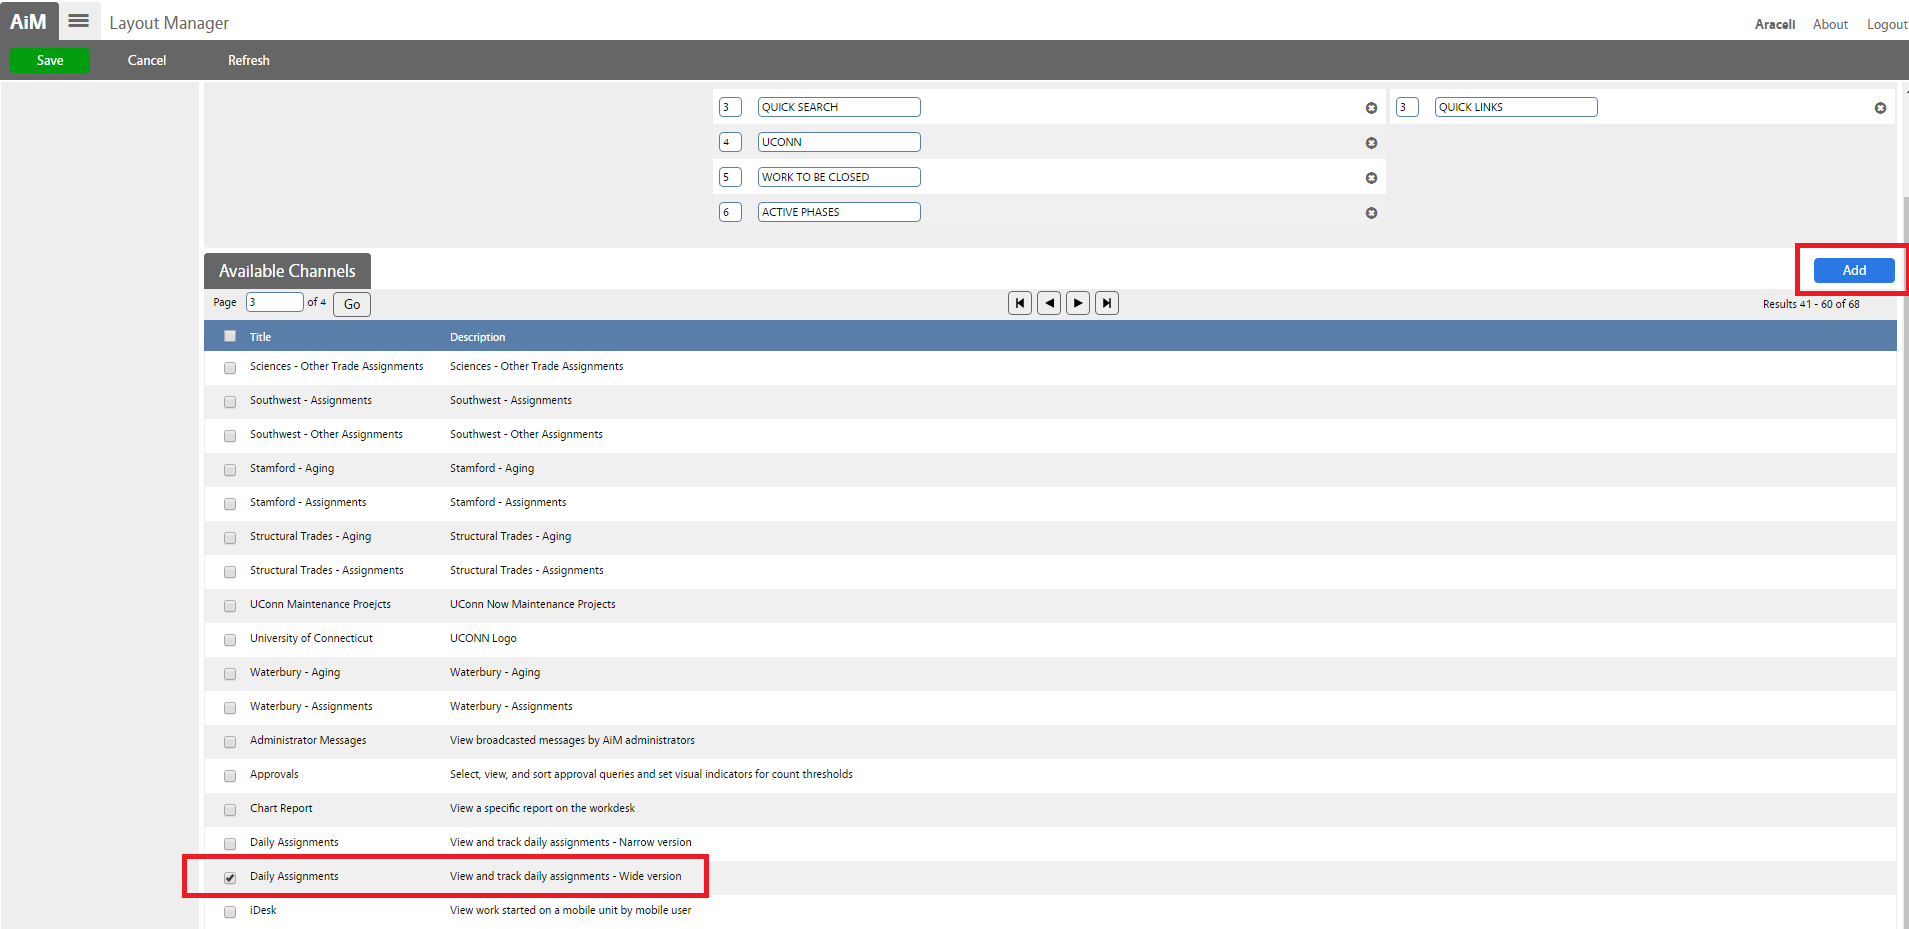 |
| 3. On the workdesk layout manager panel, you can change the order, name and position of your new channel. Then click Save to add it to your workdesk. |  |
| 4. Your new channel will display on your workdesk. |  |
Adding Quicklinks Channel:
| 1. Click Add (Blue button) on Main WorkDesk. | |
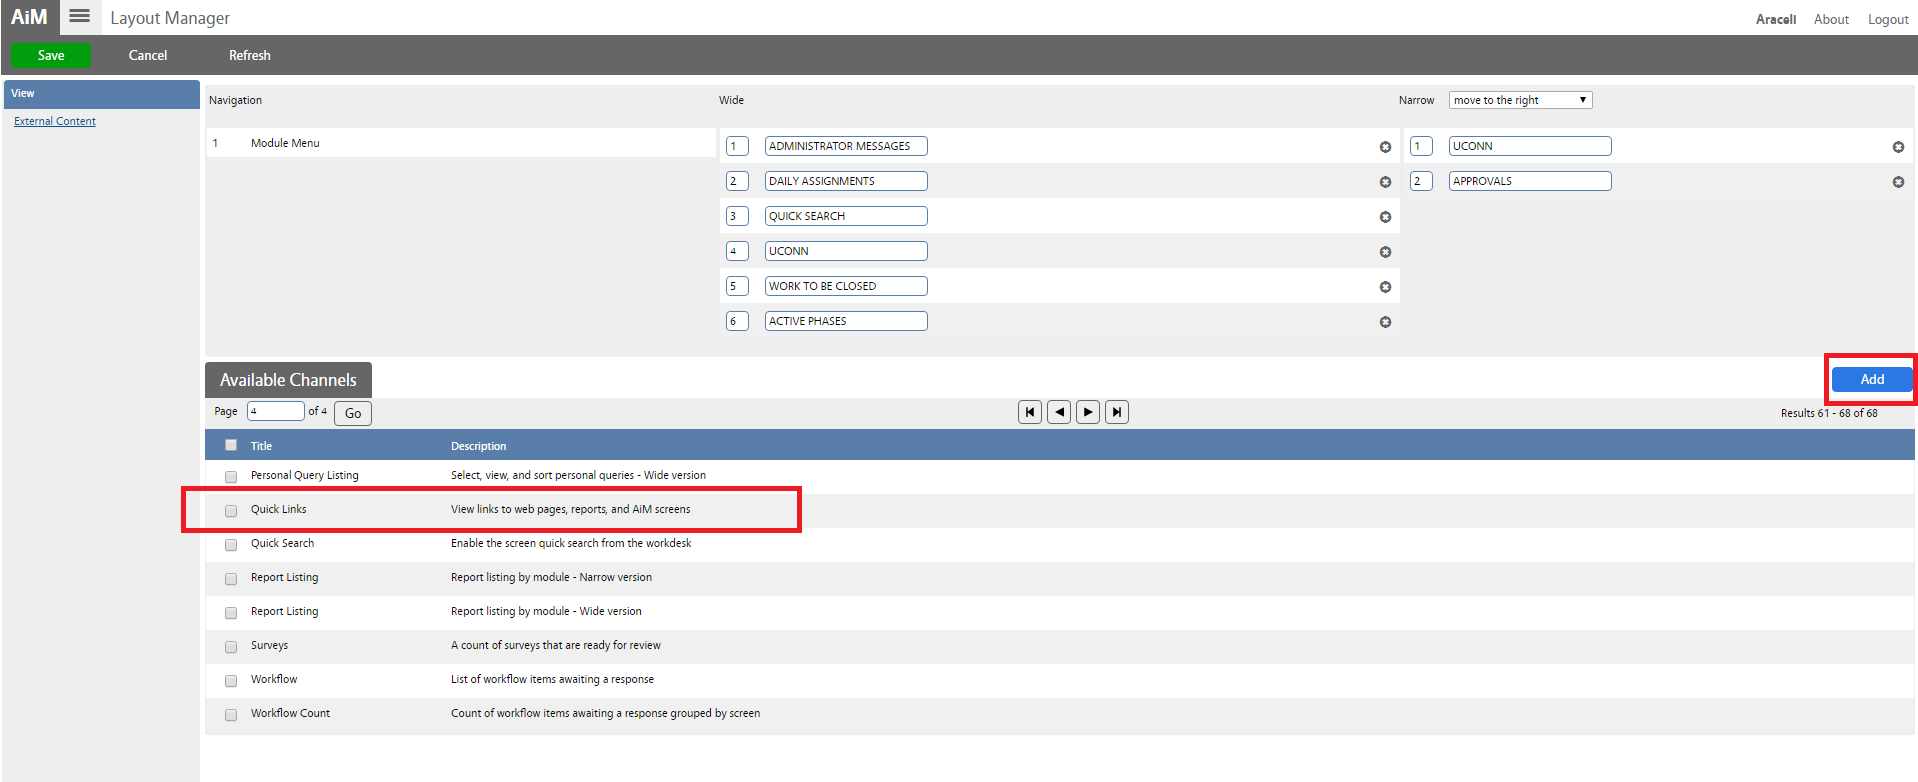
| 2. Select Quicklinks channel and click Add to add it to your workdesk layout manager panel.
* On the workdesk layout manager panel, you can change the order, name and position of your Quicklink channel. Then click Save to add it to your workdesk. |
 |
| 3. Quick Links channel will display on your workdesk. Click on the edit option to change settings on your Quicklink channel. | 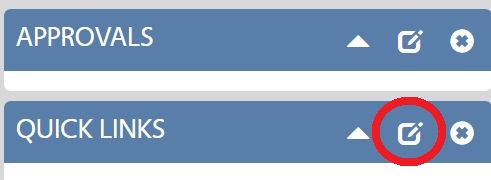 |
| 4. Set New Window to Yes to open Quick links on a new browser page (tab) and then click Save to return to the main menu. | 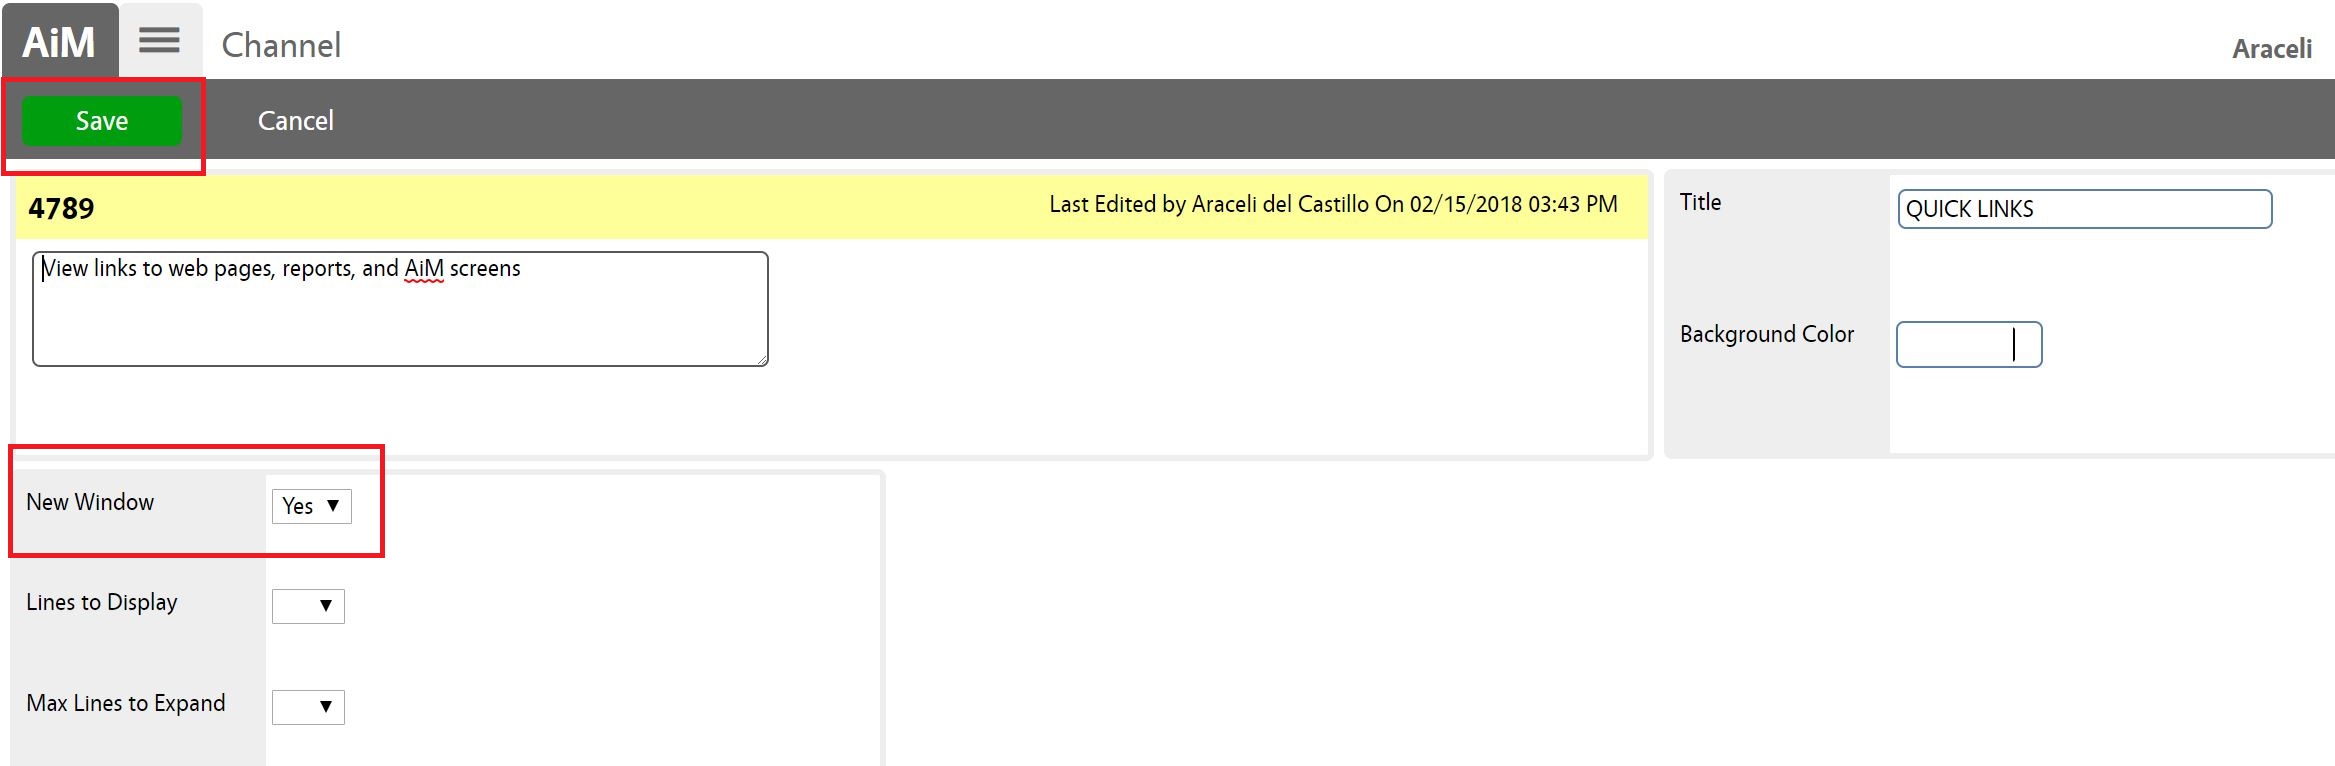 |
| 5. Navigate to the System Administration module on the main menu. | 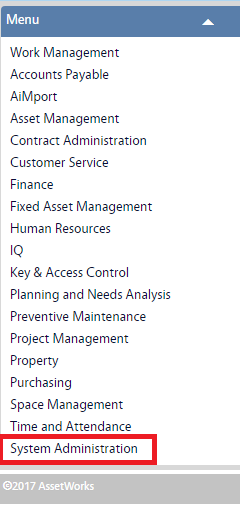 |
| 6. Navigate to the System Administration screen and click the link to Quicklink. | 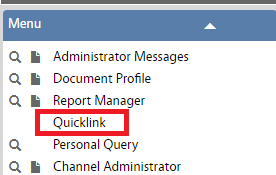 |
| The list of modules in this block represents the eligible modules from which to build a quicklink.
7. Click the module associated to the Quicklink and click Add. |
 |
| 8. Select the Quicklink type: screen, report, or web and click Next. |  |
| 9. Enter Quicklink information and set WorkDesk to Yes to display this link on your workdesk. Click Save to save the record and return to your main menu. | 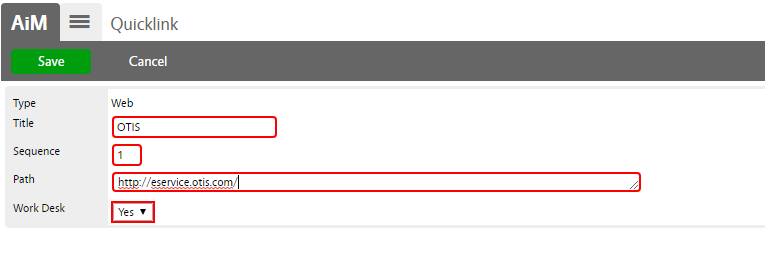 |
| 10. Click Add to add more Quicklinks, then click AiM to return to main menu. |  |
| 11. Your Quick link will display under Quick Links channel (OTIS website). |  |
Adding Queries Channel:
| 1. Click Add (Blue button) on Main WorkDesk. | |
| 2. Select your Personal Query choice and then click Add to add to your workdesk layout manager panel. | 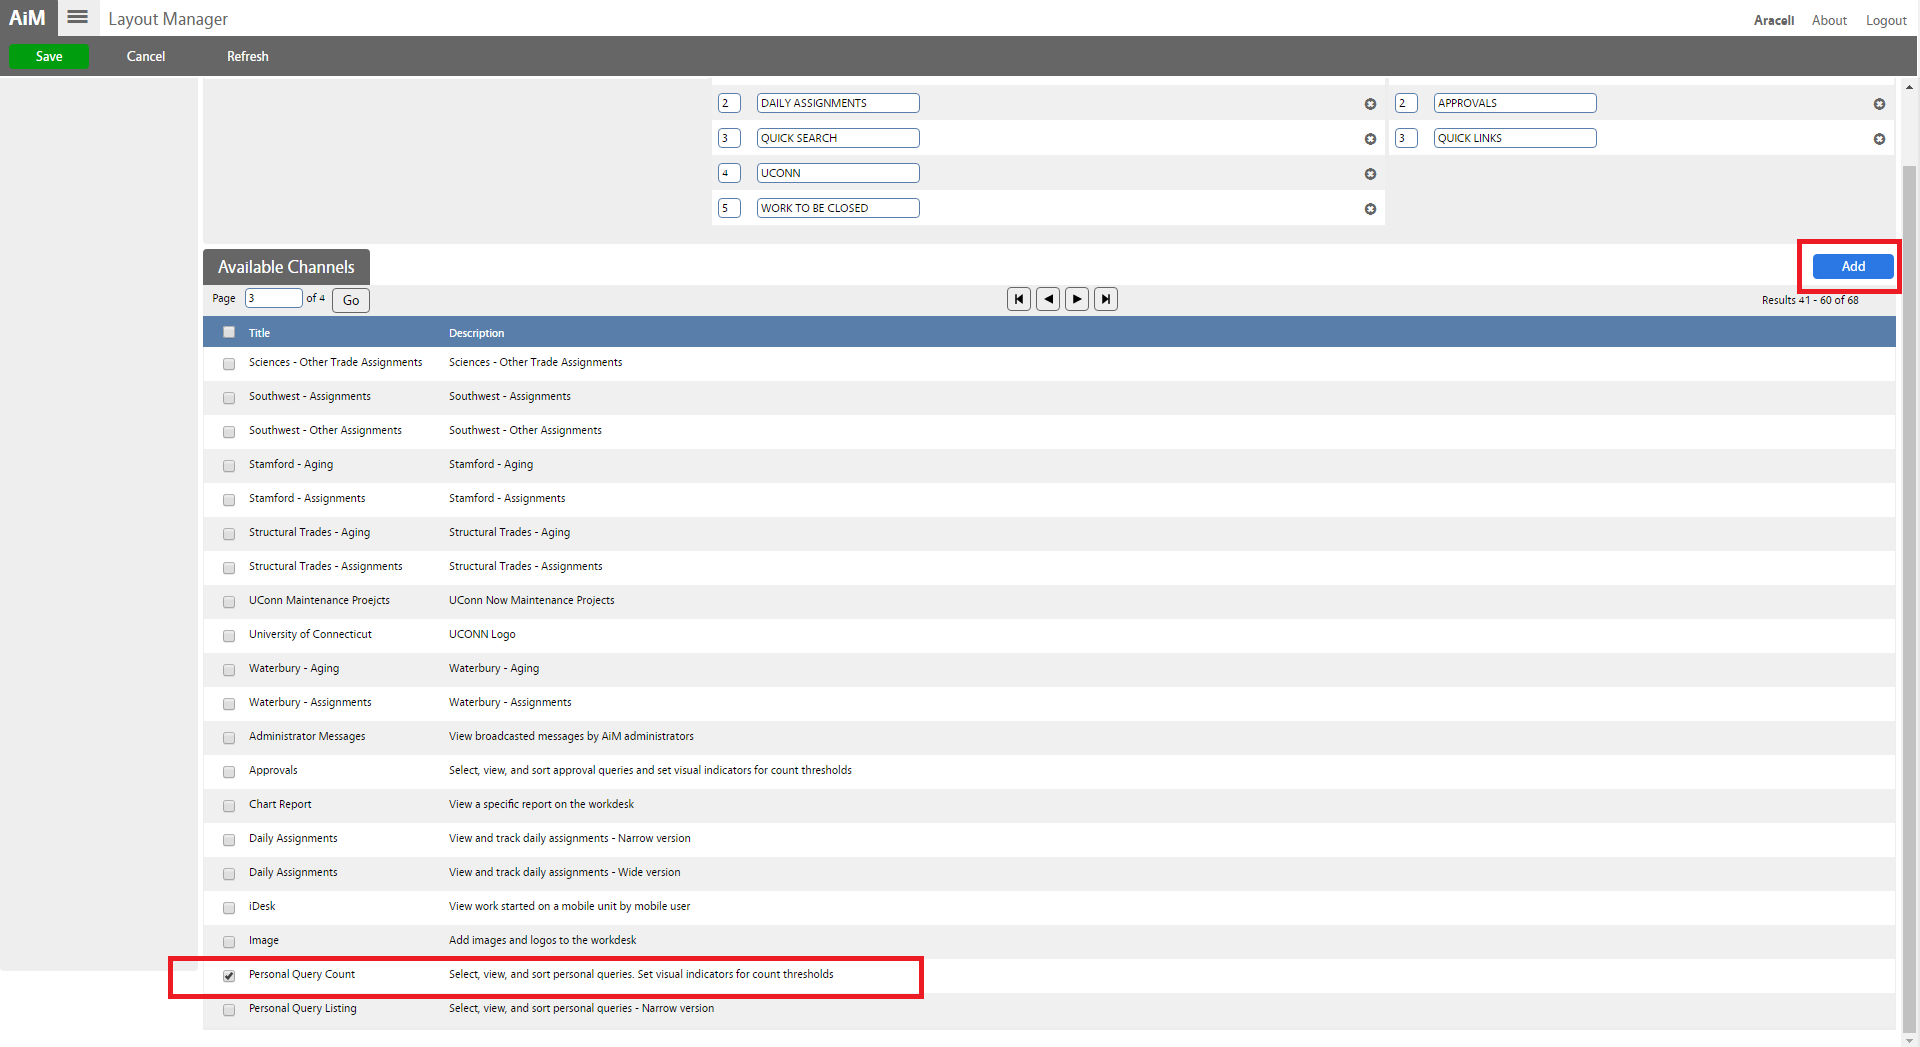 |
| 3. On the workdesk layout manager panel, you can change the order, name and position of your query channel. Then click Save to add it to your workdesk. |  |
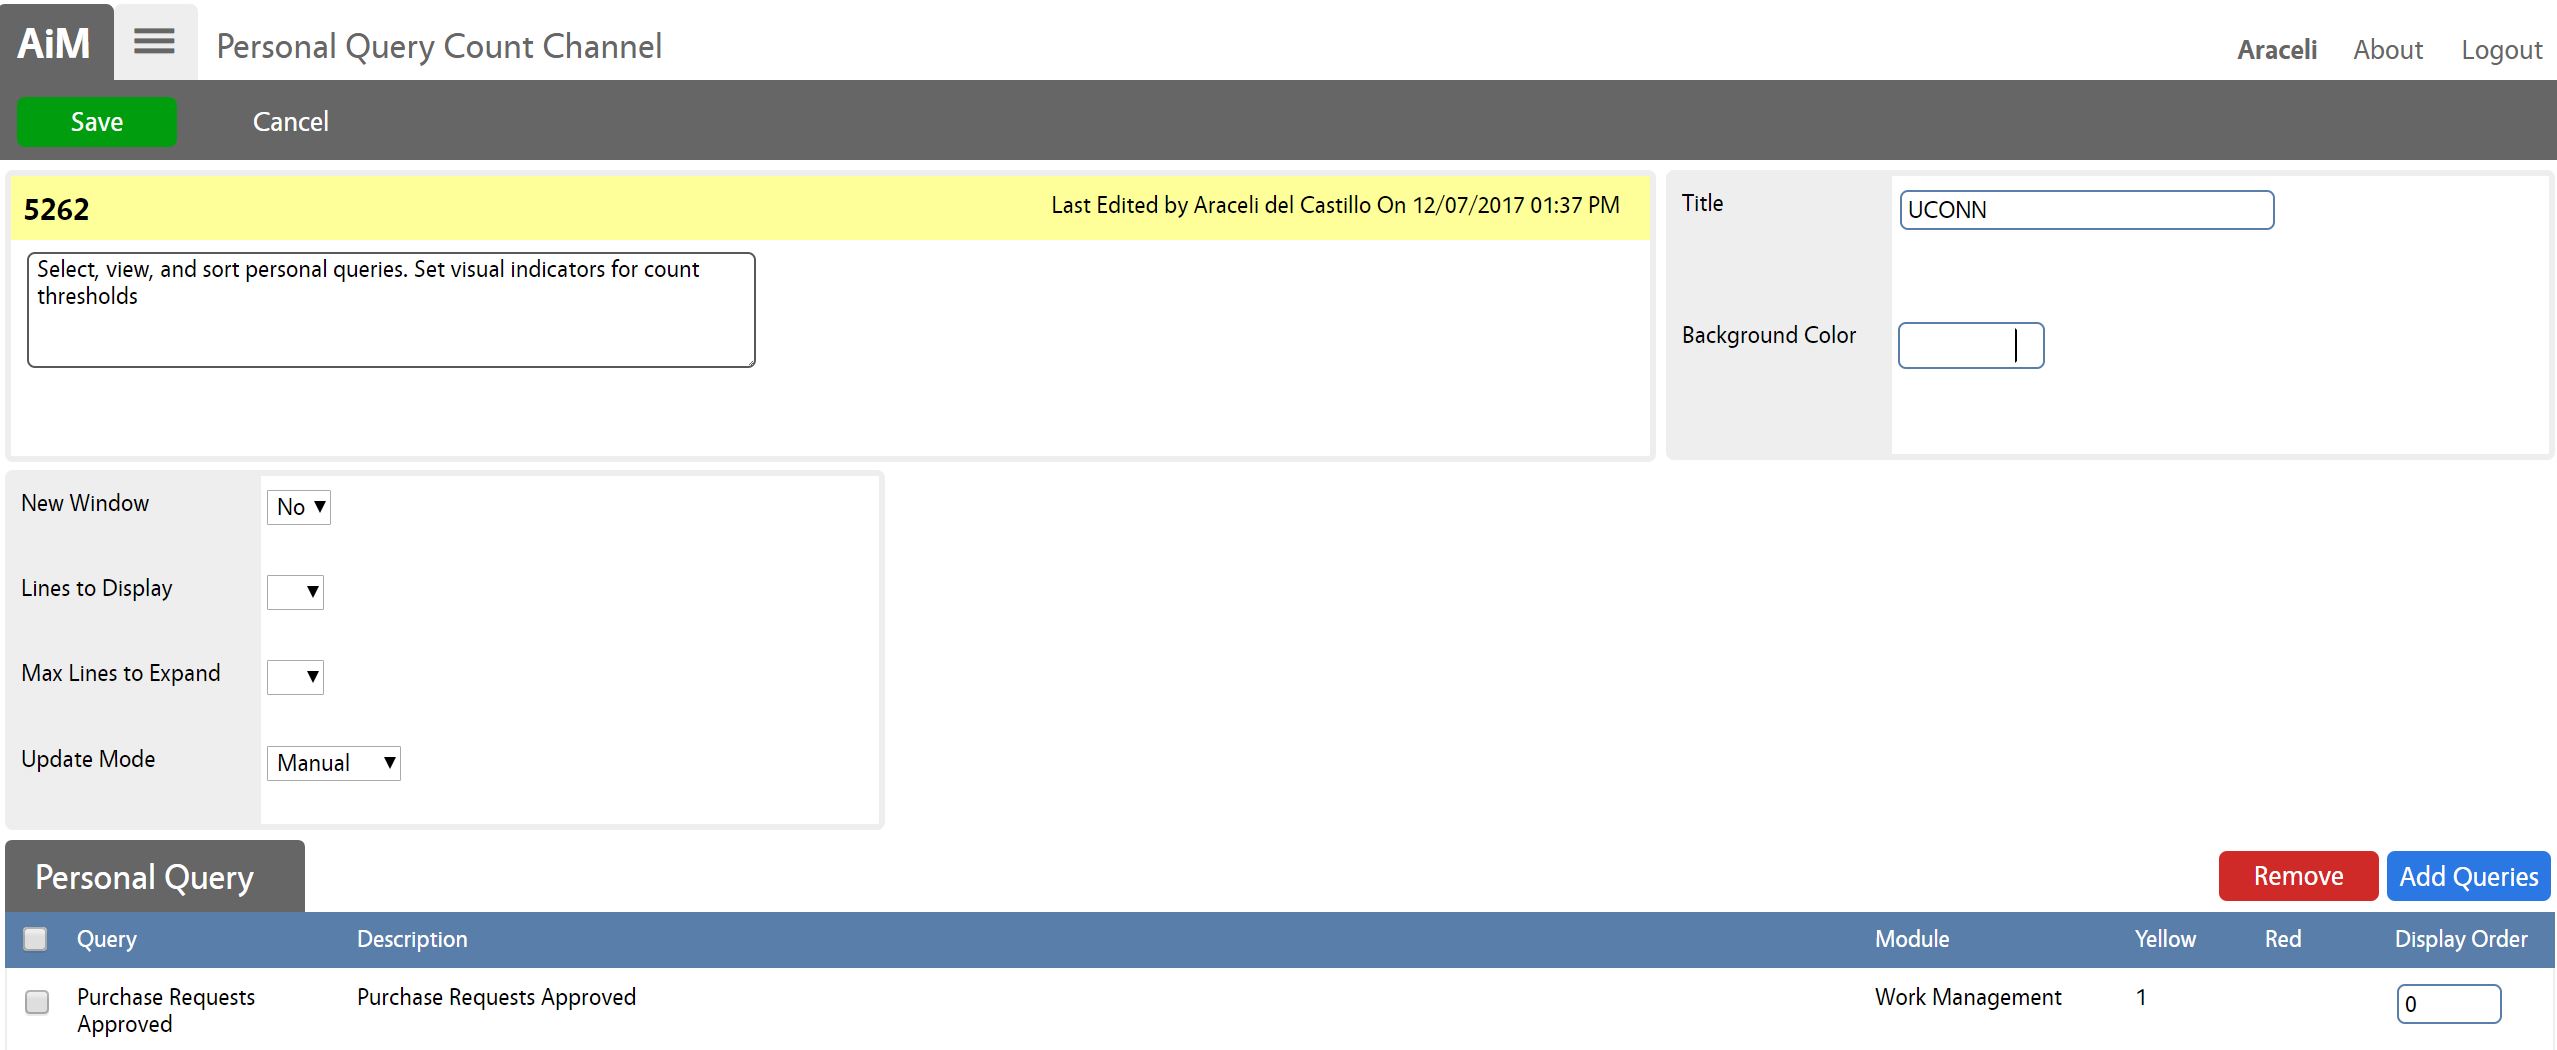
| 4. The Query channel will display on your WorkDesk. Click on the edit option to change the settings on the channel. | 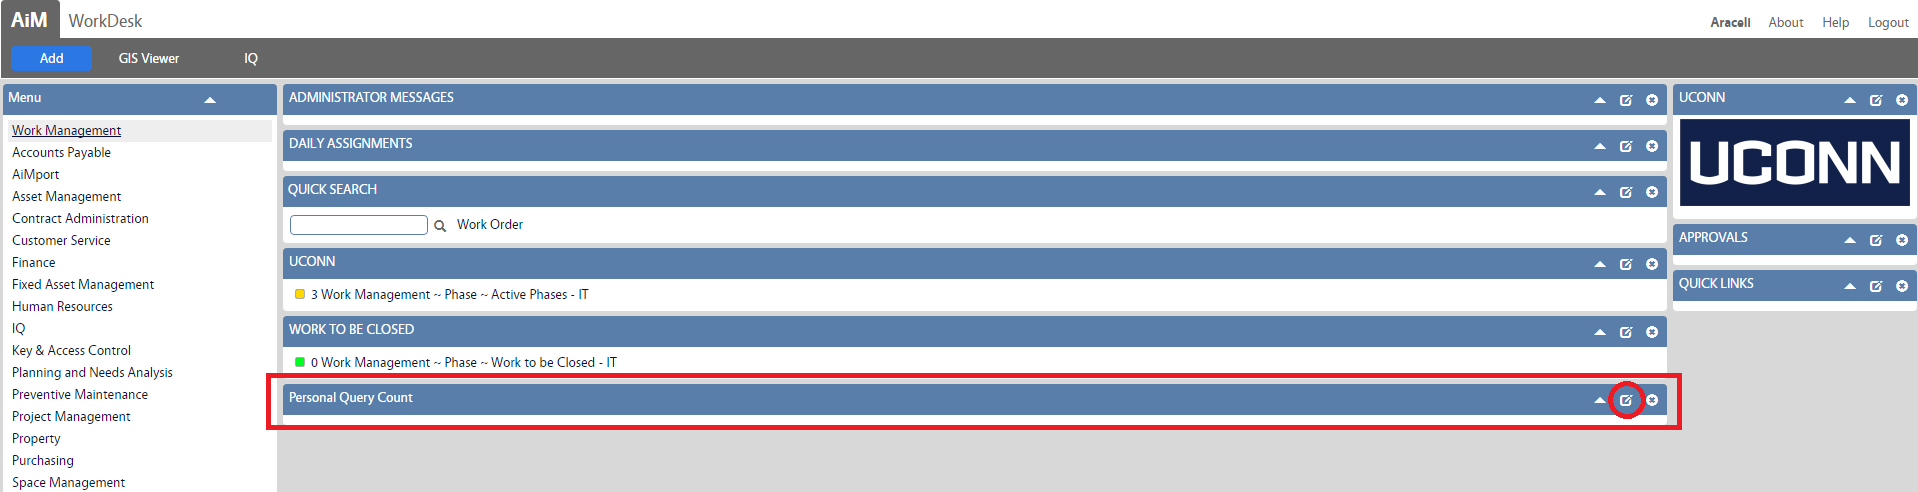 |
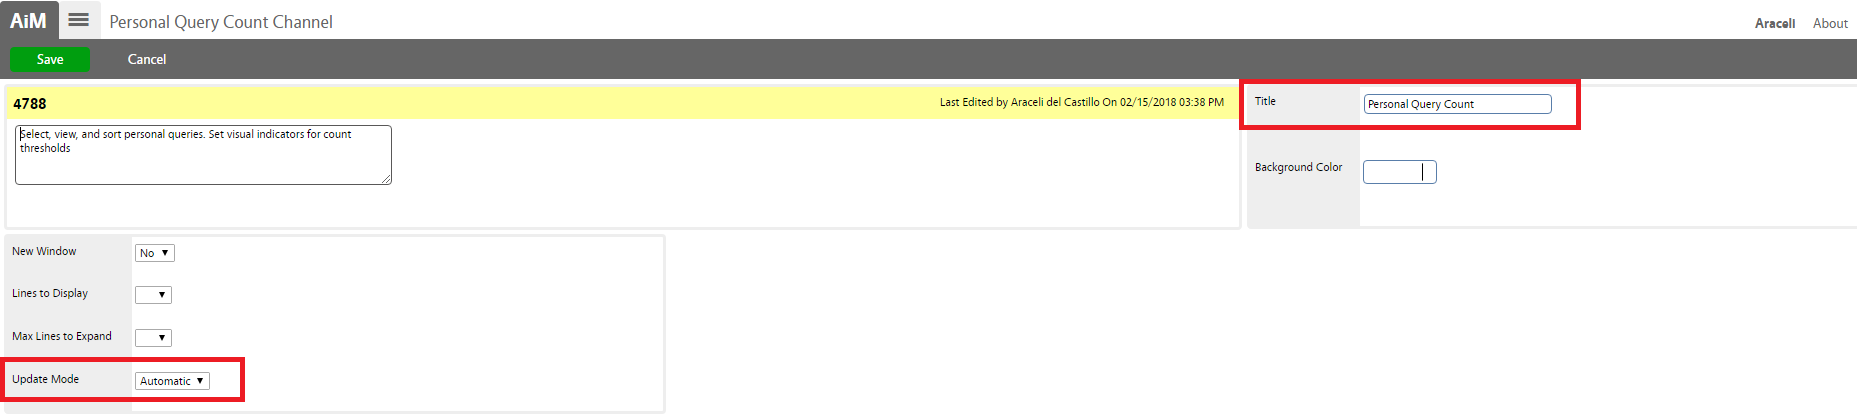
| 5. You can rename the channel here as well. You also can either set Update Mode to Automatic or Manual.
* If your channel is set Automatically, all queries you create will display under that channel automatically. Otherwise, you have the option to add them manually. |
 |
| 6. If you set your channel to Manual update, click Add Queries to add it from your query list. | 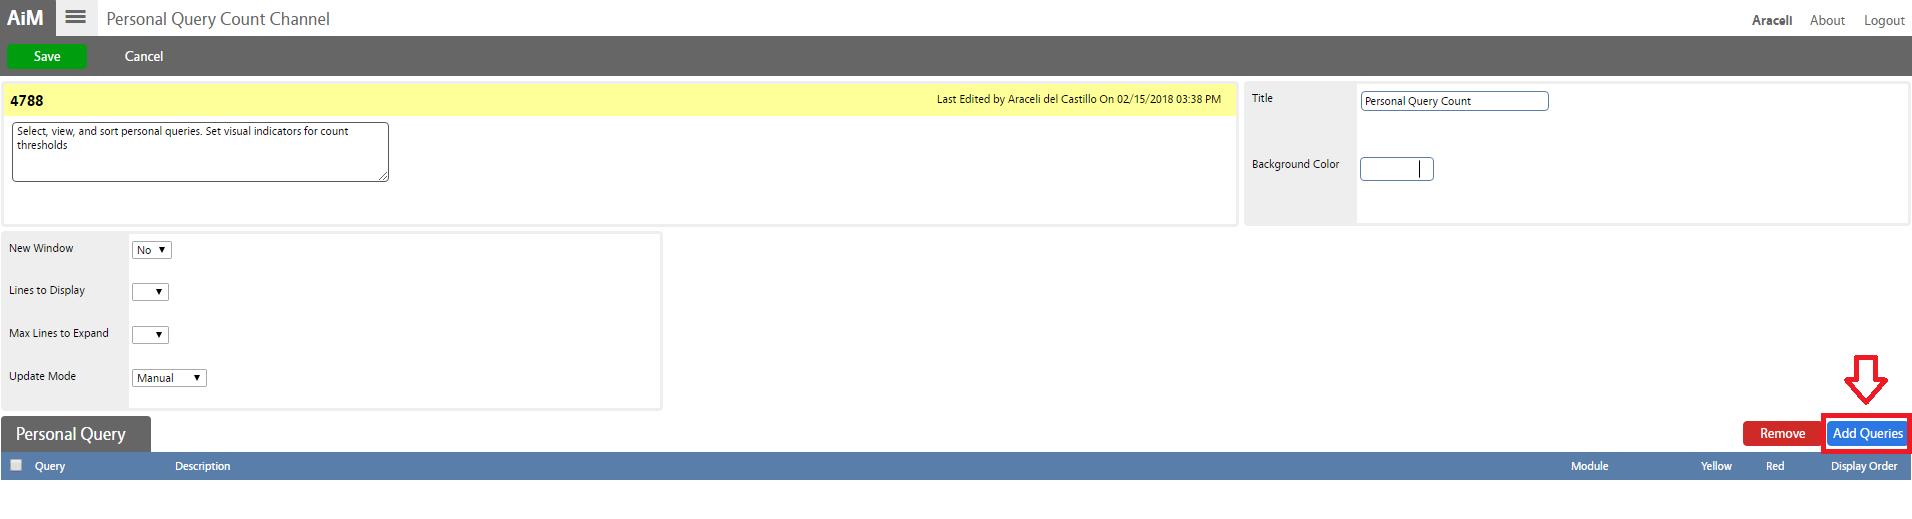 |
| 7. Select queries and click Done to return to previous screen. | 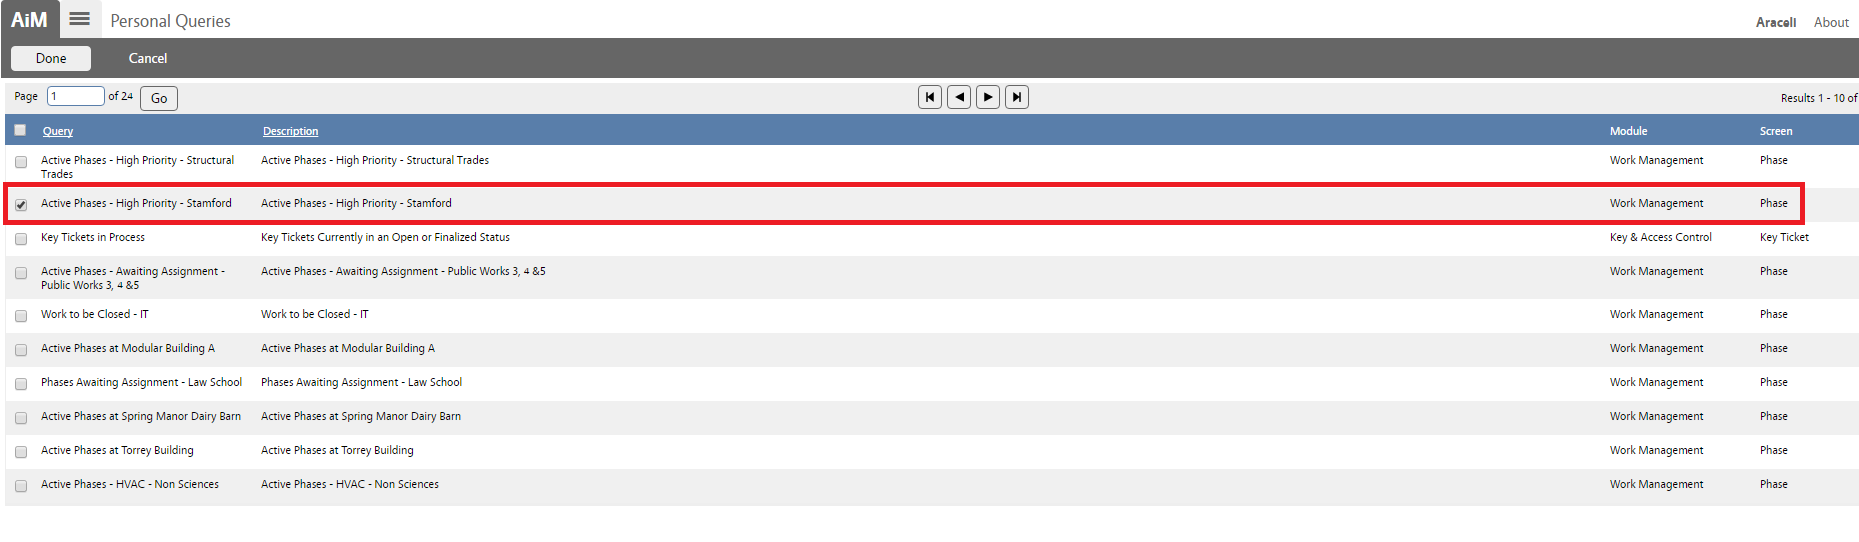 |
| 8. Click Save to save the query and return to your workdesk main menu. | 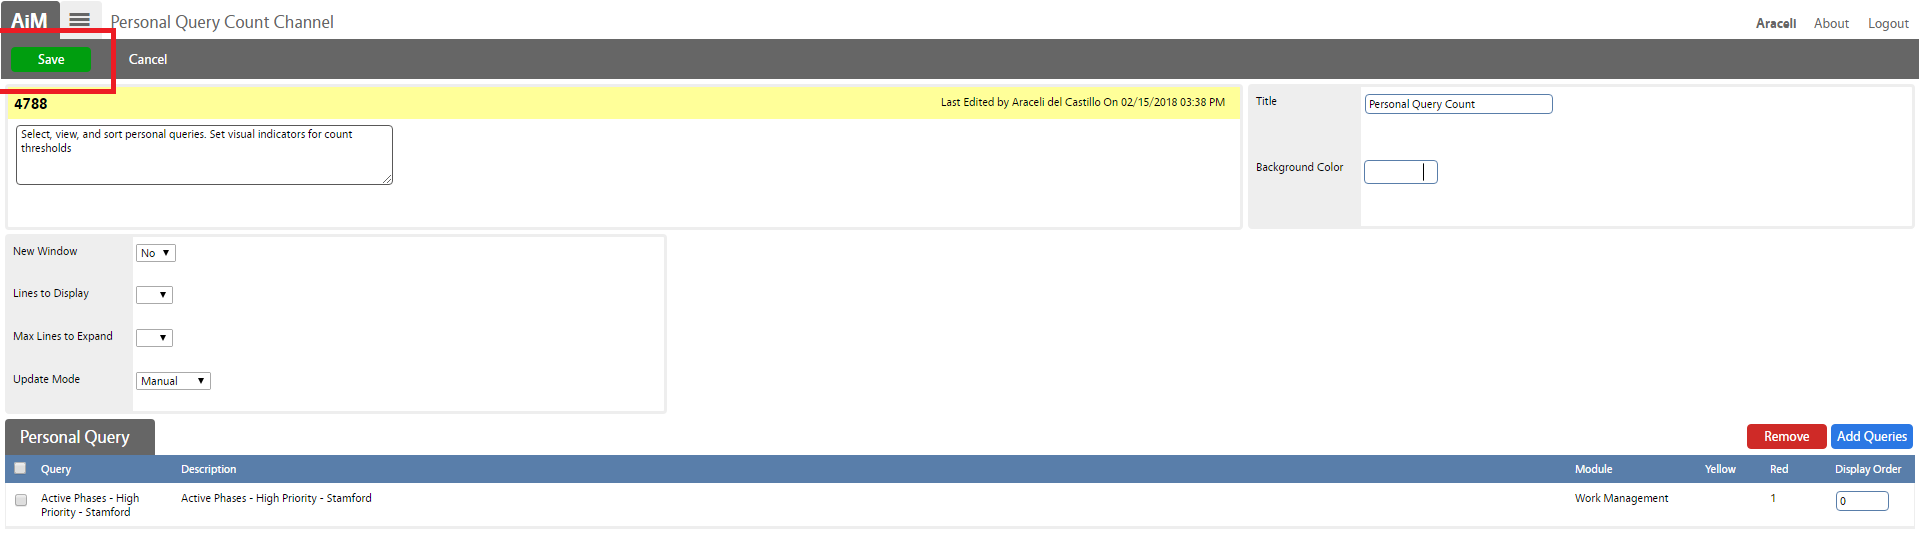 |
| Your query link(s) will display under your query channel. | 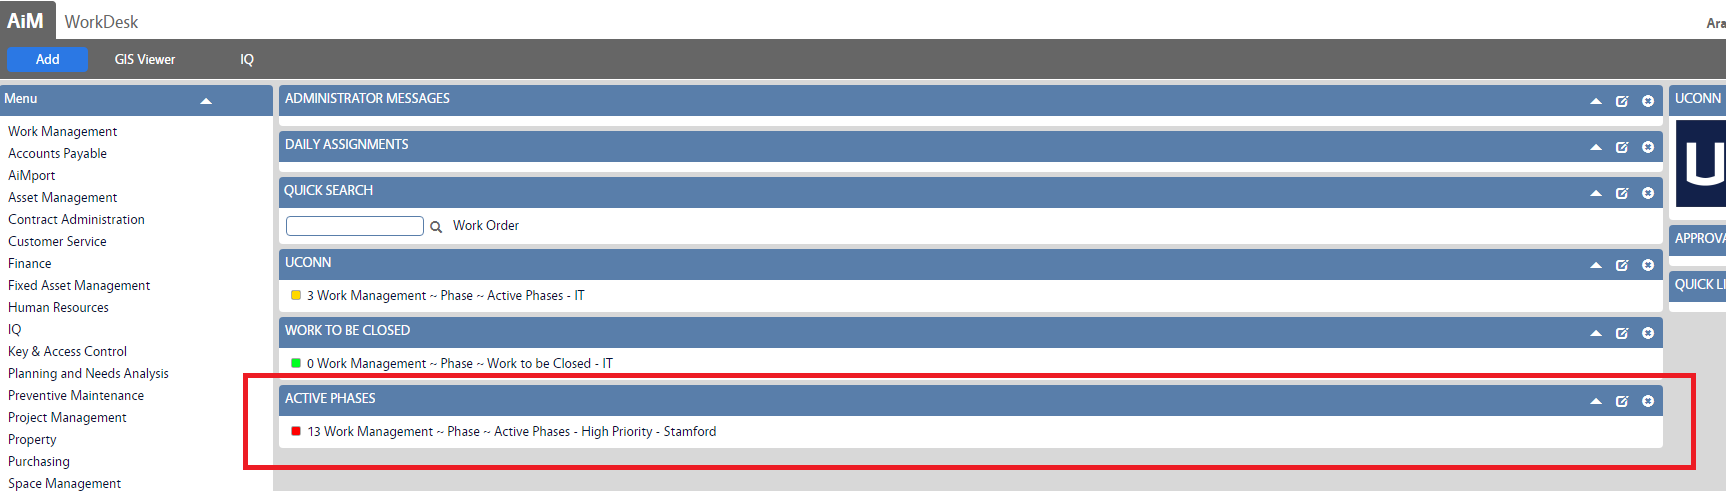 |
How do I create a Query?
The Personal Query is a custom search for desired information based specifically on the user creating it. Optionally, it may be associated to a role for more global usage.
The user optionally can display the queries on the WorkDesk to assist with management and reporting.
- Personal Query Count Channel
The Personal Query Count channel displays the counts for specified personal queries on the WorkDesk. On this wide channel, the count (number of rows returned) will display next to each personal query listed. Each personal query listed can be launched by clicking on it.
- Personal Query Listing Channel
The Personal Query Listing channels display a listing of your personal queries on the WorkDesk. This can be added as either a narrow or a wide channel and listed queries can be launched and run by clicking on them.
PROCEDURE:
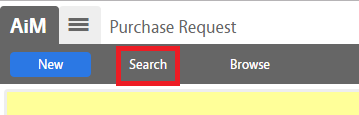
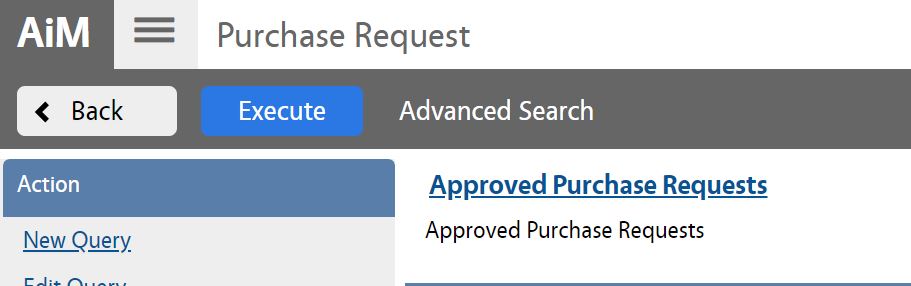
| 1. Identify the module and screen where you want to create the query from. For example, a personal query for a purchase request will start at the Purchase Request Search Screen (under Work Management module). |  |
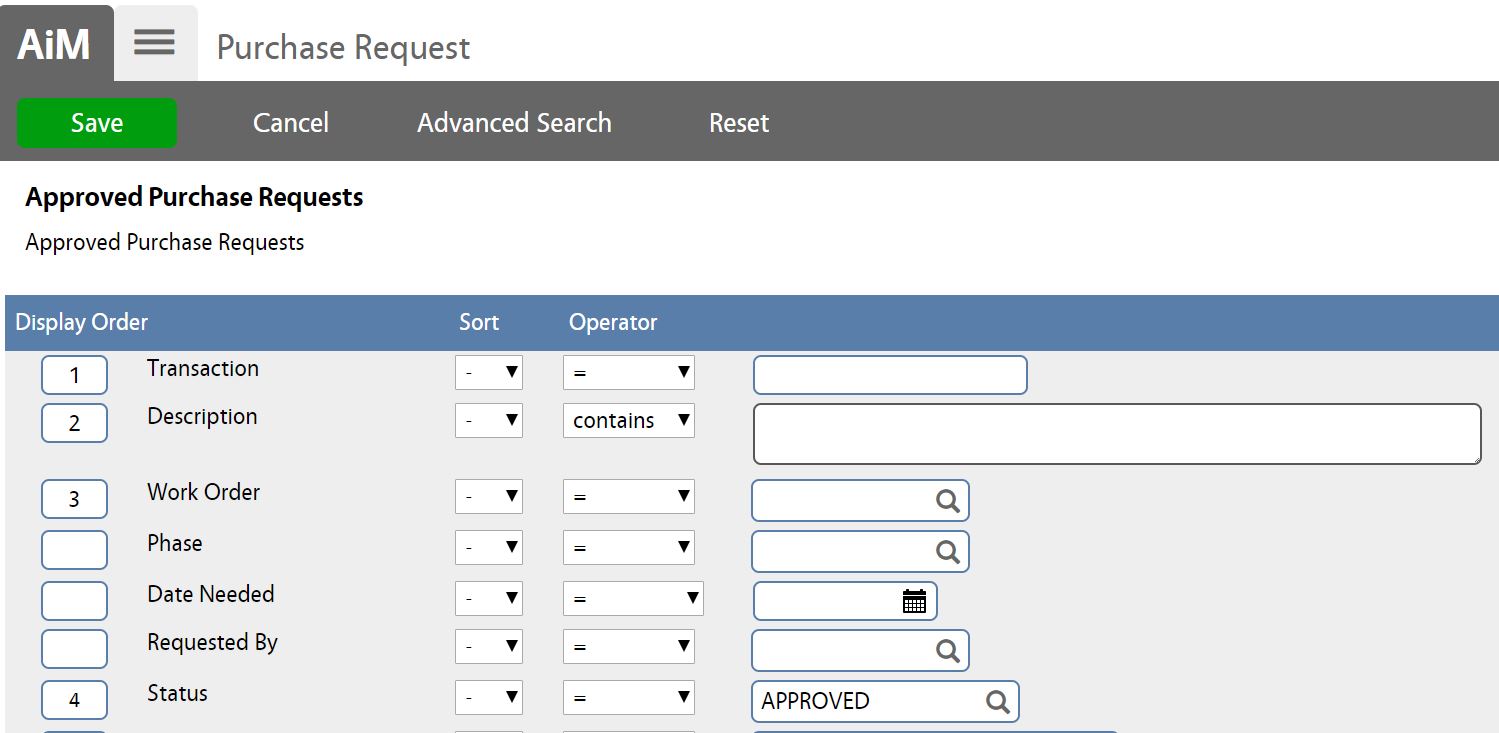
| 2. Click Search, go through the options and enter a number under Display Order for any fields you would like to search by (displayed as columns left to right).
Choose the options from the Sort and Operator drop down lists and enter the descriptor in the input field if desired.
For this SOP, we will search for all Approved Purchase Requests. |
For instance, a purchase request search may be for all purchase requests with status of Approved.
|
|
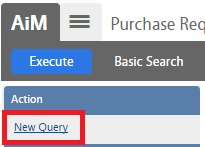
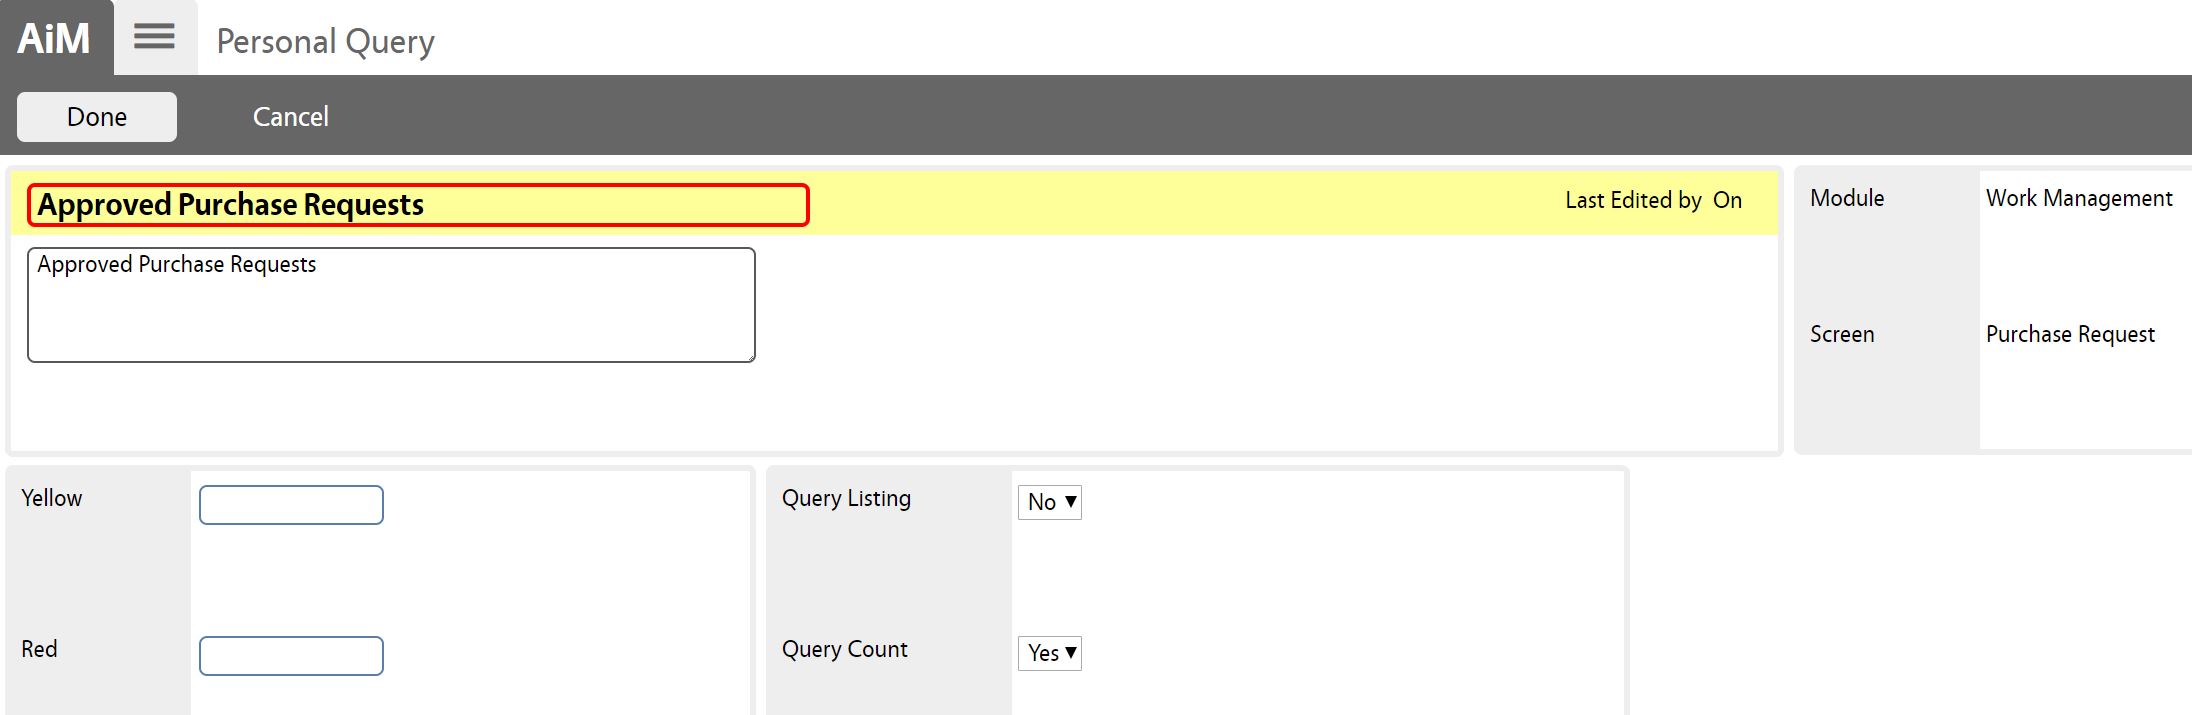
3. Save the search as a personal query using the New Query link. Enter the required name of the personal query, e.g., Approved Purchase Requests.
* Note: Enter a number value to the Red and Yellow fields to determine what count will drive the color displayed based on number of records meeting the search criteria.
Set Yes/No options for the Query Count and Query Listing fields.
Then click Done to return to the search screen. |
|
| 4. Click Save to save the personal query.
5. Click Execute to validate query results. |
|
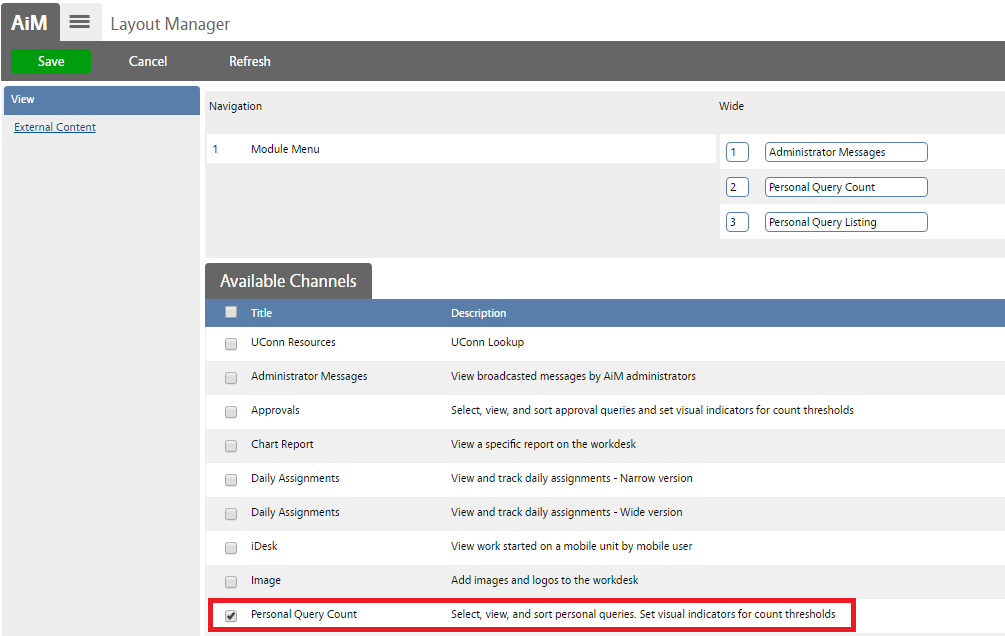
| * If Query Count or Query Listing channels haven’t added to your WorkDesk yet, do the following:
6. Click on the AiM tab to return to the main page, click Add (Blue button) to add the Query Count or Query Listing channel on your WorkDesk.
7. Select the Query option and click Add to add it to your WorkDesk template. Then click Save and return to the main page (The query channel will appear on your WorkDesk).
|

|
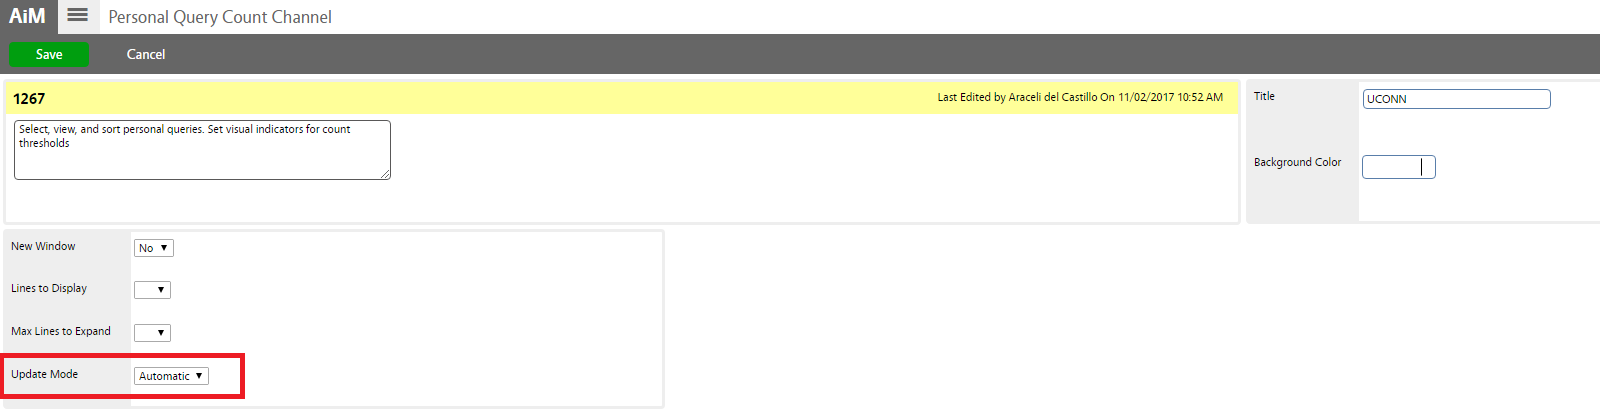
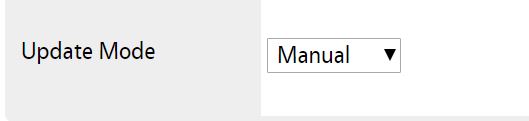
| * If your channel is set “Automatically” on Update Mode, all queries you create will display under that channel automatically. Otherwise, you have the option to add them manually.
To change Upload Mode settings, click on the edit option shown in the picture and change it from Automatic to Manual. Then, add the queries manually. |

|
| 8. Click Save to display the query on your workdesk. |


ROLES USED:
- System Administrator: Responsible for managing WorkDesk templates and default Queries (create/update/delete). System Administrator also is responsible for assisting and training end users on how to manage their own Workdesk and Queries.
Return to WorkDesks & Queries SOP