 Standard Operating Procedures
Managing Planned Work Order
PURPOSE:
Planned Work Orders can be created as place holders for future work as part of the project. The module screen creates work orders for planning purposes and are tracked separately from the regular work orders. Planned work orders can be promoted at any time to become standard work orders.
PROCEDURE:
| 1.Navigate to the Project Management module on the main menu. | 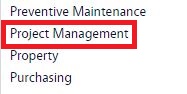 |
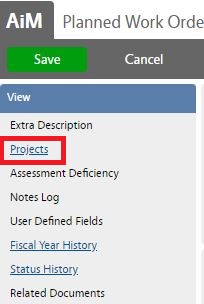
| 2.Navigate to the Project Management screen and click the link to Planned Work Order. |  |
| 3. To look at existing planned work orders select Browse or use the search function to refine search. When adding select the New function. | 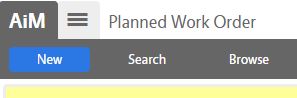 |
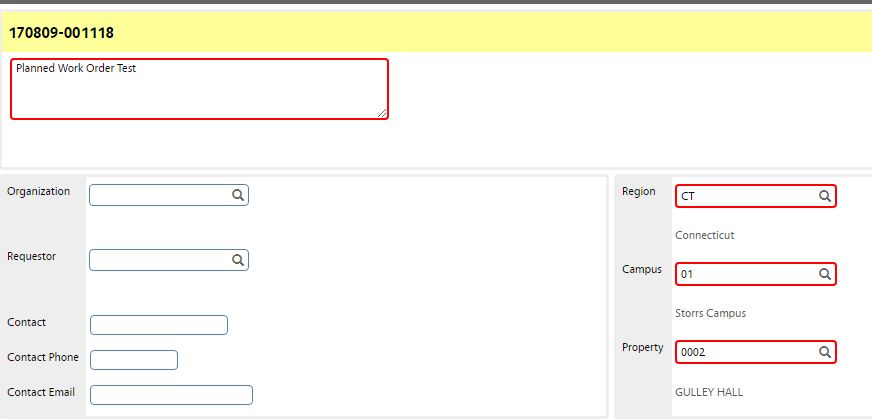
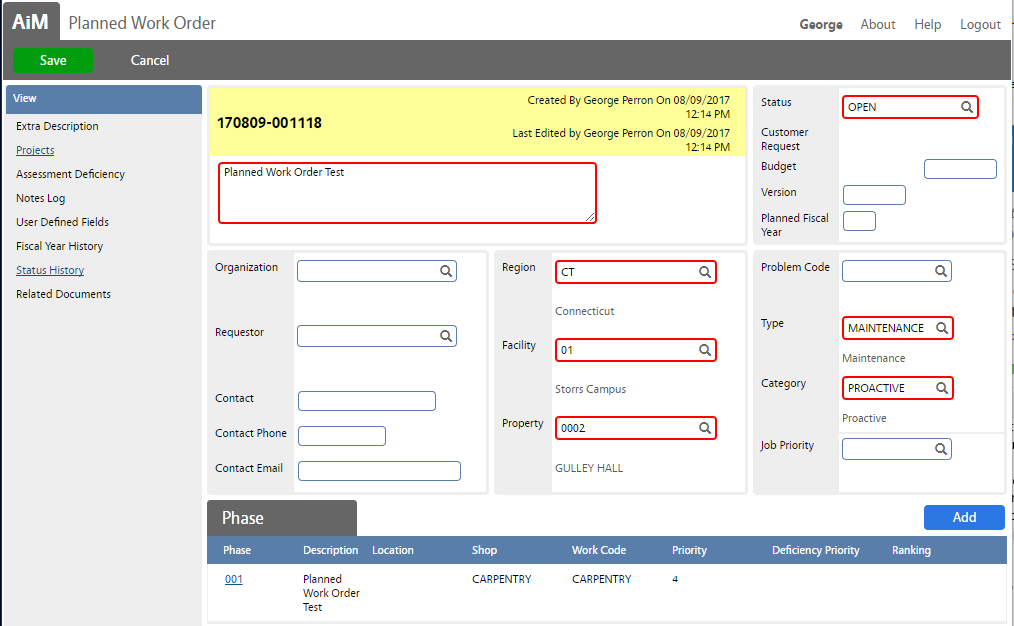
| * Planned Work Orders Identifier gets populated automatically.
4. Enter Planned Work Order description.
5. Enter location of the Work Order:
a. Region b. Campus c. Property |
 |
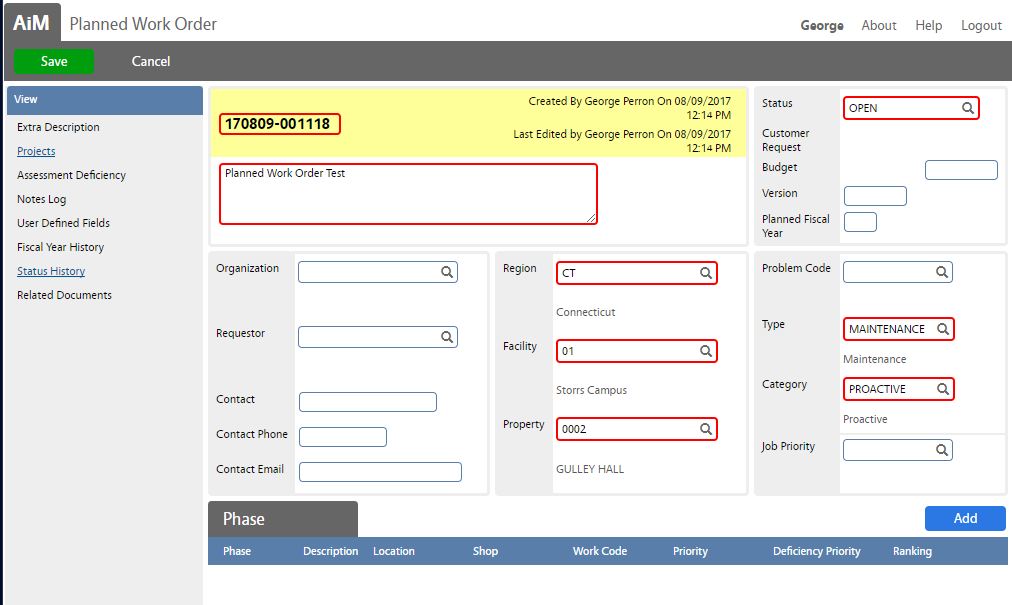
| 6. Select Type and Category of the Work Order.
7. Select Status (Planned Work Order Statuses align closely with Work Order Statuses and should be.
|
 |
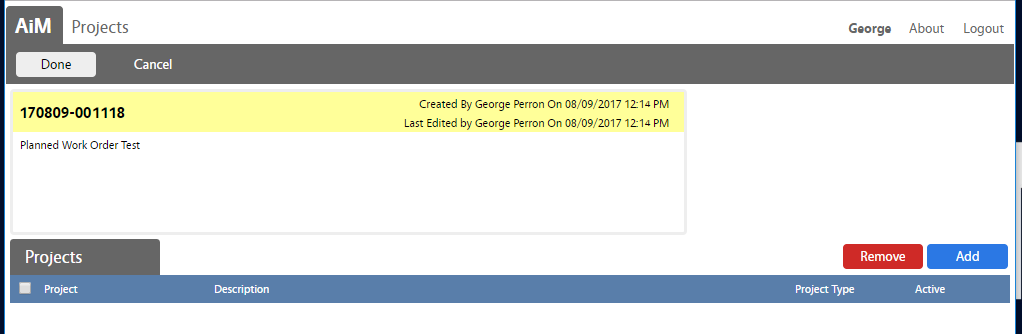
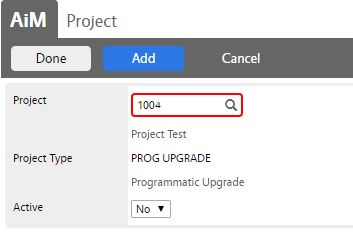
| 8. Select Projects (will associate this Planned Work Order to the Project).
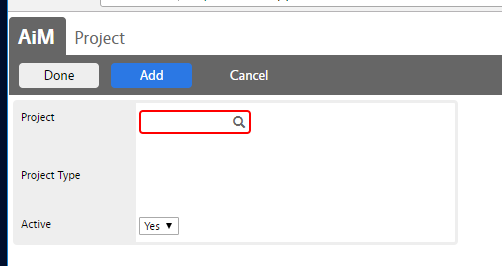
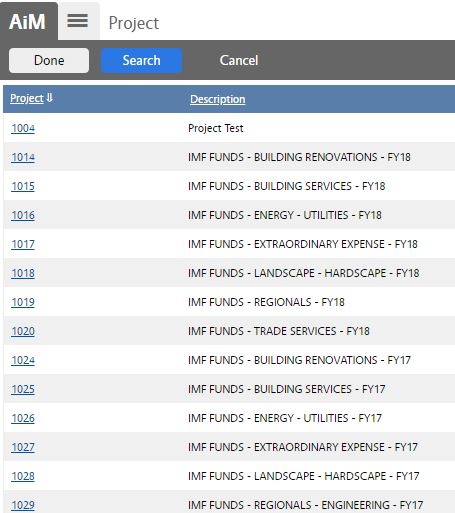
9. Click Add to associate projects to the Planned Work Order. Click on the magnifier glass to search. |
|
|
10. Select Project ID and click Done -> Done to return to previous screen. |
|
| 11. Add Phase (If applicable) – Planned Phase
Following fields are required: Shop, Work Code, Priority, Funding Method.
12. Press Done to return to previous screen. |
 |
| Press Save to save Planned Work Order.
|
 |
ROLES USED:
- Finance Business Office -[TODO:FOBS define refine rules here]
- Program Manager – [TODO:FOBS define refine rules here]
Return to Project Management Module SOP