 Standard Operating Procedures
Create a Maintenance Project in AiM
The instructions here are designed for individuals who are familiar with the AIM Environment. This includes logging in to AIM, WorkDesk, icons, menus, search screens, working with data, and entry screens. If you are new to AiM please refer to the documentation explaining these foundational AiM concepts or go to your supervisor and request training.
PURPOSE:
Maintenance Projects are created in the Project Management module in AiM as a means to consistently track the scope of work, schedules and costs.
How to:
| Once a project intake form has been approved a Project can be created in AiM. A blank Project Intake form is shown here. | 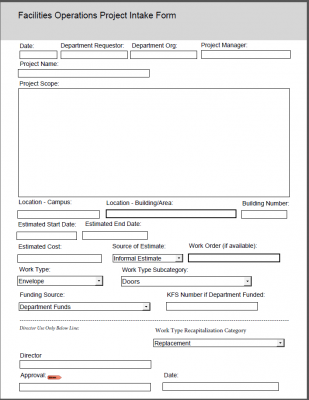 |
| Navigate to the Project Management Module by clicking Project Management on the AiM WorkDesk Menu | 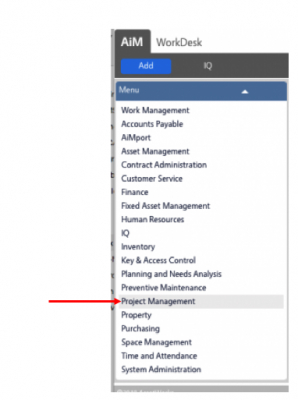 |
| On the Project Management menu, click the |
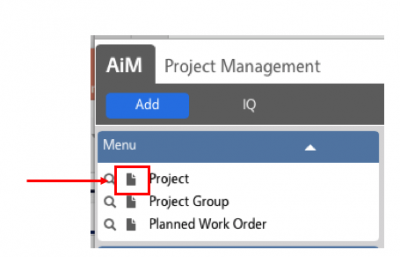 |
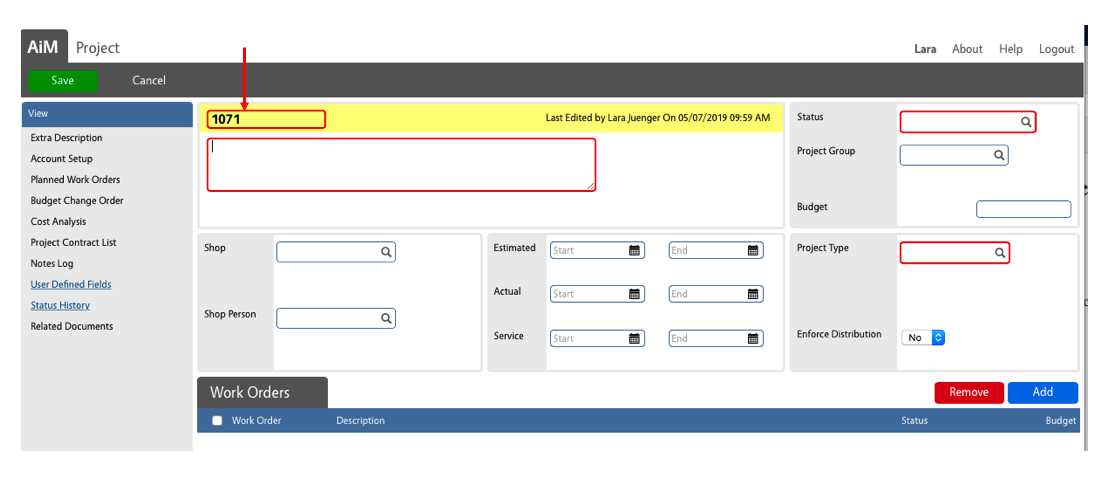
| A new Project is created in AiM and is given a default identifier. UConn does not use the default identifiers. Please contact the Facilities Operations Business Office to get the current rules and guidelines for Project Identification. In general, Project Identifiers follow these guidelines:
FO5XXXXX (For projects that are >$100,000 and/or are department funded, project ID is assigned by Project Accounting and will be FO5xxxxx.) 3XXXXX (For bond funded projects, project ID is assigned by Project Accounting and will be 3xxxxx.) TLXXXX (For projects managed by Academic Renovations, project ID will be TLxxxx.) IMFXXXXX (For projects mainly funded by IMF, project ID will be IMFxxxxx.) PFXXXXX (For projects mainly funded by Plant Funds, project ID will be PFxxxxx.) Once a project has been saved the identifier cannot be changed. |
 |
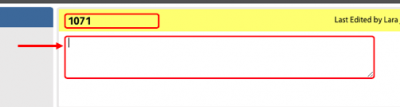
The Project Name from the intake form is written into the large text box underneath the project ID. At the time of writing, it was determined there would be no formal protocol for naming projects. |
 |
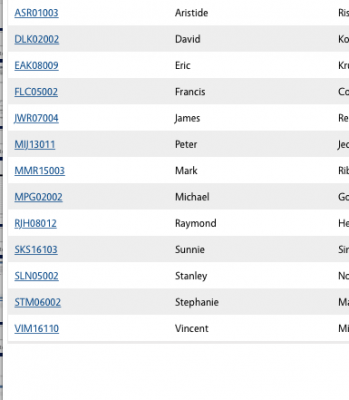
Expect the Project Manager to be listed by name on the intake form. In AiM the Project Manager will need to be found by first knowing his or her Shop (likely Management) and then picking from the list of shop members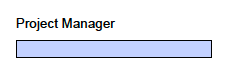
|

|
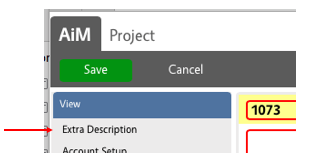
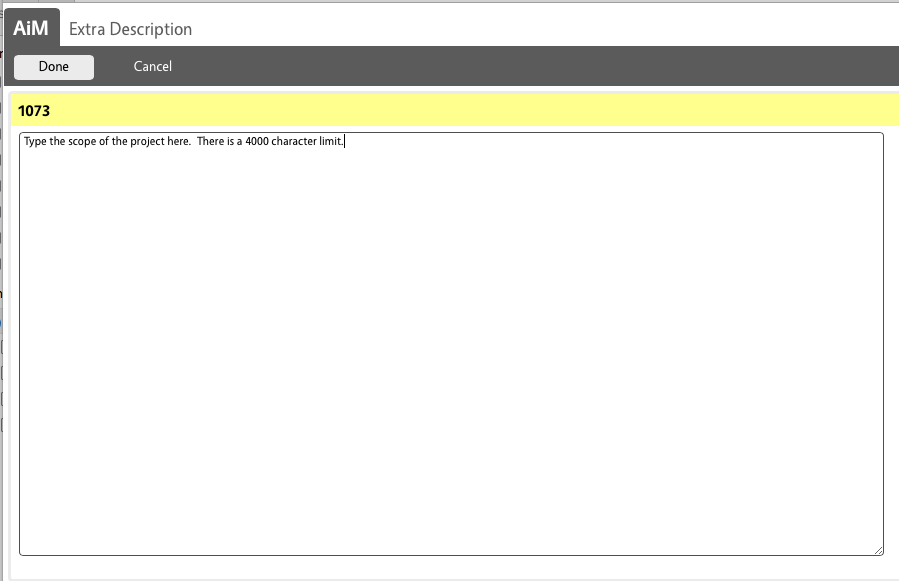
| The Project Scope is entered by clicking the Extra Description option in the View.
Enter one or two sentences of the basic Project Scope in the Extra Description Text Box and click the Done button when finished. If the Project Scope is longer copy and paste the entire text as a note on the notes log.
This truncated project scope will appear on the Facilities Operations Project List. |
|
| Enter the Estimated Start Date and Estimated End Date using the date widgets for these items on the Project Screen
|
 |
| Enter the Estimated Cost of the entire project in the Budget text box on the Project Screen
|
|
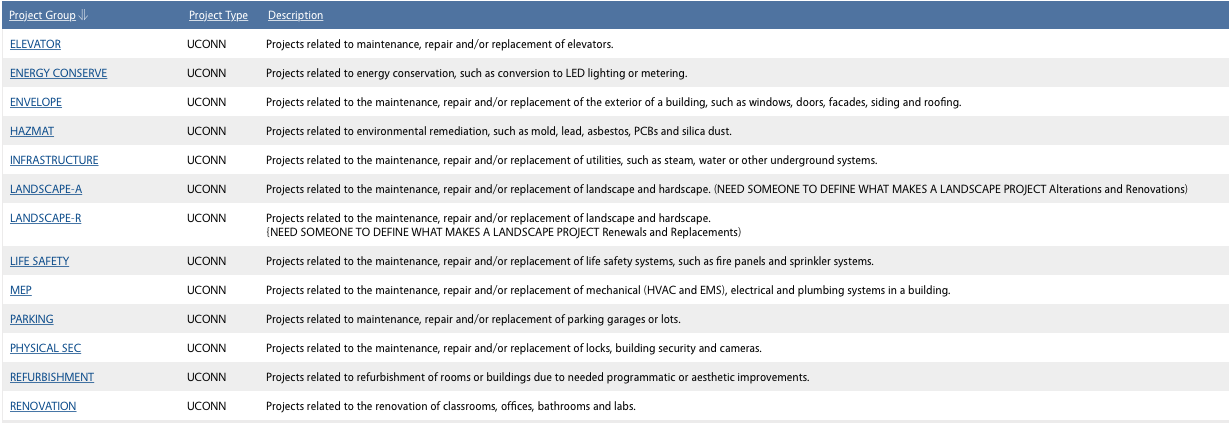
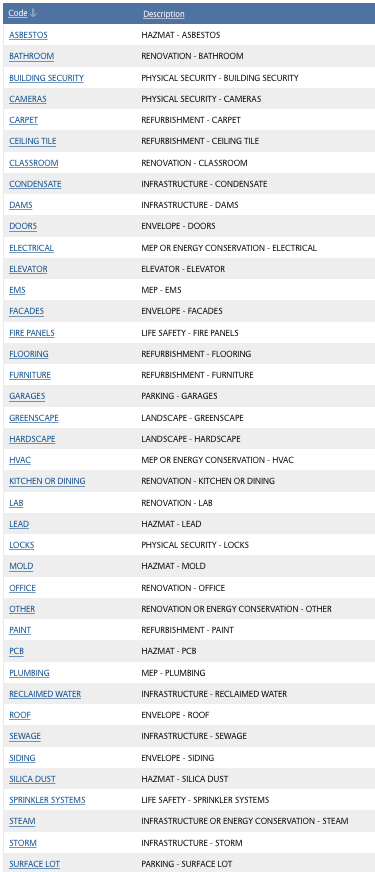
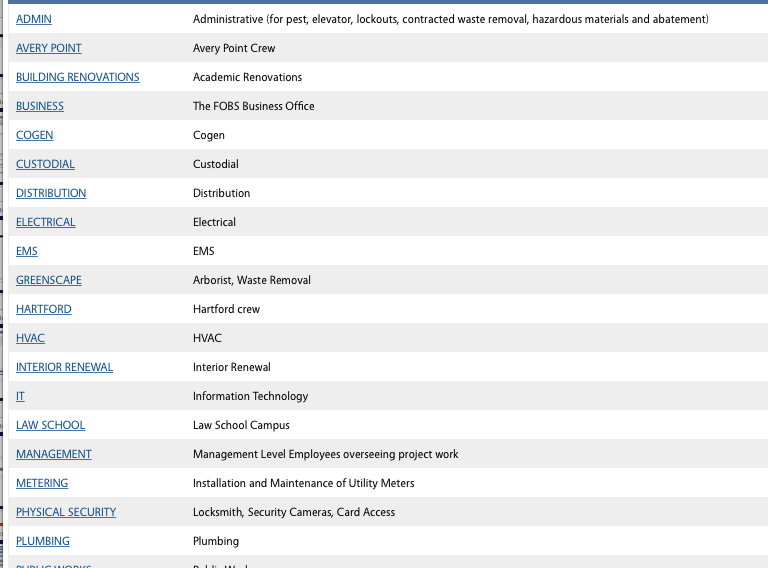
Enter the Work Type on the Intake Form using the AiM Project Group. The allowable values for Project Group are shown here. TO DO – touch base with Lara on Landscape A and Landscape B |
 |
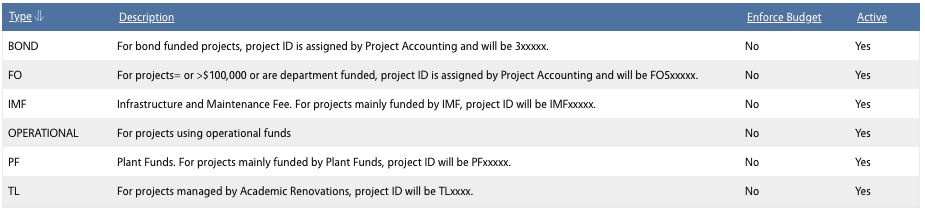
| The Project Type is determined by the Facilities Business office and cannot be found on the Project Intake form. Enter or select the Project Type from the list shown here. The Project Identifier that is entered should correlate to the specified Project Type. | 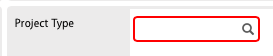
|
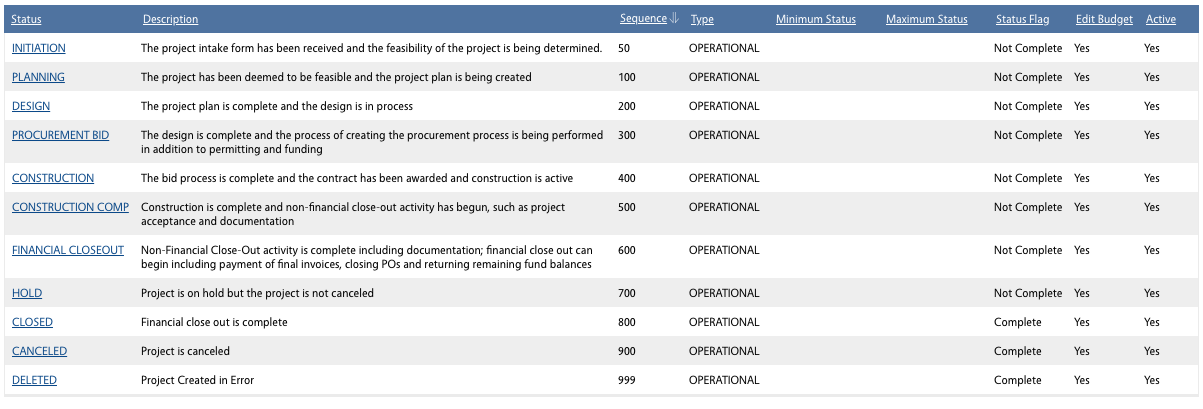
| The Project Status text box will default to “INITIATION” once the Project Type is entered in the previous step |
|
| The Project Account Setup is entered by clicking the Account Setup option in the View. | 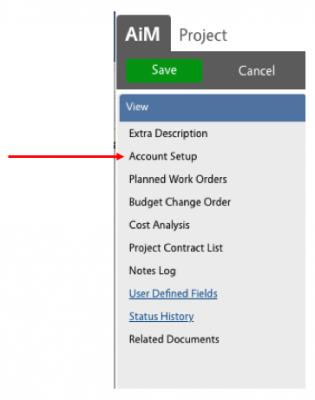 |
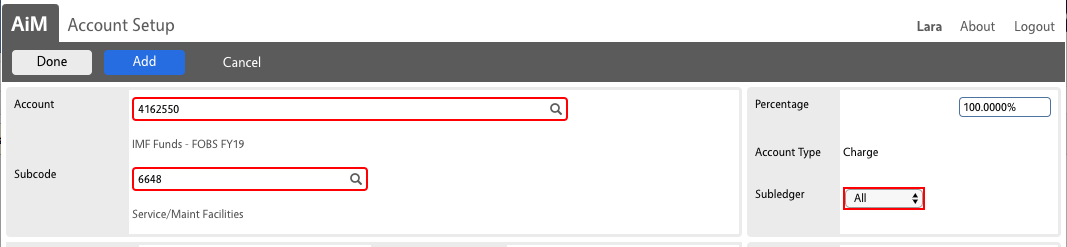
| Click the Add button associated with the Charge Section | 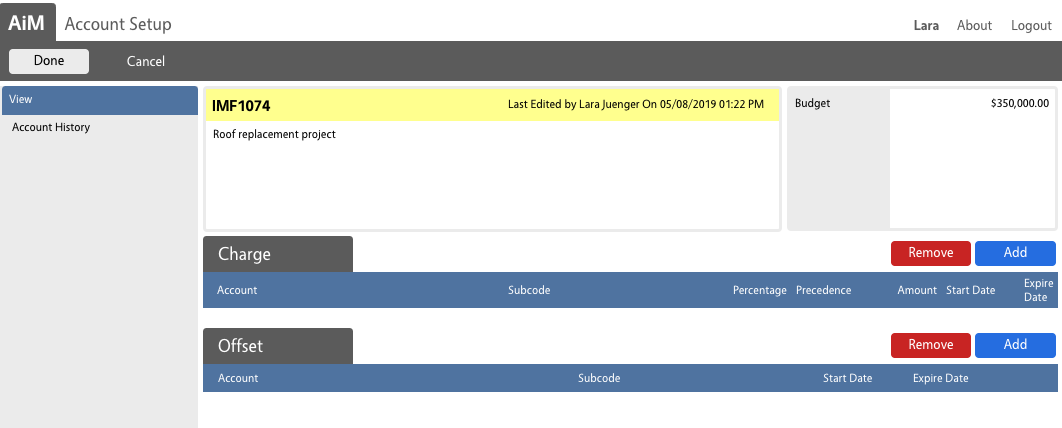 |
| Select Percentage Split and click the Next button | 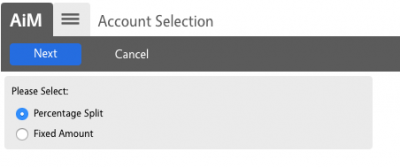 |
|
• For IMF there will be a unique KFS account number for each Fiscal Year that is used for all IMF projects– For FY20 choose 4164020 For the Charge side choose subcode 6648, subledger ALL and fill in 100 in the percentage field
Click the Done button |
 |
| Click the Add button associated with the Offset Section. Enter the Account, Subcode and Subledger = All then click the Done button | 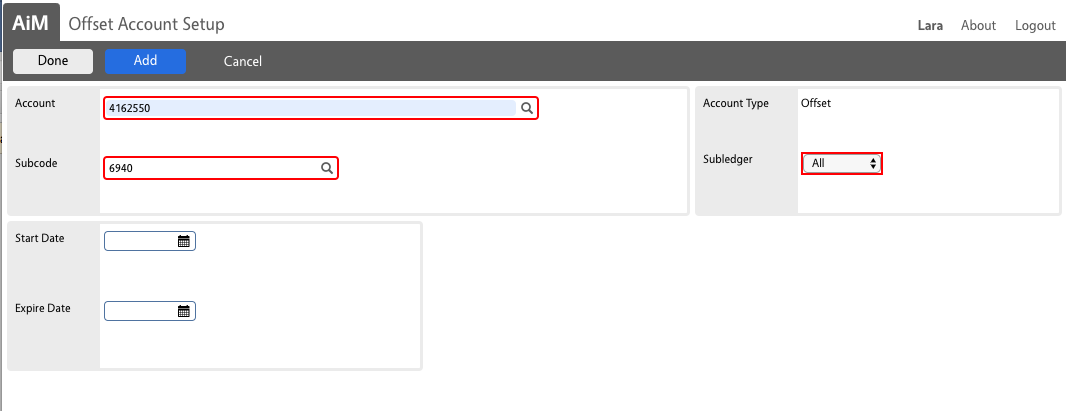 |
| Confirm the Accounting is set up in alignment with Facilities Operations process and click the Done button. | 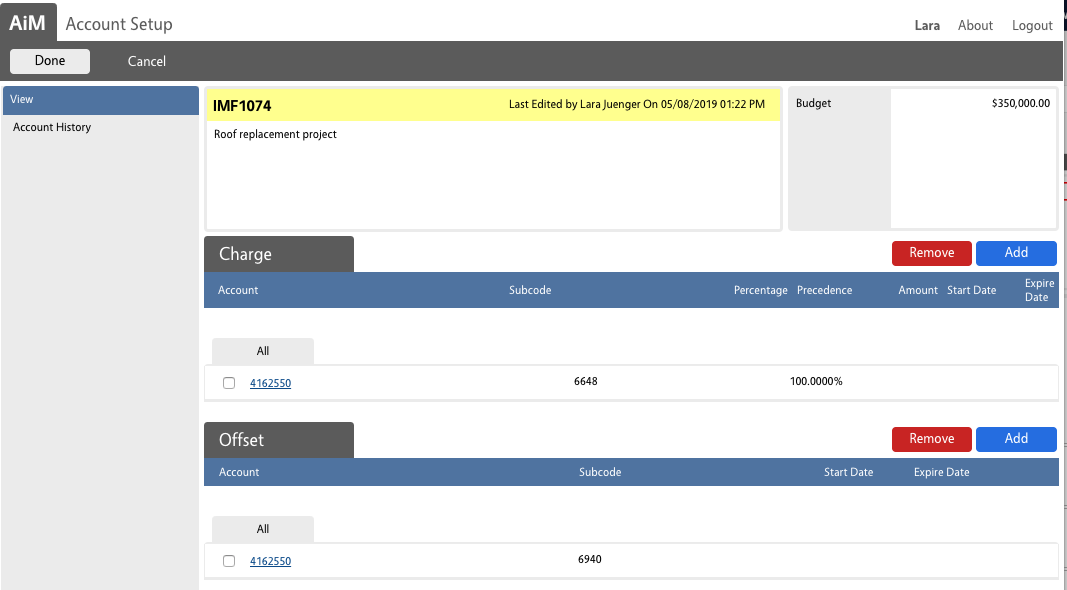 |
| There are a series of UConn specific project elements that are found in the User Defined Fields of AiM. Click the User Defined Fields link to access these fields | 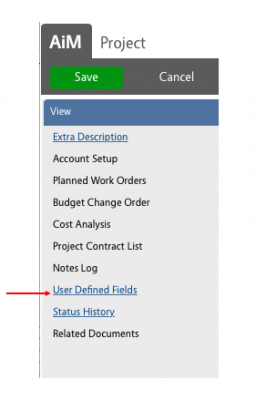 |

Work Type Sub Category can be selected from the list of valued available in the first User Defined Field
Aim cannot enforce that the Work Type Sub Category is a value associated with the Project Group. To assist you the Project Group is shown in the description along with the work type sub category. Please make sure you select a SubCategory that is acceptable in the Project Group (Work type) specified on the intake form. The intake form provides the Work Type Subcategories applicable to the specific work type that is chosen. |
 |
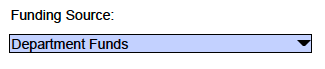
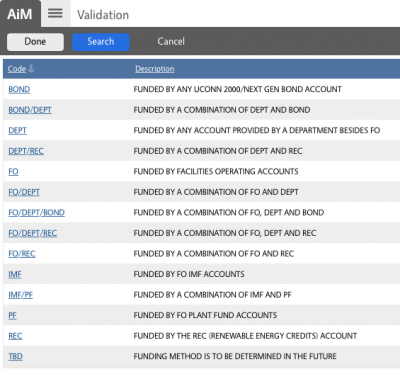
Funding source can be selected from the list of valued available in the second User Defined Field Aim cannot enforce that the Funding source selected matches aligns with the Project Type selected. Please make sure you select a funding source that aligns with the specified project type. Upon approval of the intake form, the email requesting project set up will include the Funding Source. |
 |
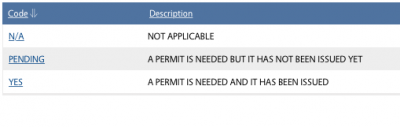
| Building Permit is the third User Defined Field with acceptable values shown to the right. Optional: If the project manager has supplied this information than this field can be filled out. |
 |
| Construction Percent Complete is a field that needs to be maintained during construction for accurate reporting. It is a numeric value and can be set to zero at the start of the project. Optional: If the project manager has supplied this information than this field can be filled out. | |
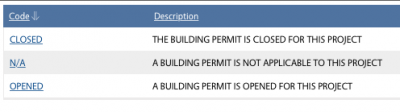
| Building Permit Open Closed is the next User Defined field with acceptable values show to the right. Optional: If the project manager has supplied this information than this field can be filled out. |
 |
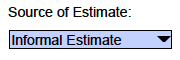
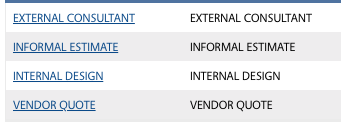
Source of Estimate is the next User Defined field with acceptable values show to the right. Enter the Source of the Estimate as follows: Vendor Quote: For quotes, proposals, estimates provided by vendors that are not engineers, designers or architects. External Consultant: For quotes, proposals, estimates provided by external engineers, designers or architects. Internal Design: For quotes, proposals, estimates provided by internal UCONN engineers, designers or architects. Informal Estimate: For estimates based on history or UCONN staff.
|
 |
| The next two User Defined fields are used together. The project coverage area is used to specify the square footage the project covers with a unit of measure of SQFT. If the project is measured by some technique other than square footage the appropriate measurement and its units should be entered here as well. Optional: If the project manager has supplied this information than this field can be filled out. | |
| There are three other User Defined Fields that can be left empty at the time of project initiation. They are explained here. |  |
| When all the User Defined Fields that need to be populated now are entered click the Done button | |
| Enter BOT Dates, MOU Dates, and any project notes to be shown on project and program reports by adding Notes. Click the Notes Log in the View. | 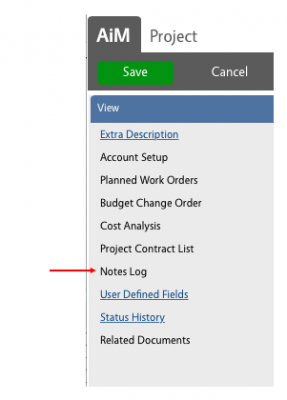 |
| The Notes Log Screen is shown here. Click the Add button to create the desire element | 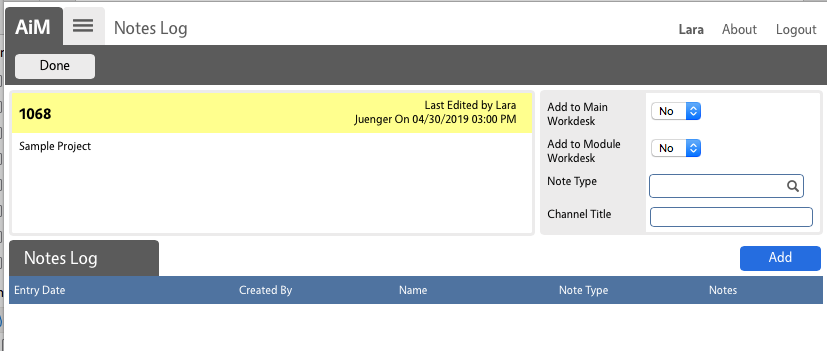 |
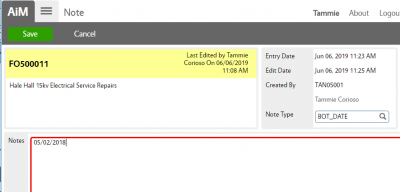
| Specify the Note Type of: MOU_DATE, BOT_DATE, or LIST_PRINT if it will be used for standard reporting. Leave the note type blank if it is just for use within the system.
For date entry use the following format: XX/XX/XXXX Click the Save button when the note is entered. |
 |
| Click the Done button when all notes have been entered. | 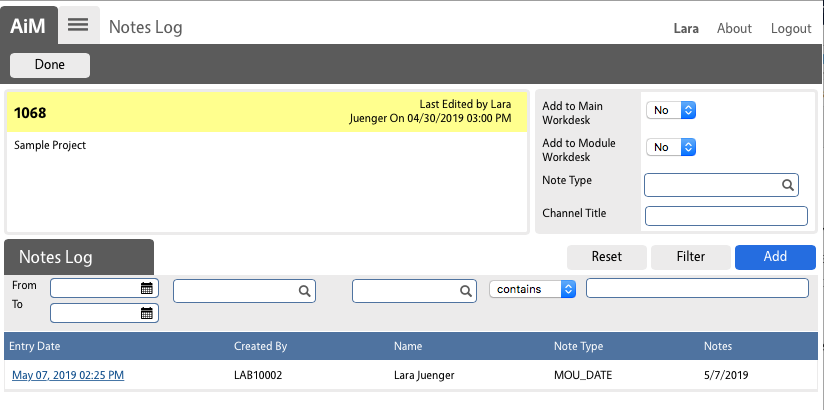 |
| Click Save button when the project information above is complete and accurate. The only value that cannot be edited after Project Creation is the Project ID. |  |

ROLES USED:
The System Administrator is responsible for managing and overseeing the Project Management module its configuration and functionality.
Return to Project Management Module SOP