 Standard Operating Procedures
Entering Timecard Data
PURPOSE:
The Timecard screen enables entry of employee work hours and/or non-work leave hours for a shop person on a given work date. One or multiple line items (work and/or leave hours) can be entered in the detail section of the screen. This would be used when time has not been captured using the AiMFire star/stop time feature against a work order. It can also be used to enter time against training. Timecards when entered will carry a Not Posted, Posted, or Rejected status. When submitted the initial status is not posted. In the timecard approval function they can either be accepted or rejected.
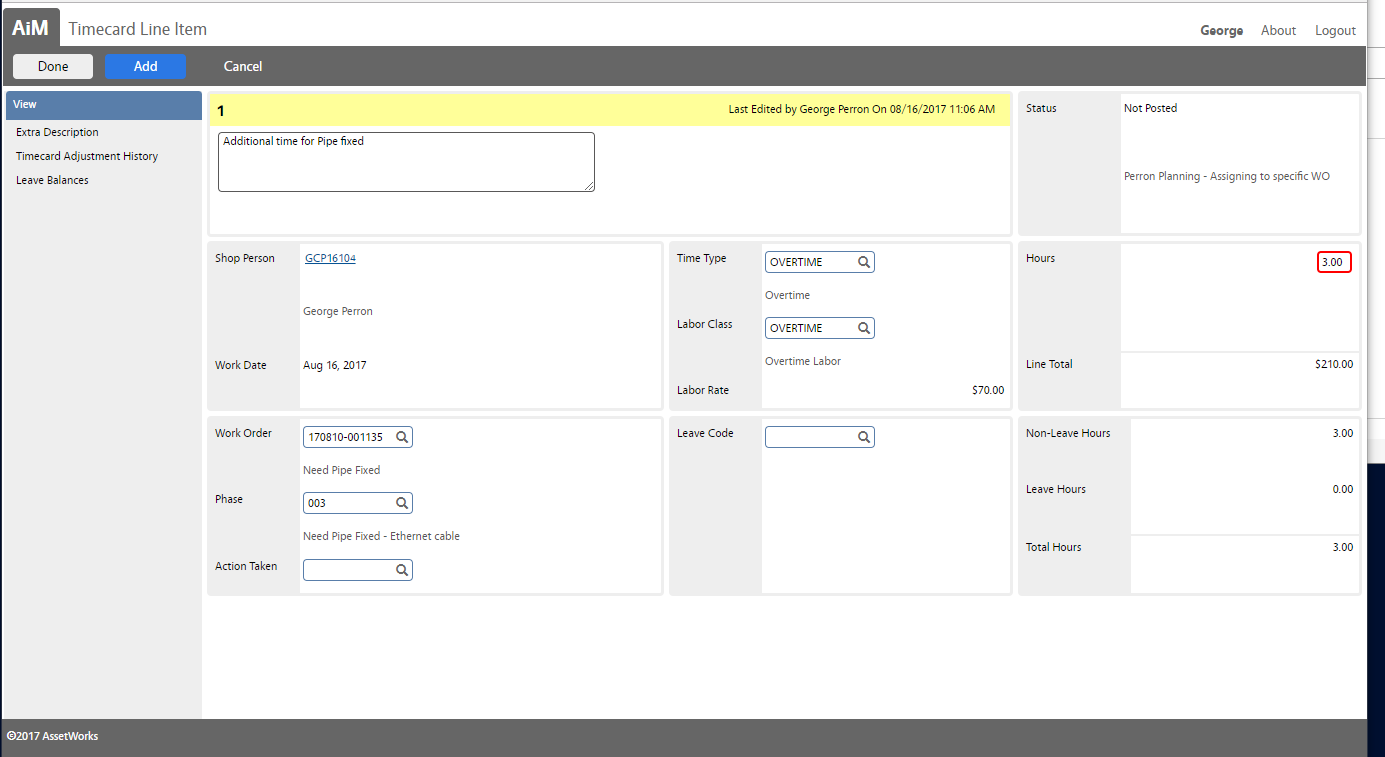
* The time type and labor class are necessary for charging a shop employee’s time against a work order phase. For each shop employee a default time type and labor class is defined.
- The Time Type is the category of time based upon the number of hours worked and when the hours are worked.
- The Labor class is a job classification of the type of work a shop employee does.
| Status Flag | Actions |
| Not Posted | The parent Timecard is still being processed and has not yet been approved. No labor charges have been placed against a phase. |
| Posted | The Timecard transaction has been approved and posted. Labor charges are placed against a phase. |
| Rejected | This status indicates that the parent Timecard was not allowed (approved) by the Timecard approver as a valid Timecard transaction. Rejected Timecards do not create financial transactions. Rejected Timecards can be corrected and then approved. |
PROCEDURE:
| 1. Navigate to the Time and Attendance module on the main menu. | 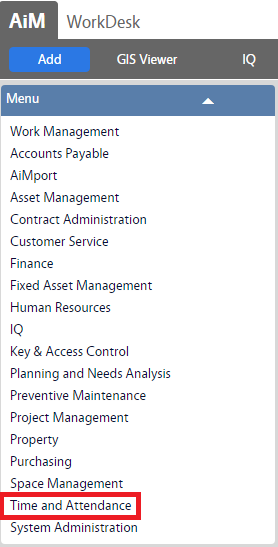 |
| 2. Navigate to the Time and Attendance screen and click the link to Timecard. | 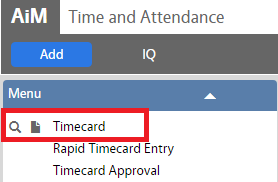 |
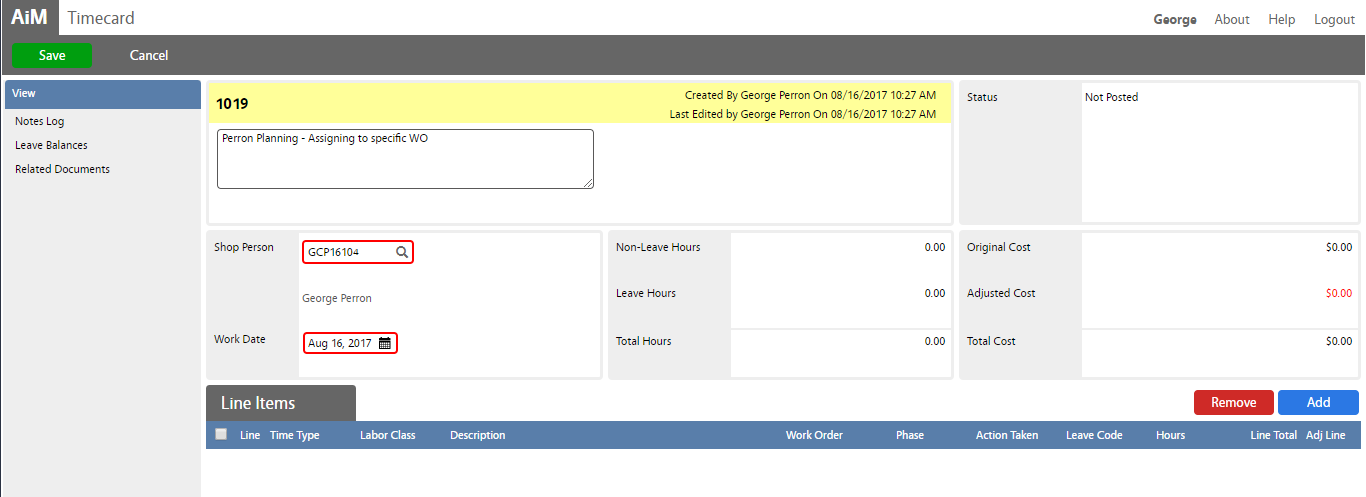
| 3. Click New to create a new Timecard entry. |  |
| 4. Enter Description and NetID of shop person (you can also use the search to find). Select the Work Date (only one work date per time card – limit 24 hours of time per day).
5. Click Add to add line items. |
 |
| 6. On this screen do the following:
|
 |
| 7. Press Save to save the TimeCard entry. | 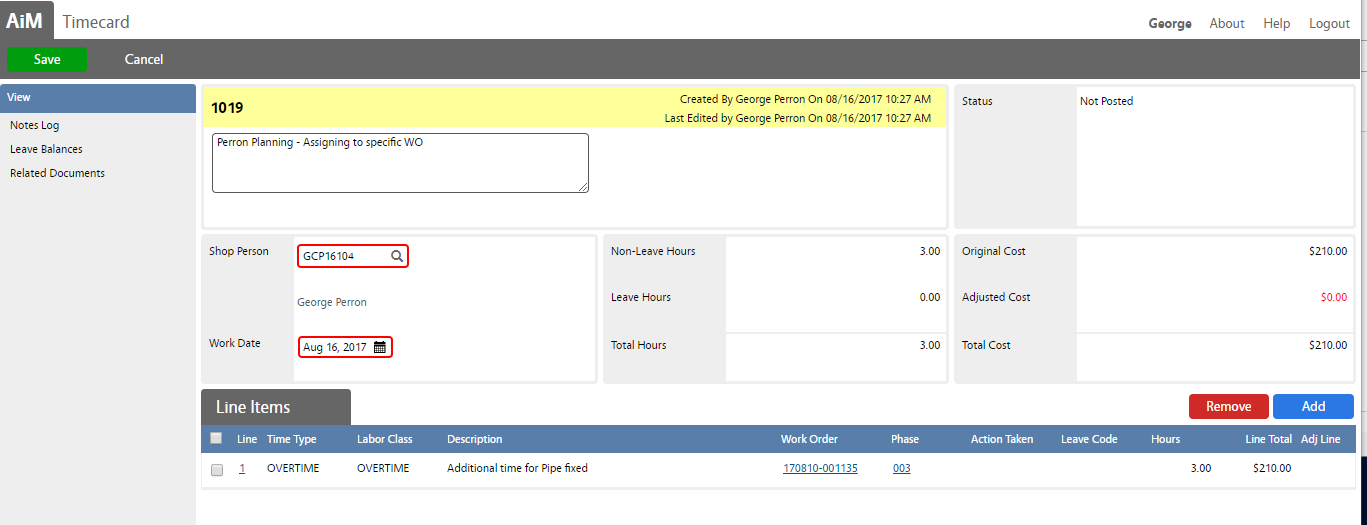 |
ROLES USED:
- System Administration:
System Administrator is responsible for managing and overseeing the Time and Attendance module its configuration and functionality. . The System Administration also shall assist and train functional users to use Timecard screen as well as entering labor hours on the Fire app (iPads).
2. Supervisor:
Supervisor shall review technicians labor hours and approve/reject their Timecards.
3. Technician:
Technicians shall create Timecards by entering labor hours for every work order phase on the Fire app.
Return to Time and Attendance Module SOP