 Standard Operating Procedures
Managing Purchase Request in AiM
PURPOSE:
A Purchase Request is created whenever materials or service are required to support work for a single work order phase. Purchase Requests are initiated within a Work Order Phase. A Purchase Request in AIM that has been APPROVED transmits to KFS to become a Requisition. This method of purchasing for a single work order phase is necessary when the Vendor is not a Catalog Vendor in HuskyBuy.
PROCEDURE:
| 1. Navigate to the Work Management module on the main menu. | 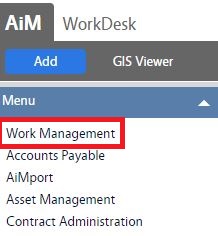 |
| 2. Click on Work Management and click the glass magnifier next to Work Order | 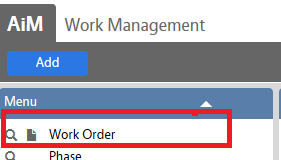 |
| 3. Enter the Work Order number in the Work Order field and click Execute | 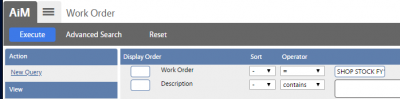 |
| 4. Click on the Work Order Number | 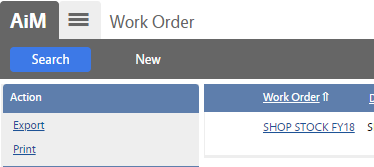 |
| 5. Click on the Phase | 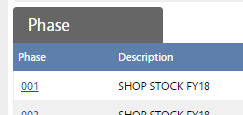 |
| 6. In the Phase, select Purchase Request link on menu. | 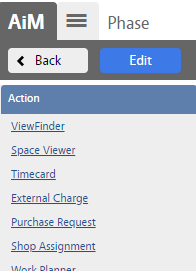 |
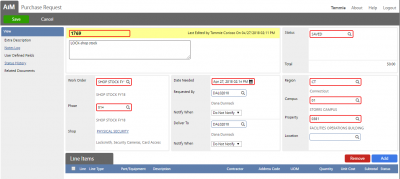
| 7. The following screens autopopulated:
Work Order, Phase, Location, Status=Saved |
 |
8. In Purchase Request Screen:
Then click ADD to add line items |
 |
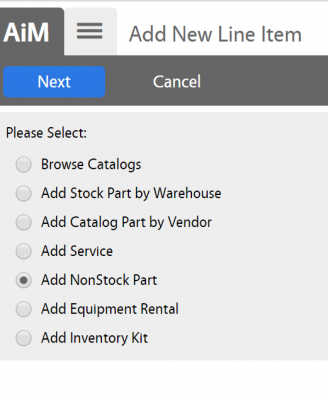
| 9. To enter a materials line item, Add Line Items: Add NonStock Part
10. Click Next
|
 |
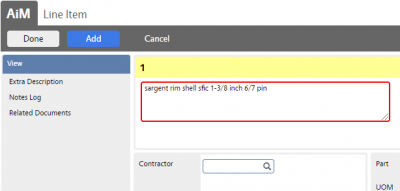
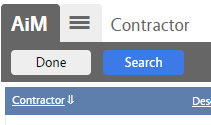
| 11. Enter Description and click on the magnifying glass in the Contractor field and click Search
|
  |
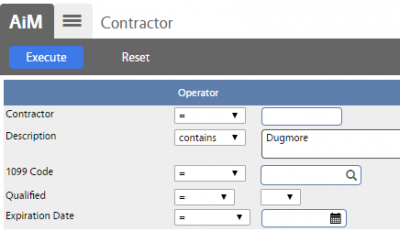
| 12. Type in the main portion of the Contractor name in the Description filed and Click Execute.
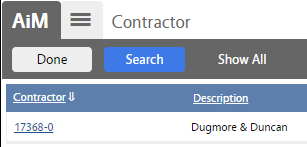
13. Click on Contractor Number |
  |
| 14. Add Part Number
15. Add Unit of Measure (UOM) 16. Enter Commodity Code 17. Enter Quantity 18. Enter Unit Cost 19. Click Add if additional lines 20. Click Done if all lines have been added |
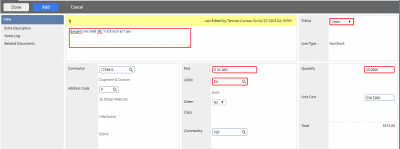 |
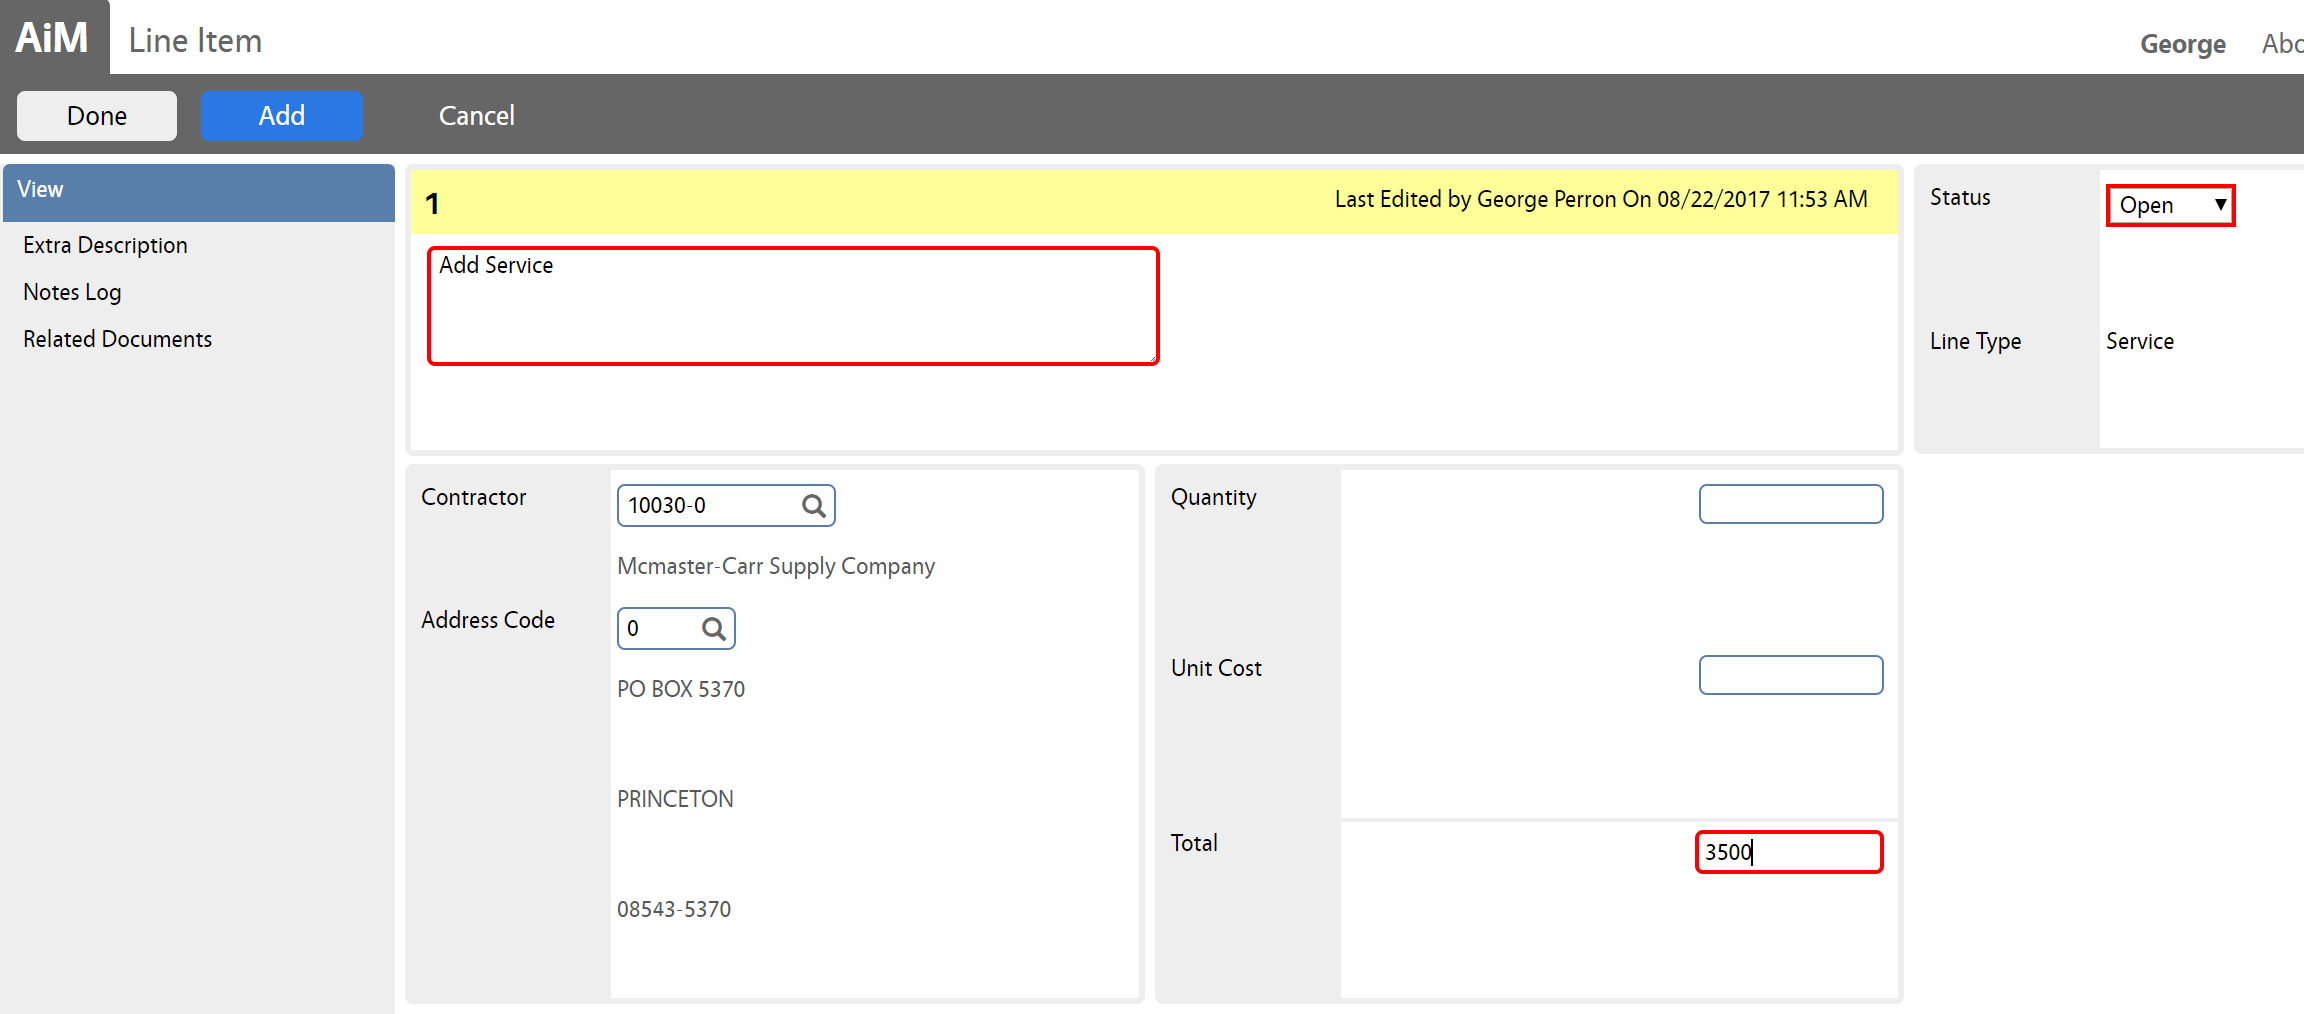
| 21. When Adding Service: select Add Service | 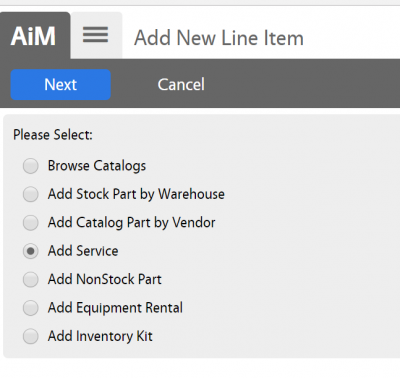 |
| 22. Add Description
23. Select Vendor 24. Add Total 25. Click Add if additional items or Done if complete 26. Click Save |
 |
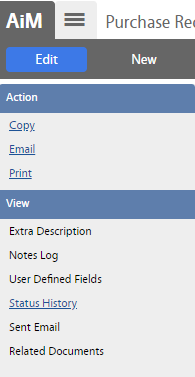
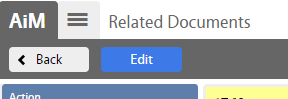
| 27. To Attach Quote click on Related Documents, click Edit
|
  |
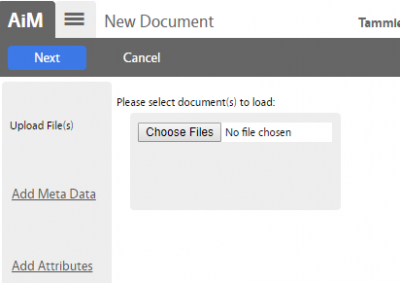
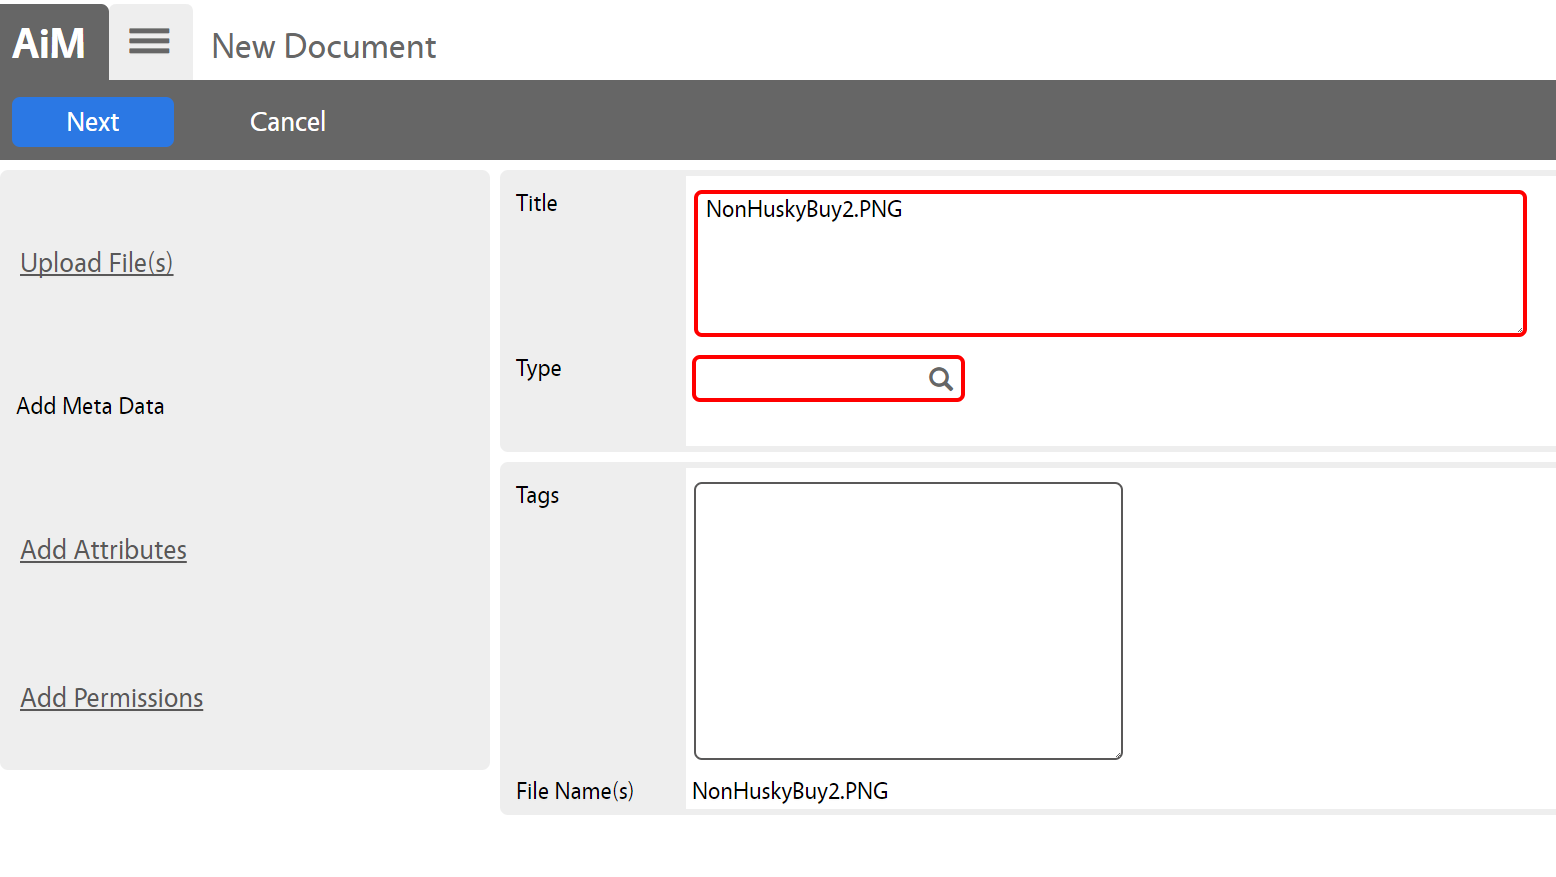
| 28. Select ADD
29. Select Choose Files
30. Select file (saved on local device)
31. Click Next |
  |
| 32. Click on the Magnifying Glass in the Type field
|
|
| 33. Select General | 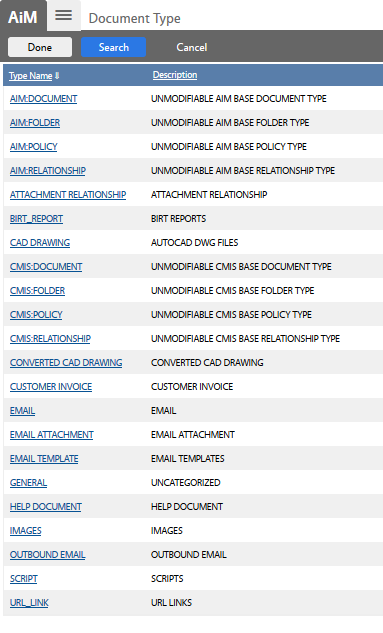 |
| 34. Click Save | 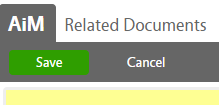 |
| 35. Click Back | 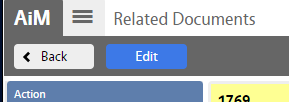 |
| 36. Click Edit | 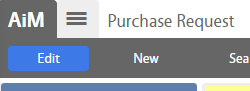 |
| 37. Click on the Magnifying Glass in the Status Field |  |
| 38. Change Status to APPROVED and click Save to complete. | 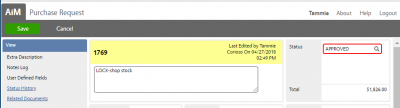 |
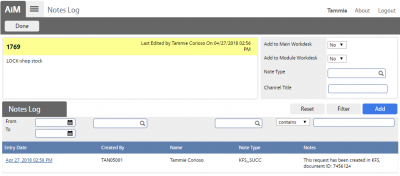
| 39. The STATUS will automatically change to ENROUTE.
Click Notes Log and verify an edoc number exists which indicates a successful transmission to KFS.
|
 |
ROLES USED:
Finance:
Return to Finance Module SOP