 Standard Operating Procedures
Account Management
PURPOSE:
[TODO:FOBS]
PROCEDURES:
Initial Configuration
Account Revision after initial configuration
| Description |
Screen |
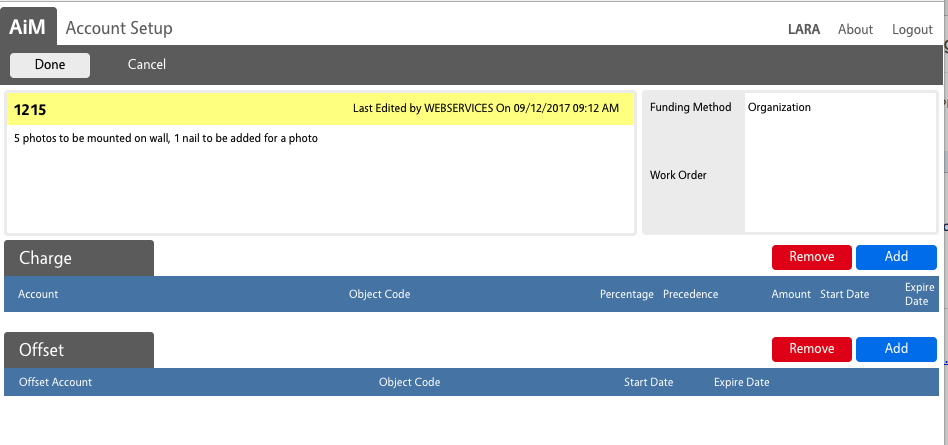
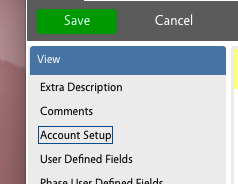
| 1. Navigate to the Account Setup form by clicking that option in the View menu. |
 |
| 2. To initially configure any accounting information on and AiM object (e.g.,Work Order, Phase, Shop, Project, etc), go to the Account Setup Screen click the Add button in the Charge Section. |
 |
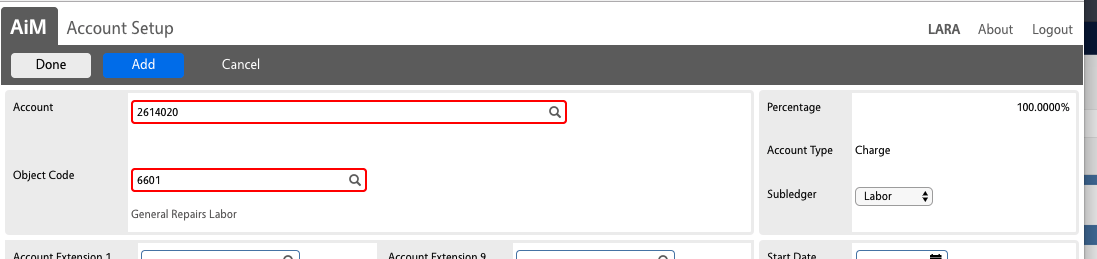
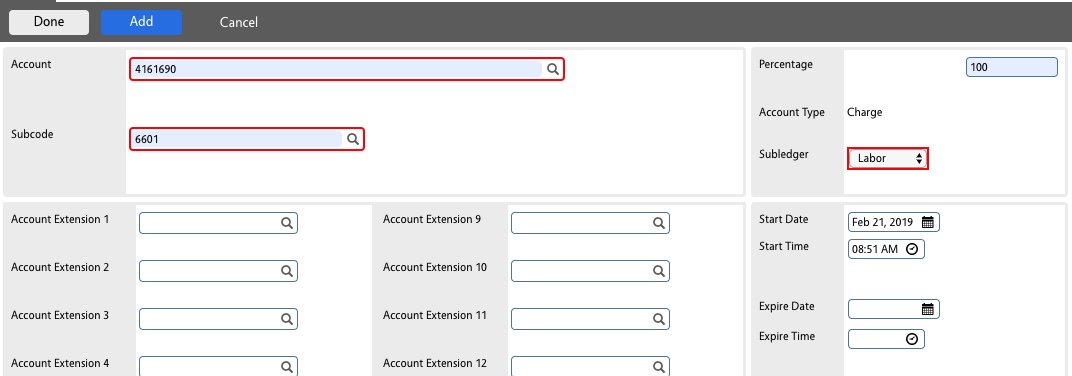
| 3. In the Account text box enter the KFS Account number as appropriate for the object (e.g.,Work Order, Phase, Shop, Project, etc)
In the Object Code text box enter 6601
In the Subledger drop down select Labor, then click the Done button. |
 |
| 4. On the Account Setup Screen click the Add button in the Charge Section. (This is the second time doing this step). You will return to the Account Setup screen.
This time around:
In the Account text box enter the KFS Account number as appropriate for the object (e.g.,Work Order, Phase, Shop, Project, etc)
In the Object Code text box enter 6768.
In the Subledger drop down select Material, then click the Done button. |
 |
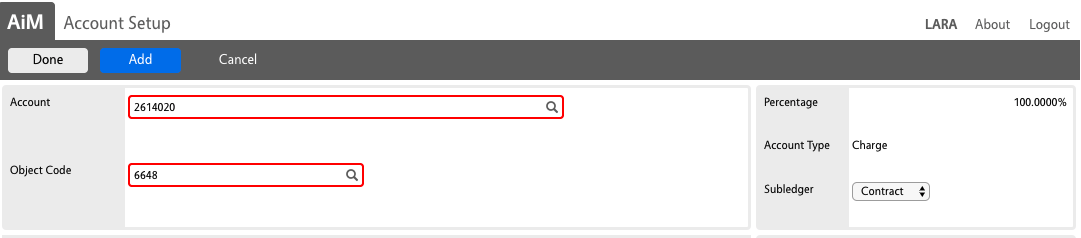
| 5. On the Account Setup Screen click the Add button in the Charge Section. (This is the third time doing this step). You will return to the Account Setup screen.
This time around:
In the Account text box enter the KFS Account number as appropriate for the object (e.g.,Work Order, Phase, Shop, Project, etc)
In the Object Code text box enter 6648.
In the Subledger drop down select Contract, then click the Done button. |
 |
| 6. Back on the Account Setup Screen click the Add button in the Offset Section. |
 |
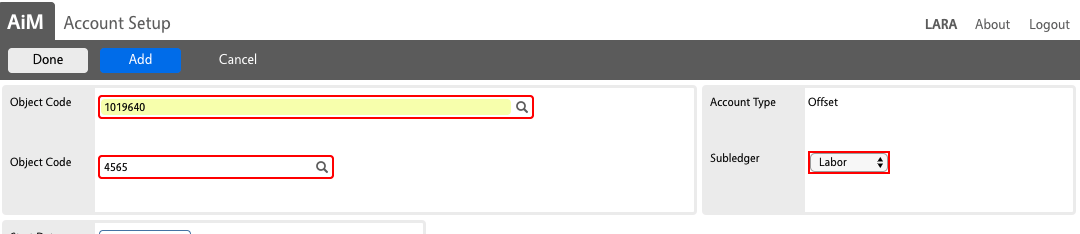
| 7. There appears to be a bug on this screen. The first Label reads Object Code but enter the FOBS Account as appropriate for the object (e.g.,Work Order, Phase, Shop, Project, etc) and 4565 in the Object Code.
In the Subledger drop down select Labor.
Click the Add button
|
 |
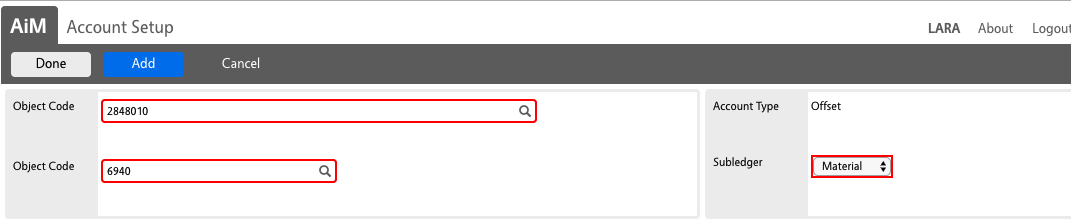
| 8. In the Account text box enter the KFS Account number as appropriate for the object (e.g.,Work Order, Phase, Shop, Project, etc)
In the Object Code text box enter 6940.
In the Subledger drop down select Materials, then click the Add button |
 |
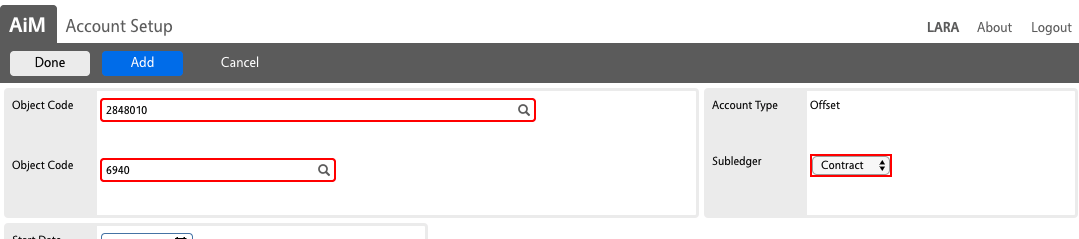
| 9. In the Account text box enter the KFS Account number as appropriate for the object (e.g.,Work Order, Phase, Shop, Project, etc)
In the Object Code text box enter 6940.
In the Subledger drop down select Contract, then click the Done button. |
 |
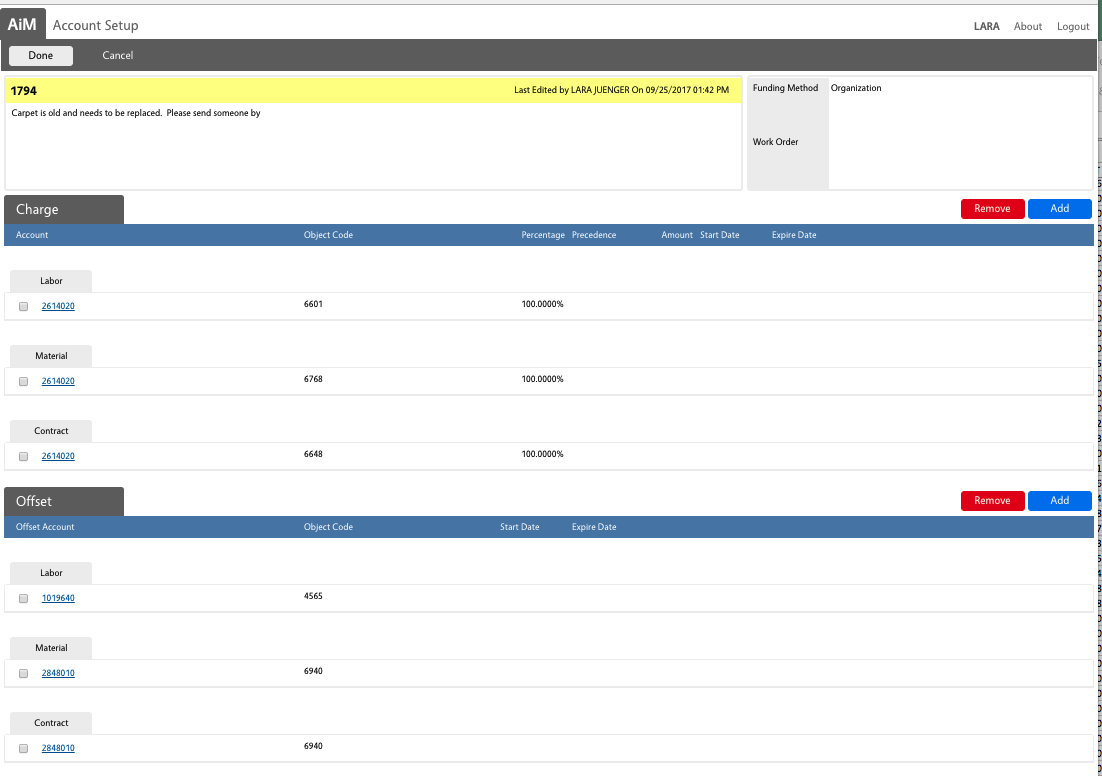
| 10. Upon return to the Account Setup Screen, confirm the accounts and object codes are correct and click the Done button. |
 |
| Description |
Screen |
| 1. When the accounts need to change during the lifecycle of a particular object ((e.g.,Work Order, Phase, Shop, Project, etc) enter Edit mode for that particular object and then select the Account Setup link in the View Menu |
 |
| 2. Click the link for the account that has expired |
 |
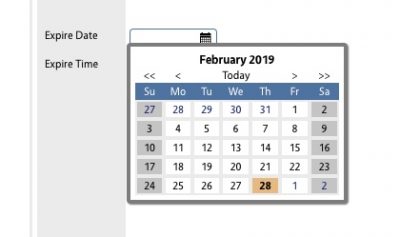
| 3. Go to the Date block on the screen. See that there is no Expire Date set |
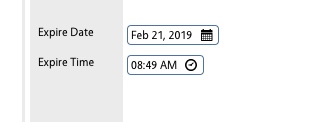
|
| 4. Use the Calendar Widget or type the Expire Date and Expire Time into the corresponding boxes. |
|
| 5. Click the Done button |
 |
| 6. On the main Account Screen click the Add button |
 |
| 7. Confirm the Percentage Split radio button is selected (this is the most likely option at UConn). Click the Next button. |
 |
| 8. Complete the setup of the account per the regular Standard Operating Procedures for Account setup, making sure to set Start Date and Start Time to match the Expire Date and Expire Time of the account that expired |
 |
| 9. Click the Done button and you will see the two accounts, one with an expiration date, on the Accounts screen |
 |
| 10. Save all of your changes to the particular object ((e.g.,Work Order, Phase, Shop, Project, etc) |
|
ROLES USED:
1. Operations Admin
2. Finance
3. Others?
Return to Cross Module SOPS