 Standard Operating Procedures
Executing an Inspection
PURPOSE:
Inspections are a tool in AiM to guide users through a predefined list of items and identify problems and track corrective measures. Inspections can be used to track deficiencies as well as escalate or refer work to another entity.
PROCEDURE:
All inspections are made up of:
|
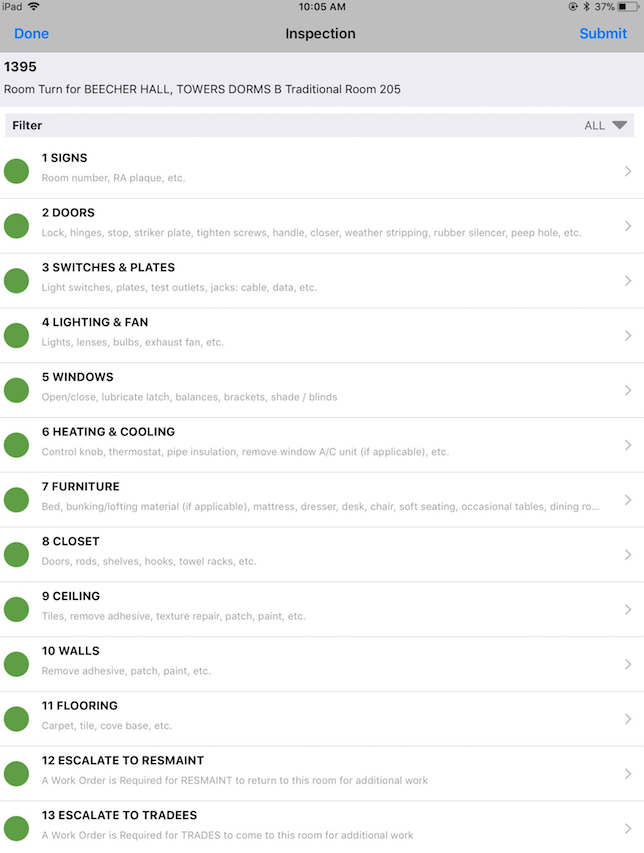 |
| The top bar gives options to save the current inspection.
Click Done whenever the current inspection session is complete BUT work still remains on the inspection. Click Submit whenever the current inspection is done and no work remains for the Inspector or Inspection team.
|
 |
| On the Inspection Screen, clicking the right arrow on the right end of any inspection line navigates to the details of that line.
Clicking on inspection line 9 below takes the user to the details shown to the right |
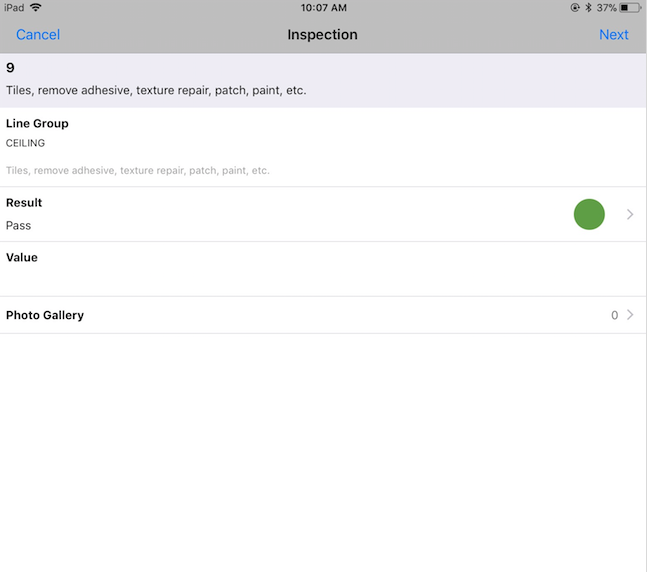 |
| If the inspection item is fine and no repairs or work needs to be performed now or in follow up no action is needed. If immediate or follow up work is required click the right arrow on the result line to get to the Inspection Results screen. | 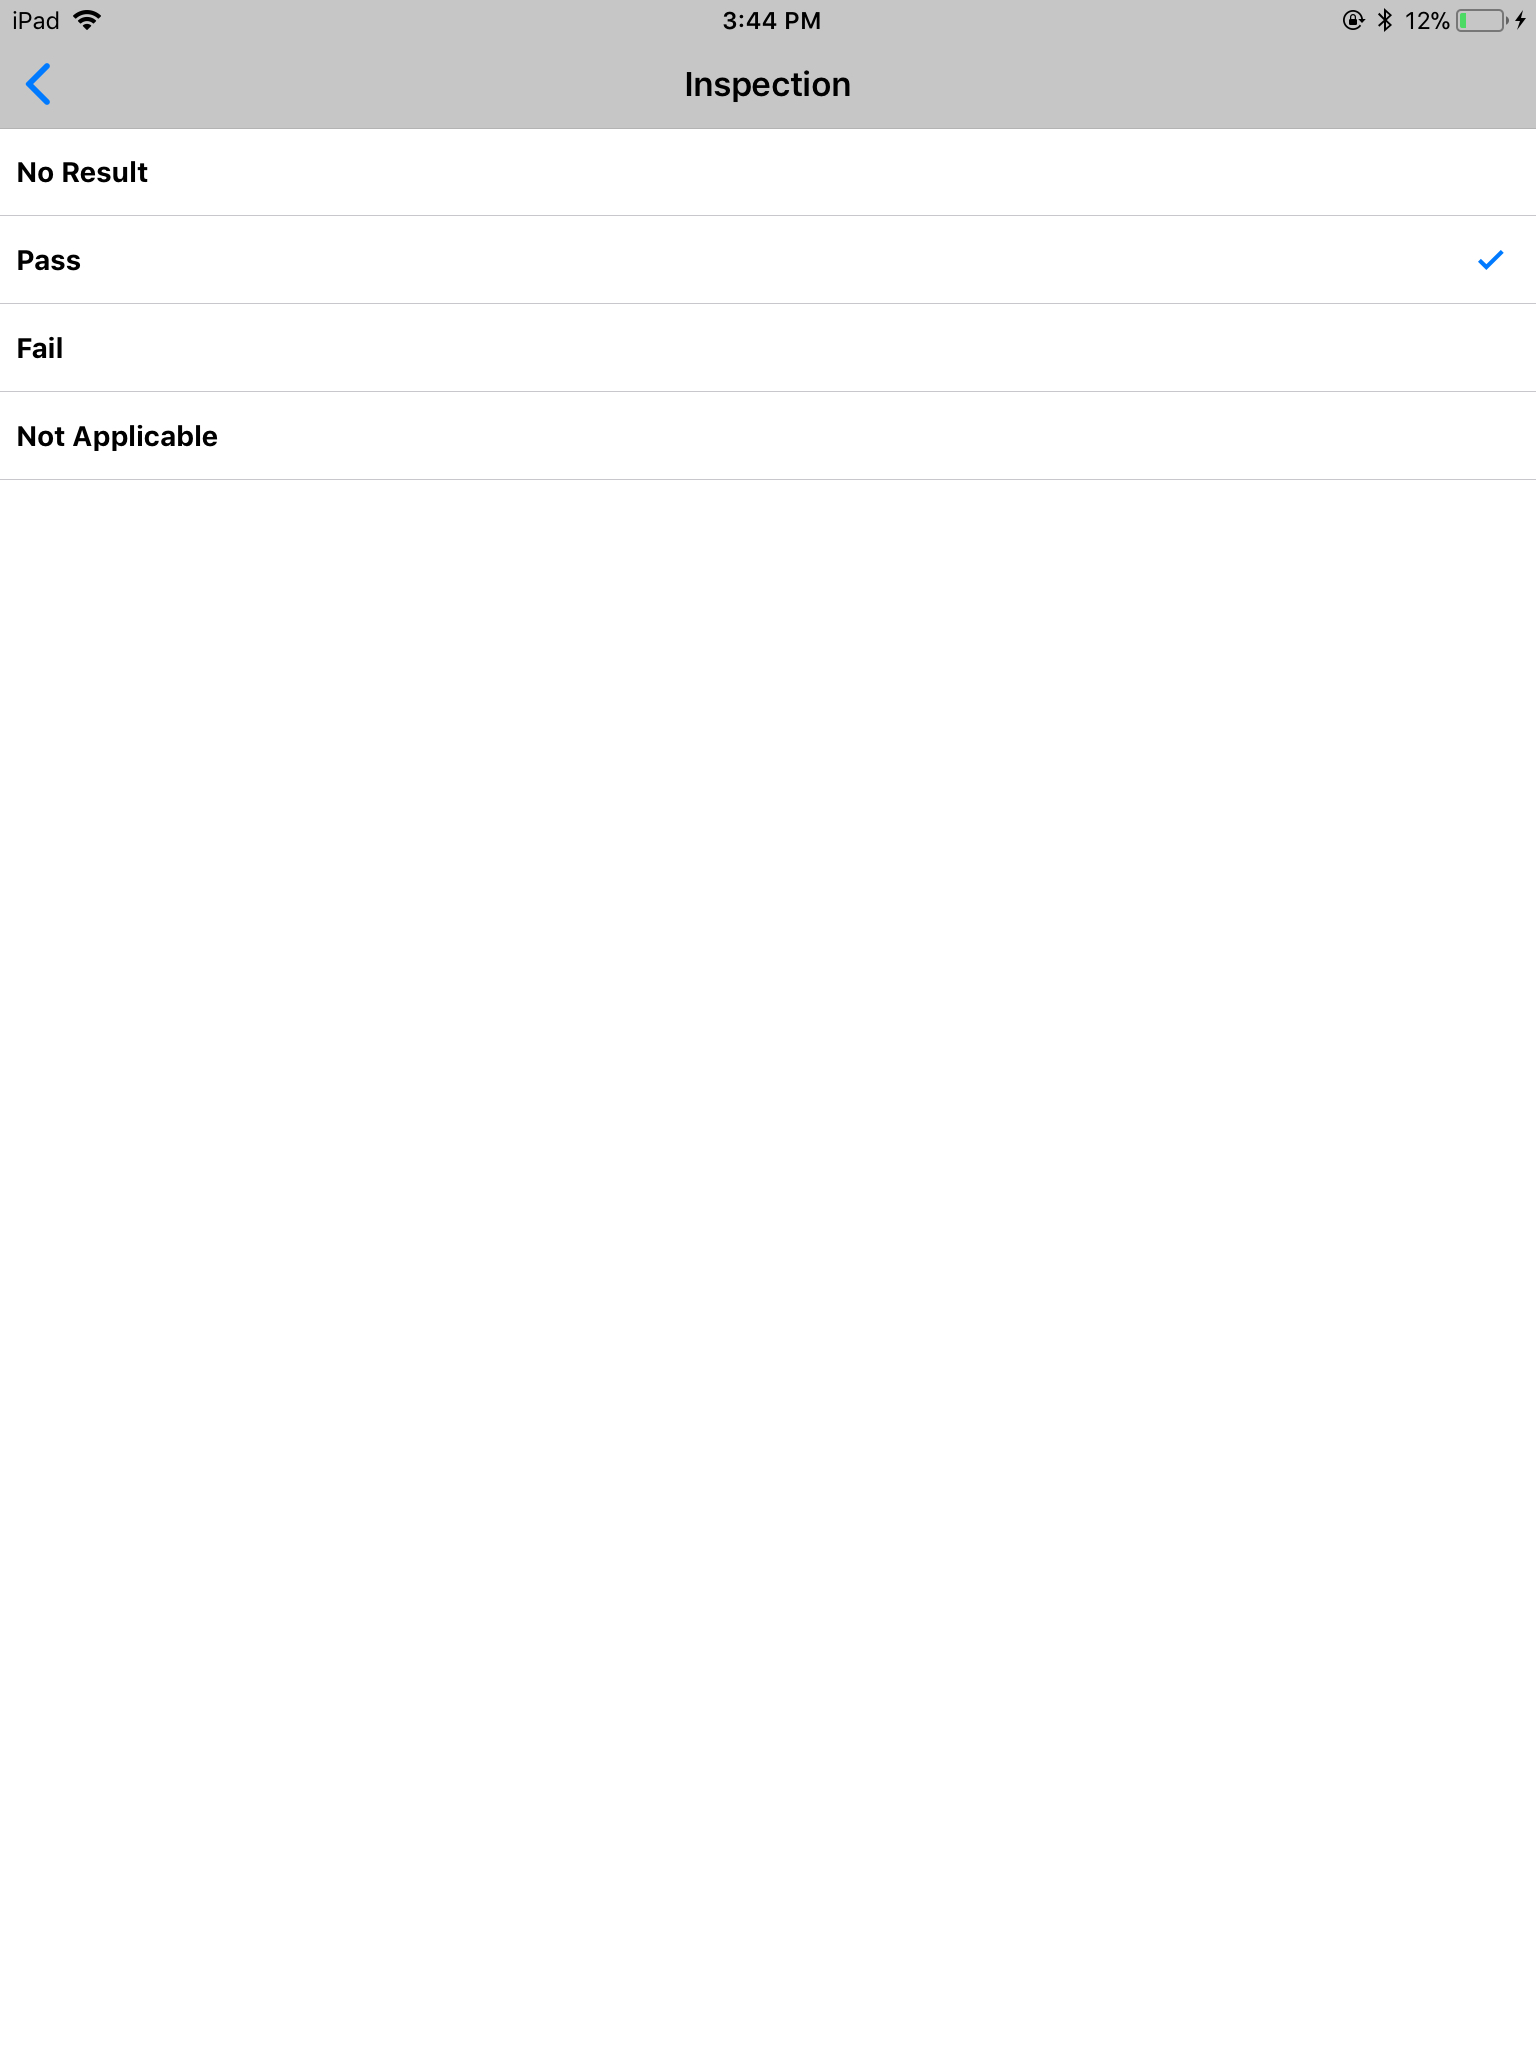 |
| Select Fail to track all items in a failed, damaged or in need of correction state. The system displays an Alert box that asks “Do you wish to add remedial actions?”. Click the Yes Option. | 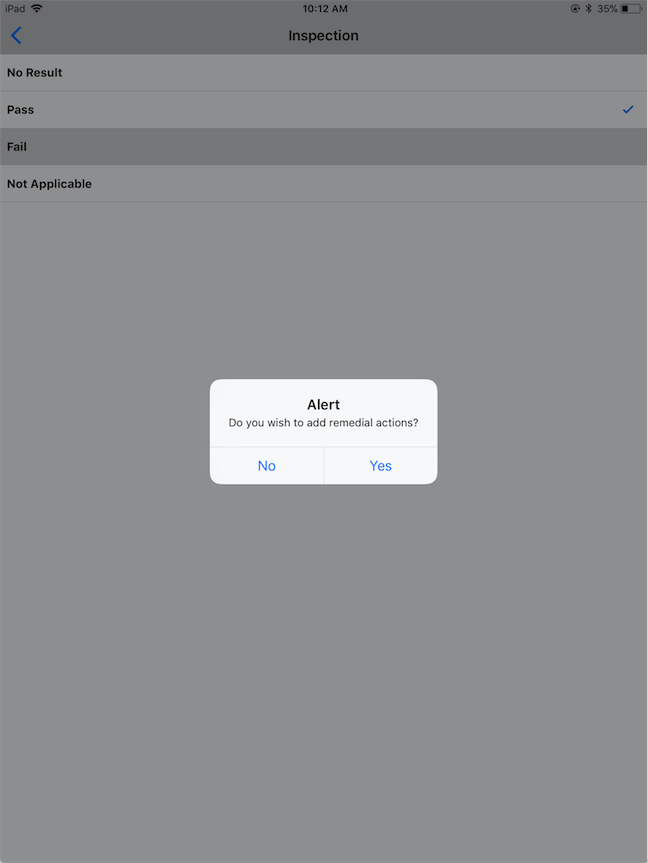 |
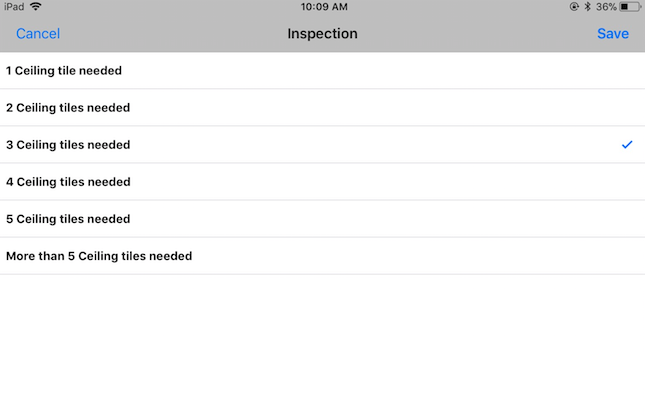
| A predefined list of remedial actions is displayed. Click one option for items that have only one obvious choice. The example to the right gives choices of a specific number of tiles to bring back to the room. Choose only one option in this case.
|
 |
| More than one option can be selected when the appropriate. The example to the right gives choices that are independent of each other. If necessary choose more than one option in this case. | 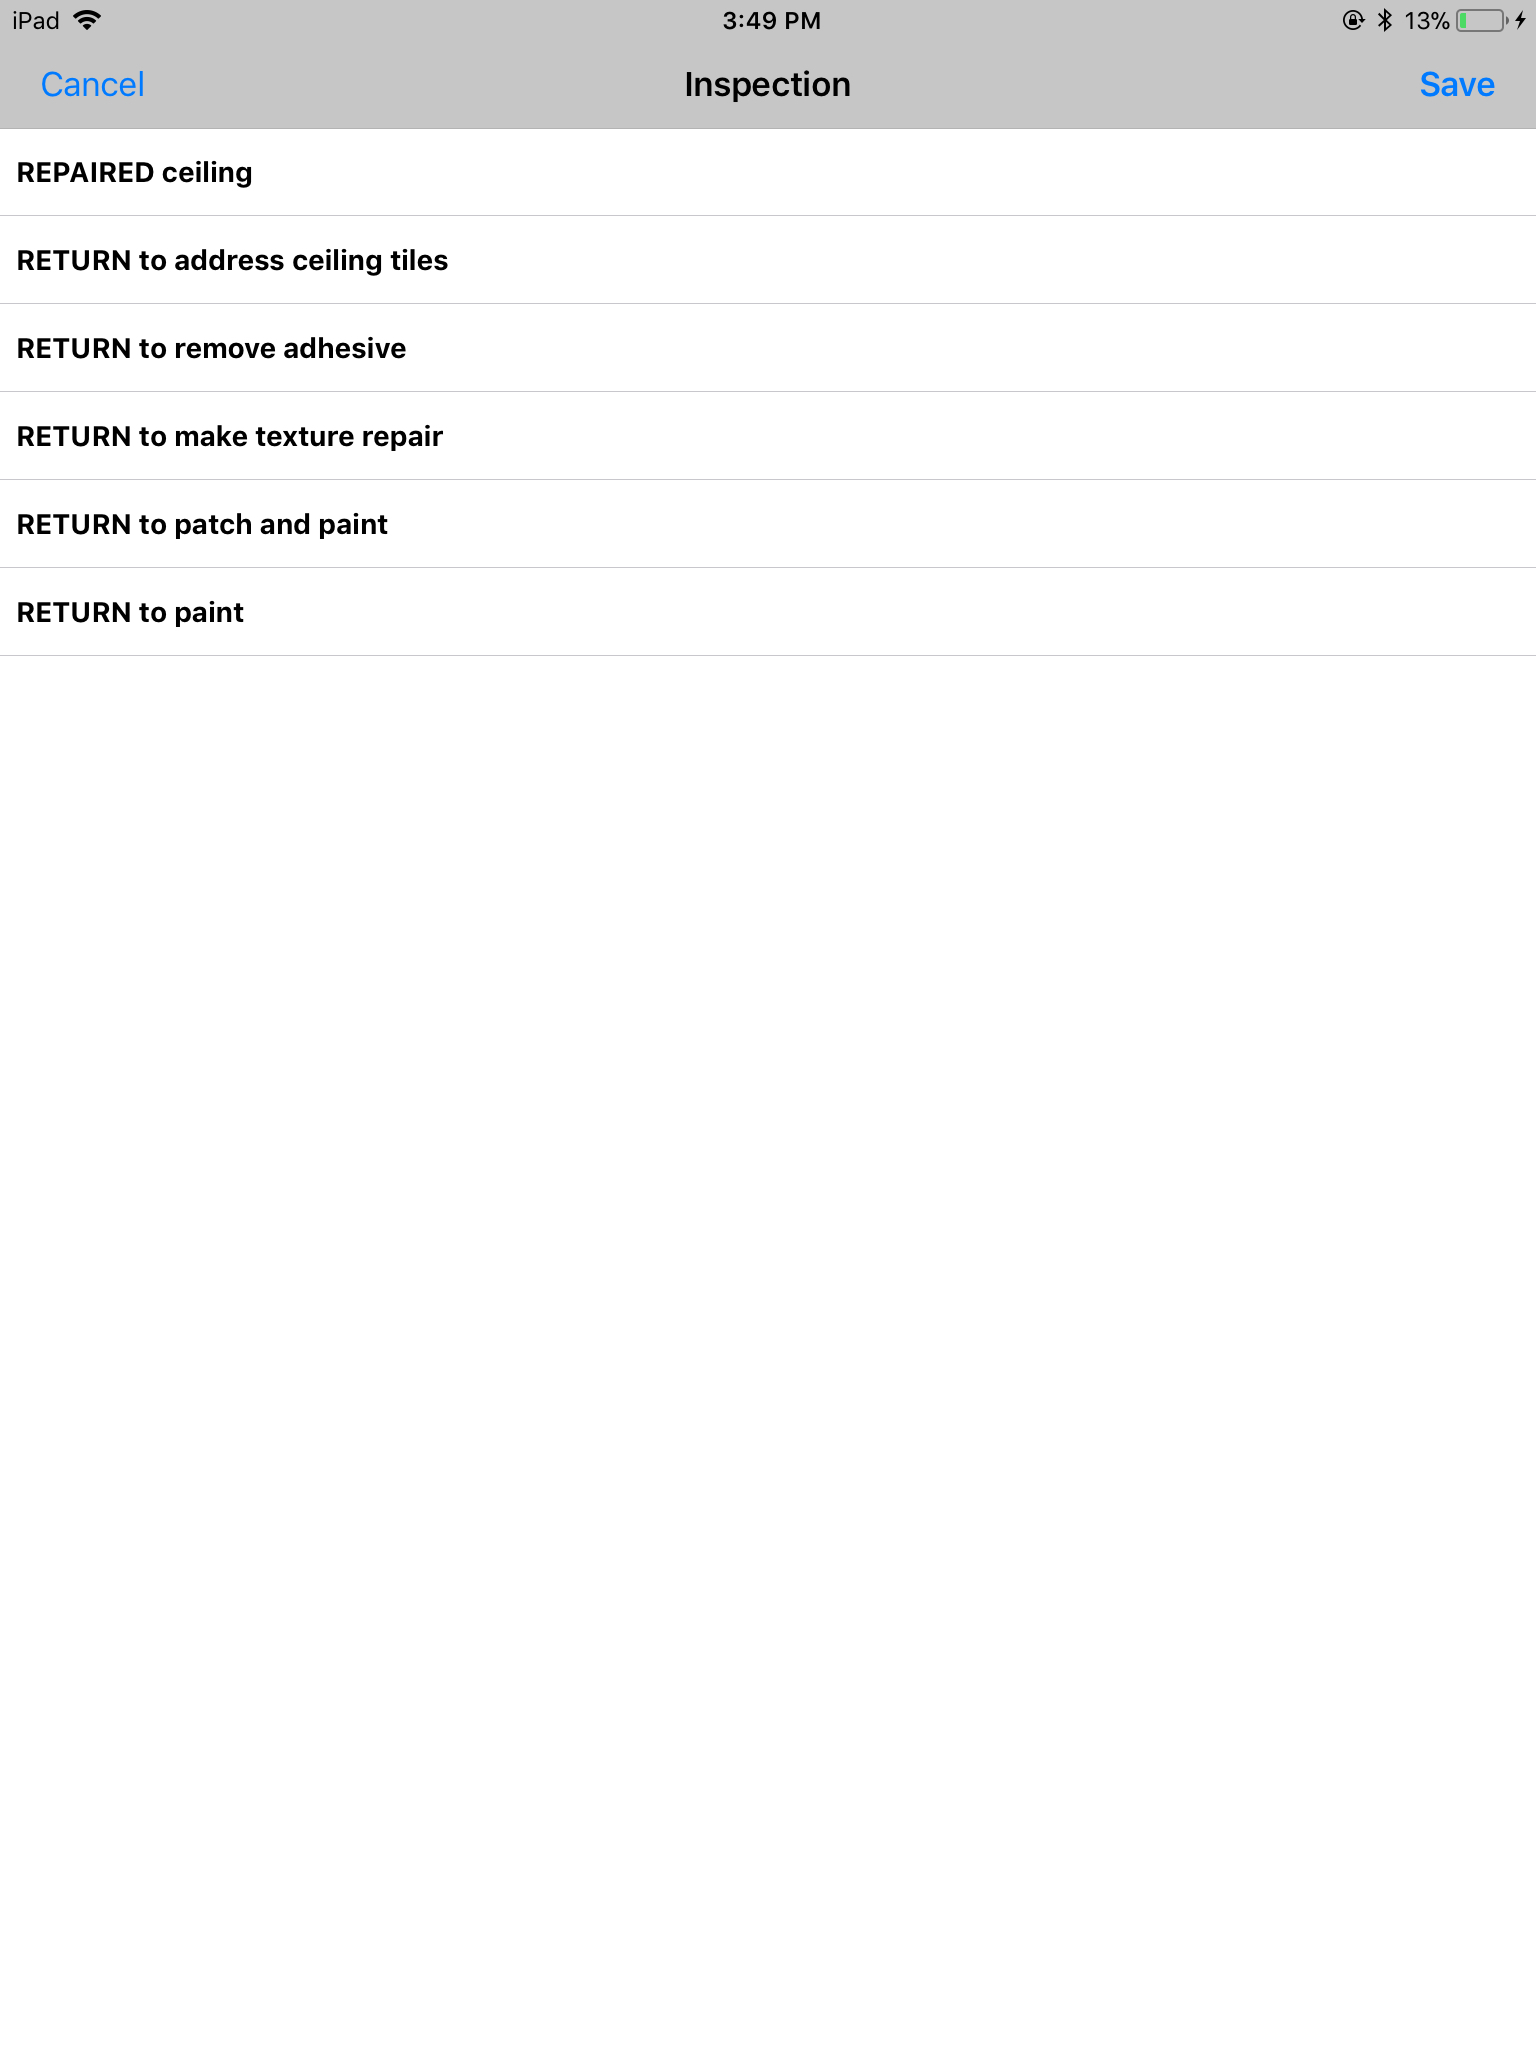 |
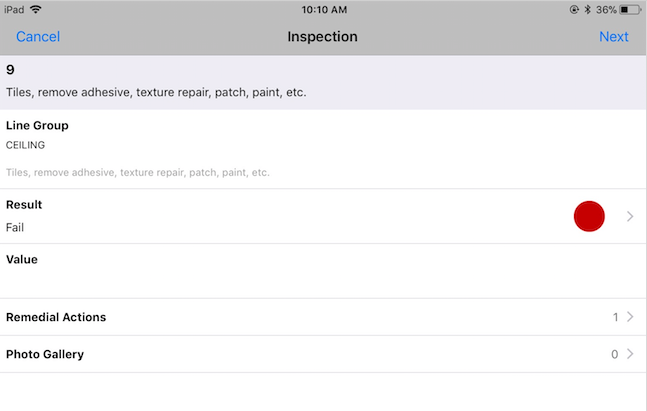
| After selecting a Fail Result the application returns to the Inspection Line. The Result is now a Fail and a red dot appears on that line. The count of Remedial Actions is visible on that line.
If desired, images can be added by clicking the Photo Gallery Line. |
 |
| For the inspection result to be saved the Next option in the top bar must be clicked if any changes to the Line Group have been made |  |
| To jump back to the main inspection list at any point click Cancel in the upper left hand corner. Any changes on the current inspection item will not be captured so this should always be done on an Inspection element that starts with the proper status (most often PASS) |  |
| When an inspection is finished click Submit in the upper right corner. The system displays an Alert box that asks “Would you like to submit this inspection?”. Click the Yes Option. | 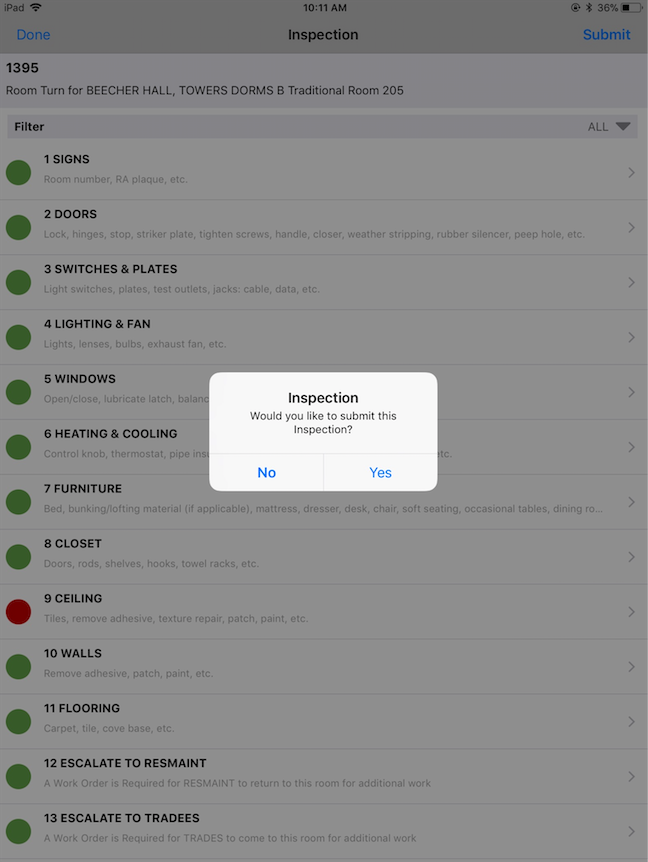 |
| If you would like to save the inspection but not submit it because the inspection is Not Completed OR there are inspection items to revisit, Click the Done link in the upper left corner. This returns to the list of available inspections. | 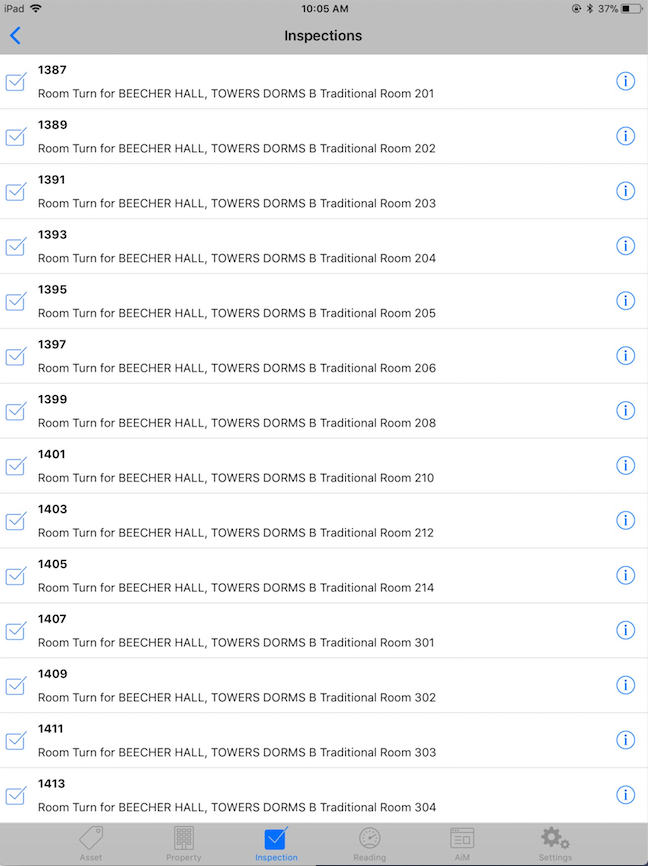 |
| In the event the inspection needs to be revisited the status now needs to be changed | How to set the status of an inspection to REVISIT |
ROLES USED:
- System Administration – The System Administrator Inserts, Updates and Inactivates Inspection Types. Since Inspection Types define the Inspection and the experience of the technician and post-inspection reporting it is important that only System Administrators should manipulate these records after close coordination with the Business Owner(s)
Return to Asset Management Module SOP