Standard Operating Procedures
Managing Projects
PURPOSE:
Projects in AiM are used by FOBS to track Project level information and financial data. Like Project Groups, projects are defined by various criteria. A project could be used to track certain types of work by a particular time period (e.g. Fiscal Year) or they might be used to track work associated with a particular funding source or rebate program. The description of the project should explain the reason(s) the particular work is grouped as a particular project.
Creating a Project
Adding Account Information to a Project
Associating Work with the Project
PROCEDURE:
Creating a Project
|
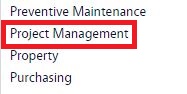
| 1. Navigate to the Project Management module on the main menu. |
 |
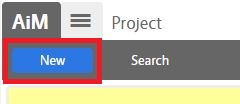
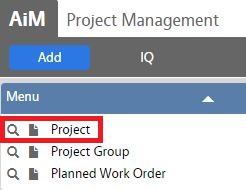
| 2. Navigate to the Project Management screen and click the link to Project. |
 |
| 3. To look at existing projects you can select Browse or use the search function to refine search. When adding select New. |
 |
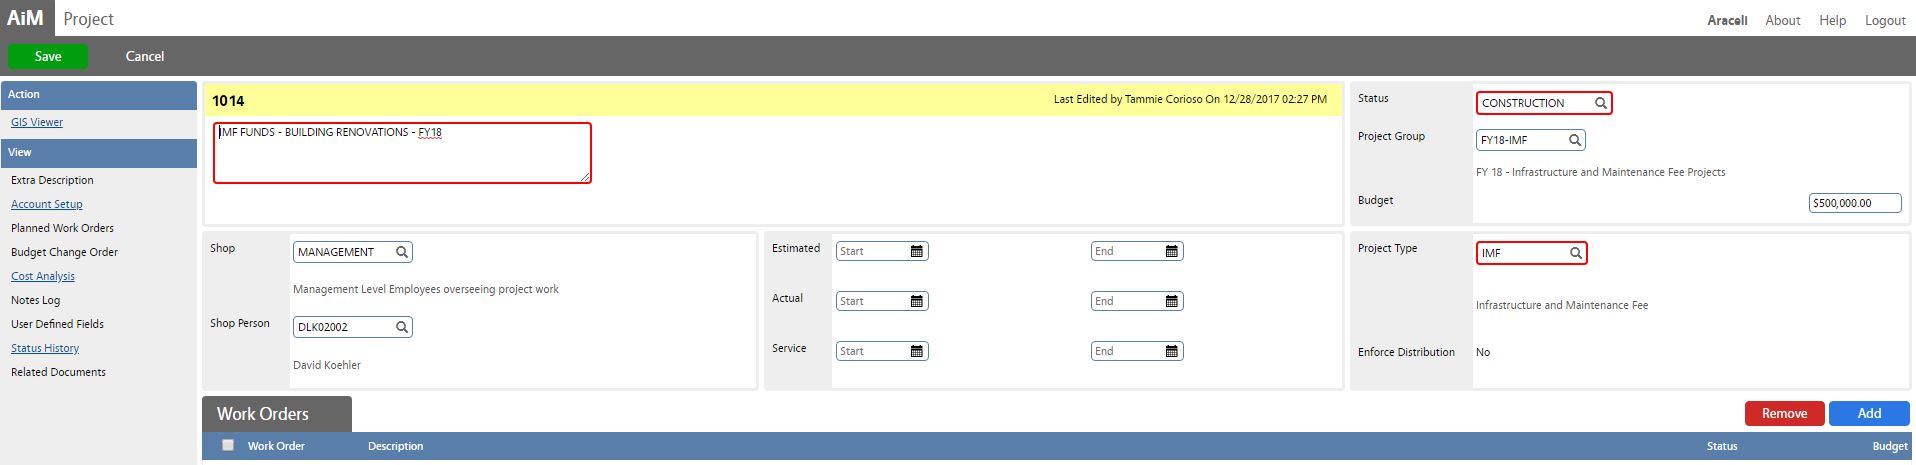
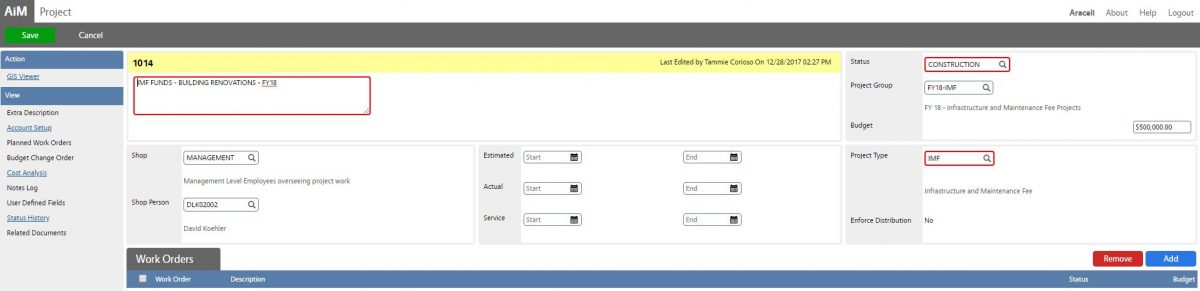
| The New Project Screen is shown here. Populate the screen based on the procedures described below for each element. |
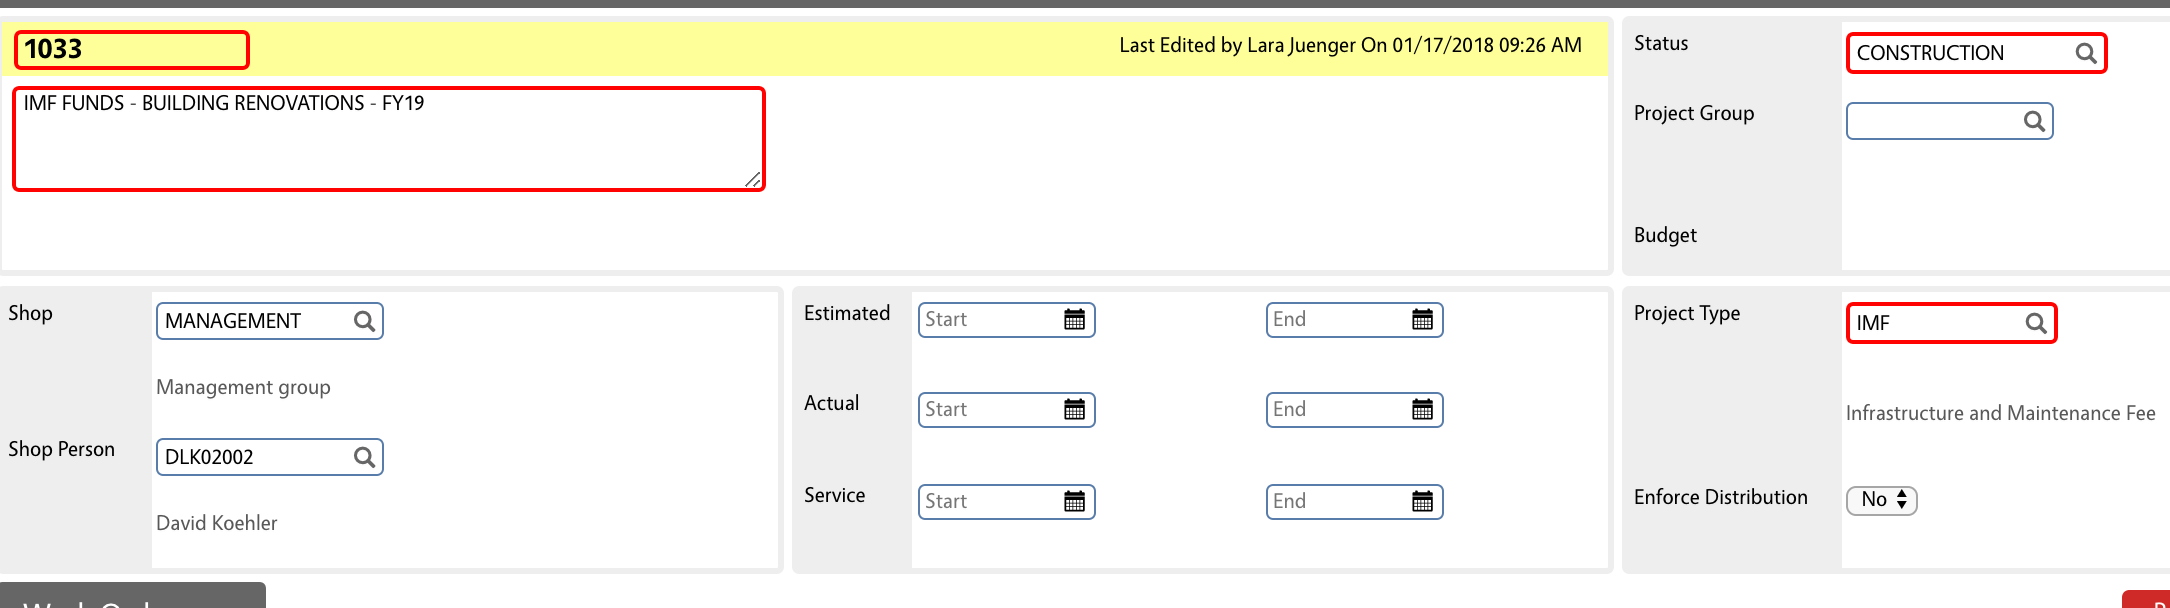 |
| 4. Enter Project Identifier (no label on screen)
Project Identifier’s are created sequentially by AiM. [TODO:FOBS decide if you will always use the sequence number or if you want to use something else] |
 |
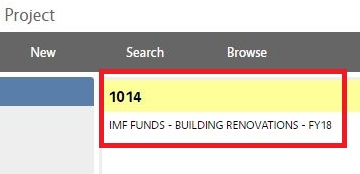
| 5. Enter Project Description
Enter a Project Description that explains the characteristics of what makes this grouping of work a project (e.g. Funding Source – Type of work – Fiscal Year). |
 |
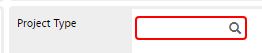
| 6. Select a Project Type (do this before the status otherwise a red error ribbon will display).
Select a Project Type from the available choices:
- a. IMF
- b. PROG UPGRADE (do not use – under review)
- c. RENOVATION (do not use – under review
[TODO:FOBS define refine rules for project type selection here] |
 |
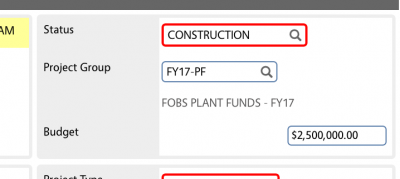
| 7. Select Project Status
The available statuses correspond to the selected Project Type
[TODO:FOBS describe the necessary project statuses as they correspond to the defined project types] |
 |
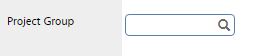
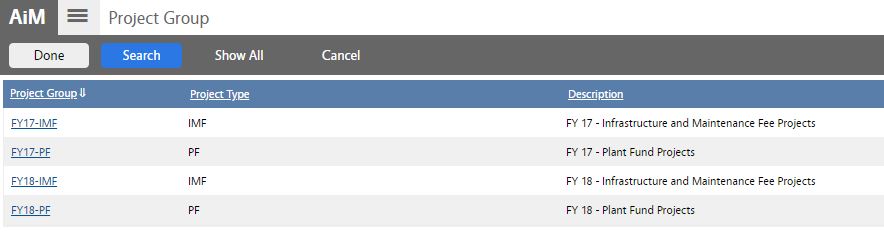
| 8. Select Project Group
If the project is part of an overall Program, also known as a Project Group in AiM, type or select the Project Group by clicking the magnifying glass in the Project Group data element box. |
|
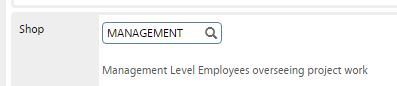
| 9. Enter Shop
The manager of the project is specified in the Shop Person field, but the Shop where the project manager is a member needs to be selected first. Most, but not all, Project Managers are members of the Management shop in AiM. |
 |
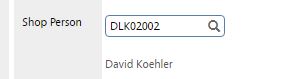
| 10. Shop Person
Type or select the Project Manager for the project by clicking the magnifying glass in the Shop Person data element box. |
 |
| 11. Set Enforce Distribution
If the project can only have costs associated to the project, select enforce distribution = YES. If the project can have costs associated with other funding sources, select enforce distribution = NO. Since some phases can be added to FOBS projects to track Shop labor, it is generally the case where this field is set to NO. |
 |
| 12. Set Estimated Dates
These date fields are provided for management and/or reporting purposes and assist with the planning and scheduling of a project. [TODO:FOBS decide if dates will be used and for what purposes] |
 |
| 13. Enter Actual Dates |
 |
| 14. Service Dates |
 |
| 15. Budget (Often this field is not editable until account information is added and the project has been saved and then gone back into edit mode). Enter the estimated project budget in the Budget text box. Click Save when done. |
 |
Adding Account Information to a Project
|
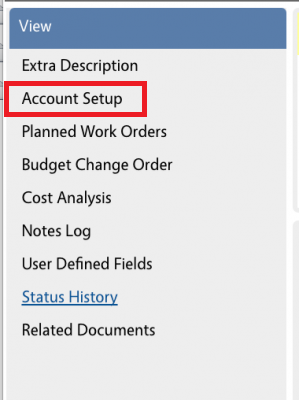
| 1. On the View Menu of the Project, select the second option on the list, Account Setup. |
 |
2. Charge Accounts will be setup for each Project. Click  to begin the process. Select the Percentage Split radio button when displayed and click Next. to begin the process. Select the Percentage Split radio button when displayed and click Next. |


|
 |
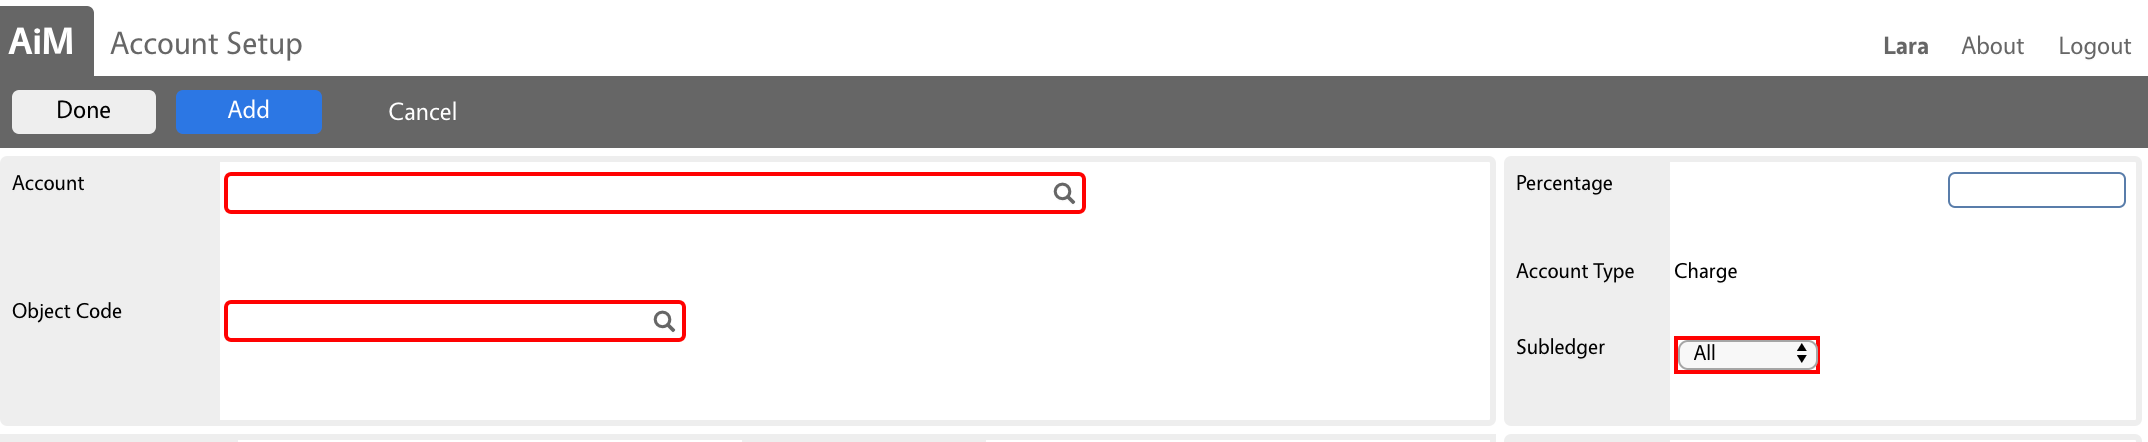
| 3. Select Account
Type or select the Account for the project by clicking the magnifying glass in the Account data element box
[TODO:FOBS add directions for what accounts to use] |
 |
| 4. Subcode
Type or select the Subcode for the project by clicking the magnifying glass in the Subcode data element box.
[TODO:FOBS add directions for what subcodes to use] |
 |
| 5. Enter Percentage
Set to 100% unless this is a split funded project. If this is split funded, set to appropriate percentage |
 |
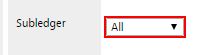
| 6. Select the appropriate Subledger for this account and subcode combination |
 |
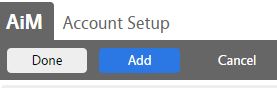
7. Select  after each account setup after each account setup
Although AiM has an Add button that allows users to configure all the accounting information at once the behavior was somewhat inconsistent during implementation so it is advisable to iterate through the Add-Done-Add cycle while performing Account Setup. |
 |
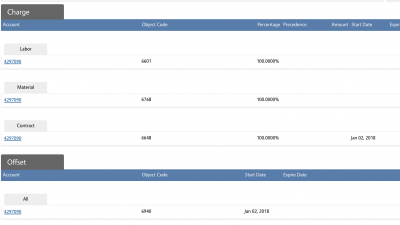
| 8. It is typical to repeat the account setup process for charges on labor, material and contracts, each with its own object code.
It is typical to have only one offset account.
When finished the account setup screen will look something like what is shown here.
Click the button to save the accounting information. |
 |
Associating Work with the Project
|
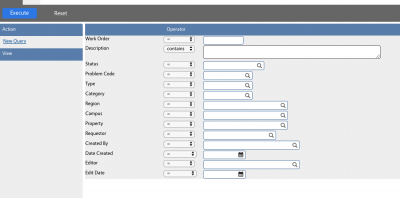
| 1. If work was done for this project before the project was created, click the button in the lower Work Order Section. This is not common. AiM enters Work Order Search Mode. Enter the appropriate search parameters. |
|
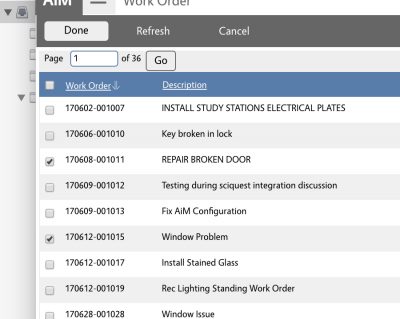
| 2. Any work orders returned by the search criteria are displayed. Select the checkbox next to those to associate with the project then click the button to associate these work orders with the project.
|
 |
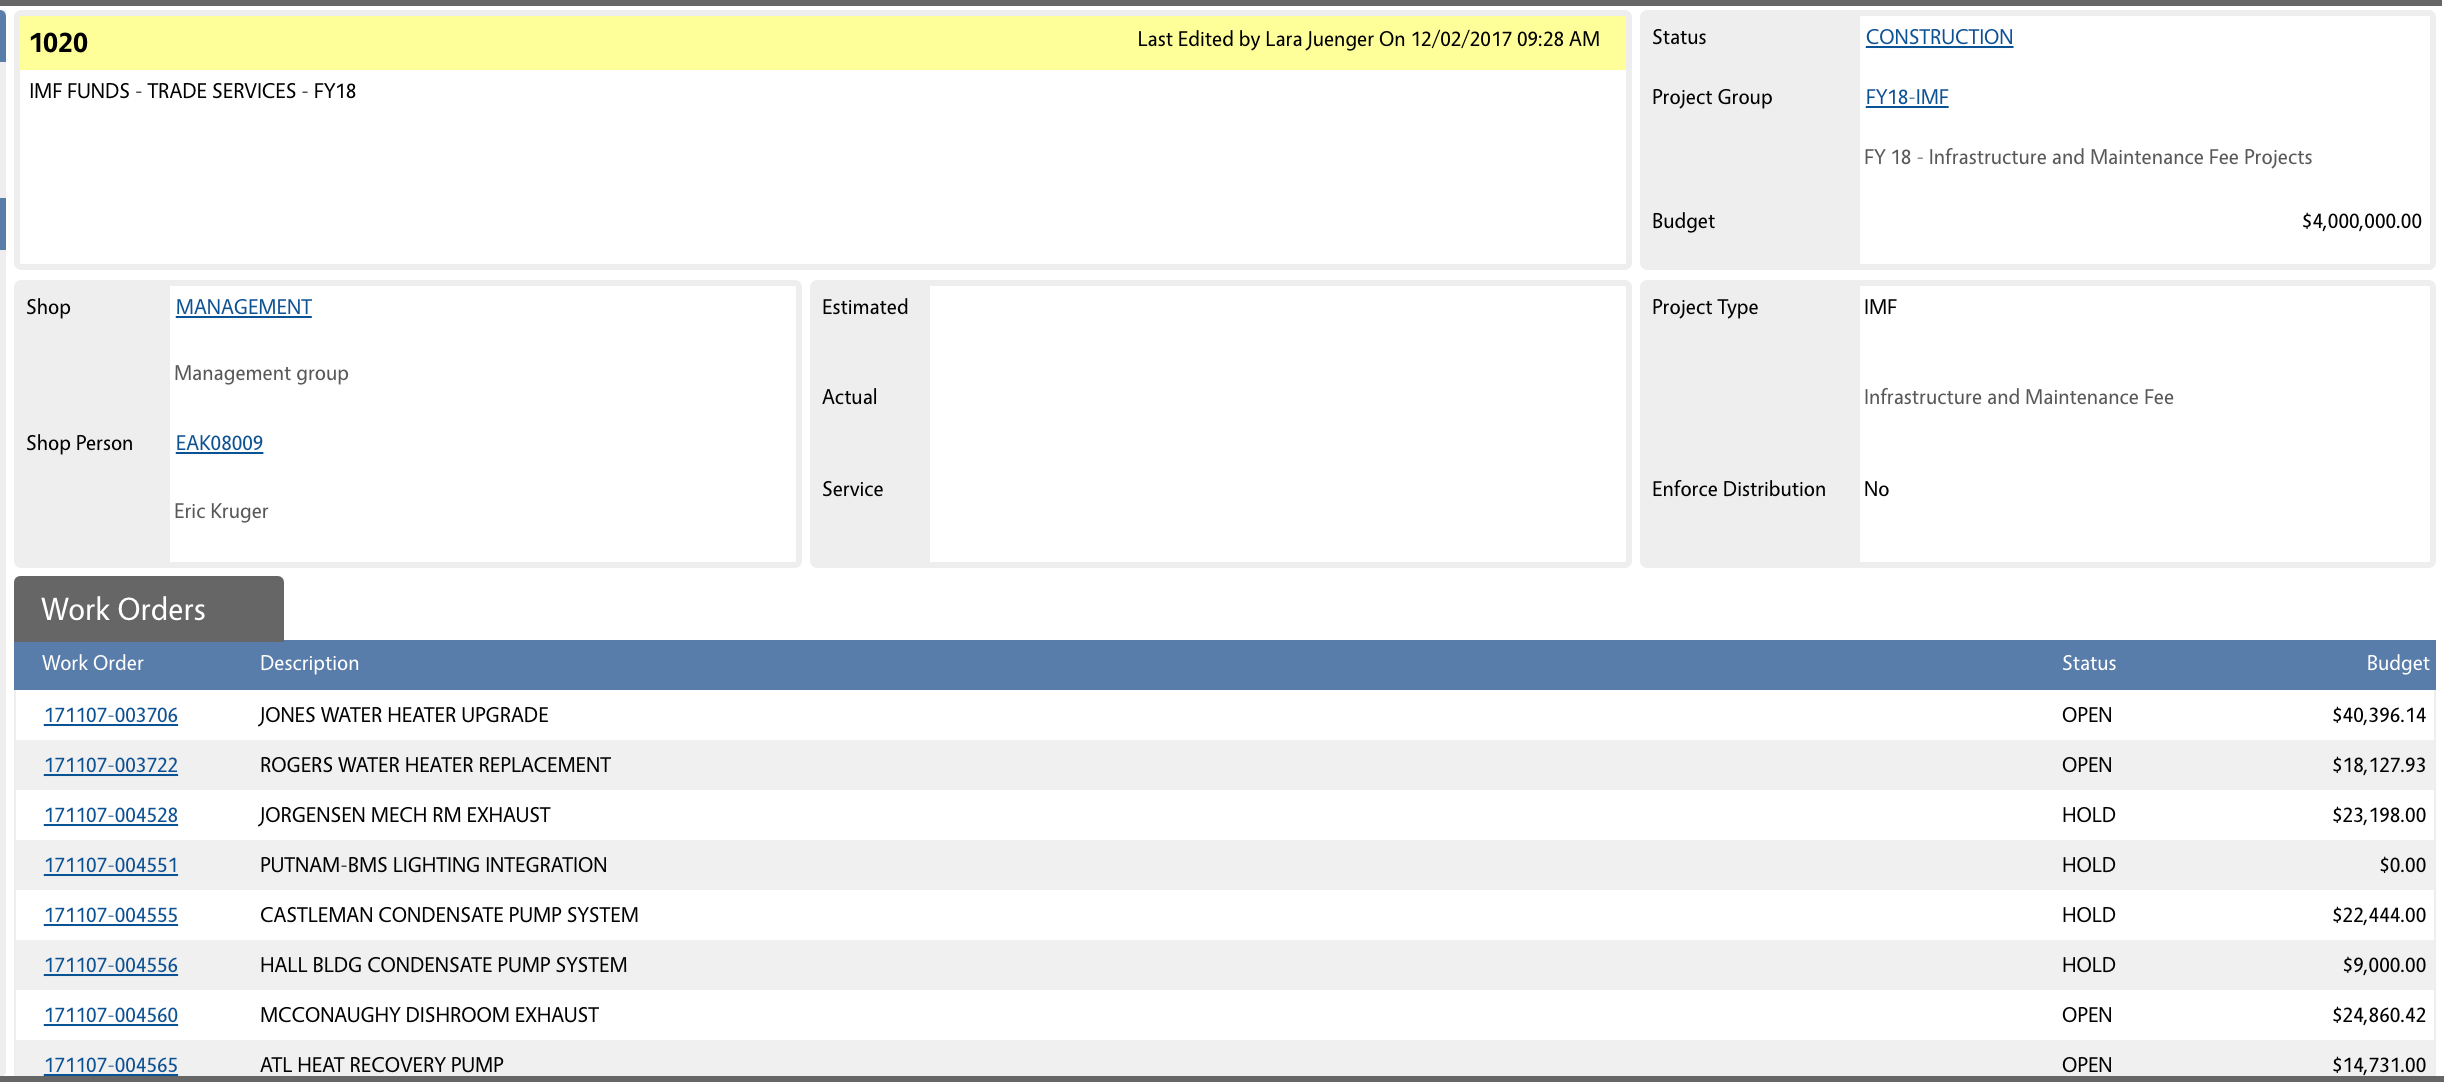
| 3. As the project proceeds it will be more common for work orders to be created and the project to be associated on the work order itself. As more and more work is done on the project the repository of associated work will automatically build on the project screen as shown here. |
 |
ROLES USED:
- Finance Business Office -[TODO:FOBS define refine rules here]
- Program Manager – [TODO:FOBS define refine rules here]
Return to Project Management Module SOPs