 Standard Operating Procedures
Maintain Shop Data
PURPOSE:
A shop is a grouping of people (technicians) that accomplish work and track the work in AiM.
Shops have 6 principal sets of data:
| General Information | Identifies the unique shop identification code consisting of 25 alphanumeric characters and an optional shop description. |
| Labor rates | Defines which time type/labor class and charge rate combinations will be available for the employee to use with time entry. |
| Account Setup | Defines specific accounts and the distribution of charges to accounts at the work order level. The distribution is applied to phases through the enforce distribution selection. The default offset is the shop account. |
| Shop Membership | At least one employee needs to be assigned to a shop in order to save the shop record. An employee must be a shop person and be assigned to a shop in order to record time against a work order/phase. An employee can be assigned to a shop for a specific date range using the date range fields. When the date range is exceeded, the employee is no longer active in the shop. |
| Timecard Approvers | Are those managers and supervisors who may approve a shop employee’s timecard. This is a required step to post time and subsequent labor cost to a work order/phase. |
| Shop Stock Approvers | Are those managers and supervisors who may approve the use of shop stock for a work order/phase. This is a required step to post shop stock charges to a work order/phase. |
For Shop transfer instructions, click here.
- Adding a new Shop
- Setting up Shop accounts
- Entering Labor Rates
- Adding Time Card Approvers
- Adding External Change Approvers
- Adding Shop Stock Approvers
PROCEDURE:
Adding a new Shop:
| 1. Navigate there by clicking on the Human Resources link on the Menu of the main WorkDesk | 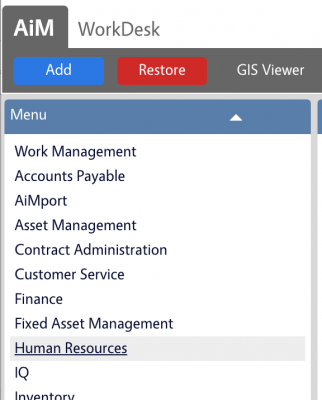 |
| 2. Click the |
 |
| 3. Click on the link corresponding to the name of the shop that needs updating | 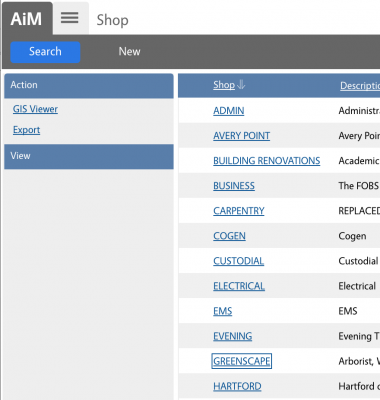 |
| Each shop is initially defined by some general information shown here to include:
|
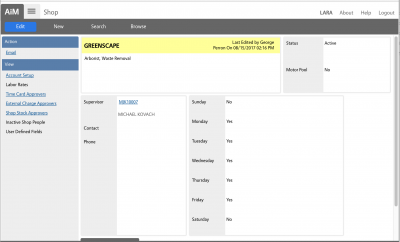 |
| 4. On this Shop screen is where the employees assigned to that shop are defined. To add or remove employees click the |
 |
| 5. Once in edit mode, an |
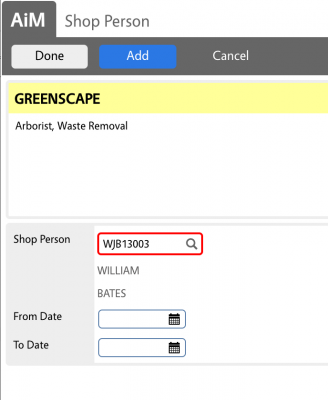 |
| After clicking the Done button, the system returns to the main Shop Screen. Click |
 |
Setting up Shop accounts:
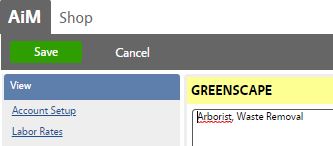
| 1. On the Shop screen, click Edit and click Account setup link (left panel) | 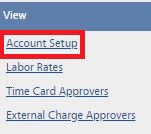 |
| 2. Click Add button to configure Charge Accounts | 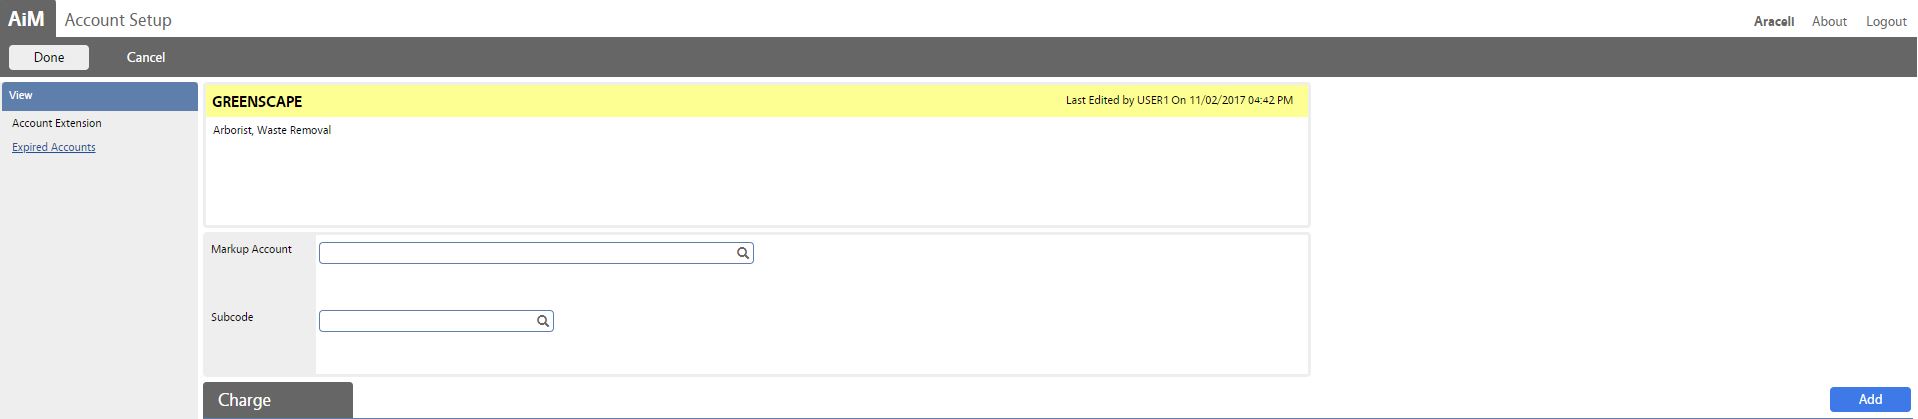 |
| 3. Fill out all the mandatory fields:
a. Account b. Subcode c. Subledger
Click Done to return to previous screen |
 |
| 4. Click Add blue button to configure Offset Accounts | |
| 5. Fill out all the mandatory fields:
a. Account b. Subcode c. Subledger
Click Done to return to previous screen |
 |
| 6. Click Done again to return to the Shop screen |  |
| 7. Click Save to save the configuration | 
|

Entering Labor Rates:
| 1. On the Shop screen, click Edit and click Labor Rates link (left panel) | 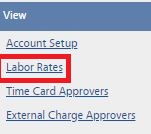 |
| 2. Click Add button to add Labor Rates | |
| 3. Fill out the mandatory fields:
a. Time type: Regular b. Labor Class: Regular c. Labor Rate: (Ex. 57.00)
Click Done to return to previous screen |
 |
| 4. Repeat step #3 and add Labor Rate for Overtime |  |
| 5. Click Done to return to the Shop screen and click Save to save the configuration | |
Return to top page
Adding Time Card Approvers:
| 1. On the Shop screen, click Edit blue button | 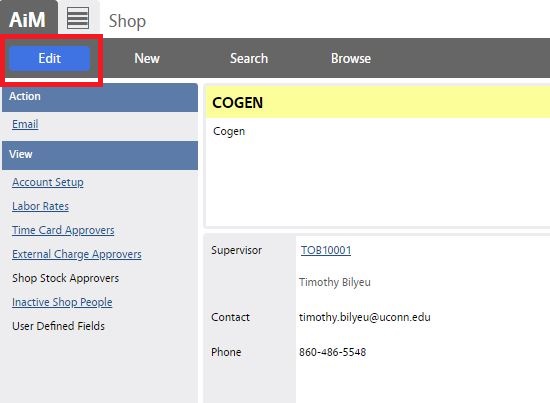 |
| 2. Click Time Card Approvers link on the View Menu |  |
| 3. Click Load blue button to add Timecard approvers (roles) for this shop | 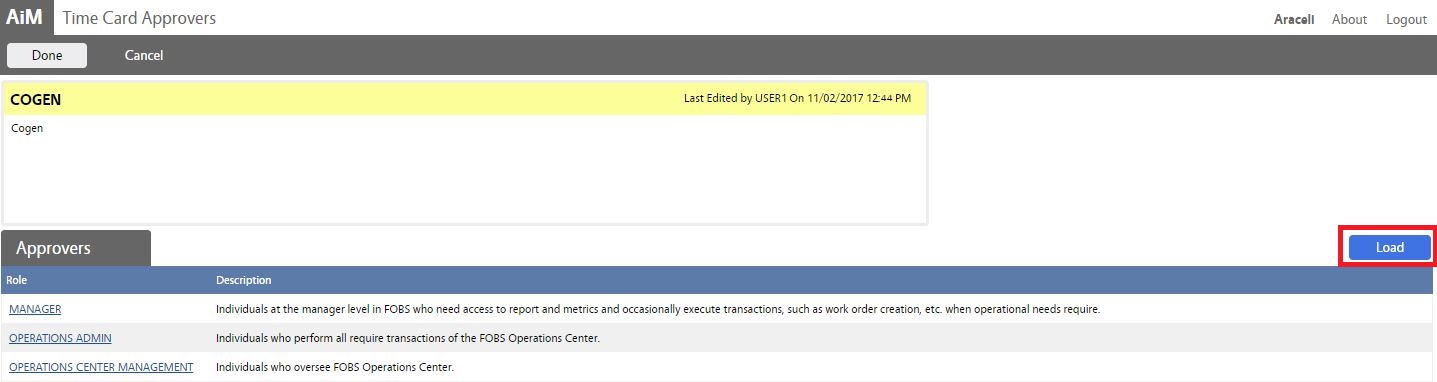 |
| 4. Select the Timecard Approvers (roles) for this specific Shop, then click Done button | 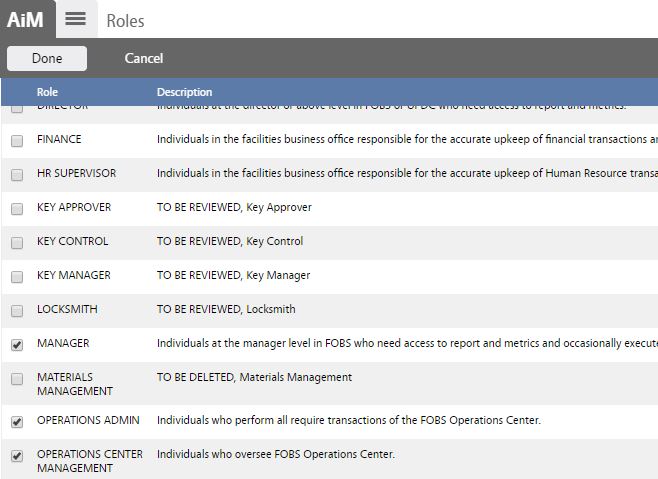 |
| 5. Verify the Approvers list is correct and click Done button once again to return to Shop screen |  |
| 6. Click Save to save the shop configuration | 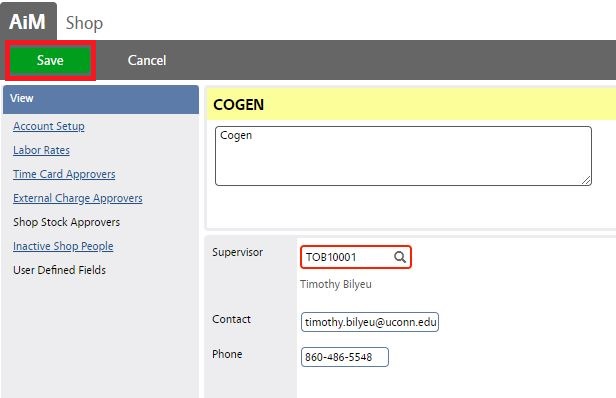 |
Adding External Change Approvers:
| 1. On the Shop screen, click Edit and click External Charge Approvers link (left panel) | 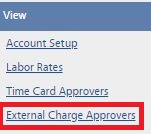 |
| 2. Click Load button to add External Approvers (roles). Then click Done to return to the Shop screen | 
|
| 3. Click Save to save the record | |

Return to top page
Adding Shop Stock Approvers:
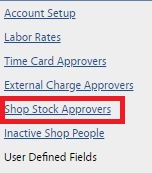

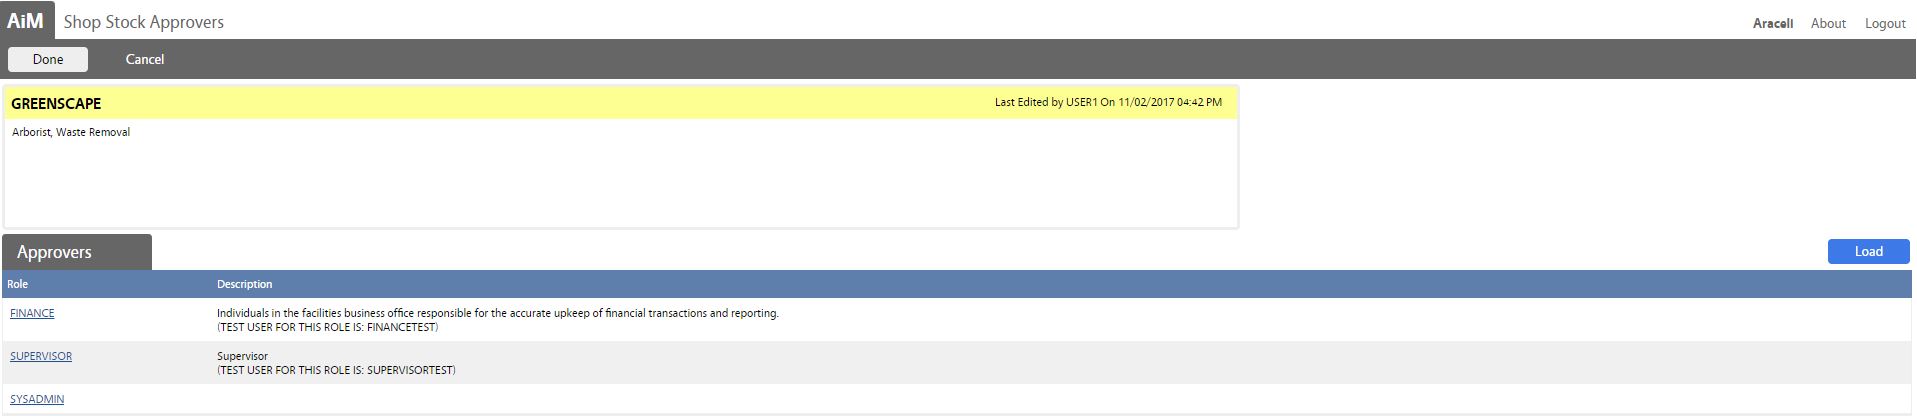
ROLES USED:
1. HR Supervisor: [TODO:FOBS define refine rules here]
2. The System Administrator is responsible for managing and overseeing the Human Resources module its configuration and functionality.
Return to Human Resources Module SOP